

English
Refused Promise to Purchase (eZmax for Brokers)
Refused Promise to Purchase
Warning
According to the OACIQ, you are required to submit the documentation for any Refused Promise to Purchase to your agency.
Your Agency’s Listing
From the Main Menu, navigate to Files >> Listings.
Click the desired listing.

In the "Refused Promise to Purchase" section, click the Record with a + icon on the right to add a refused purchase offer.
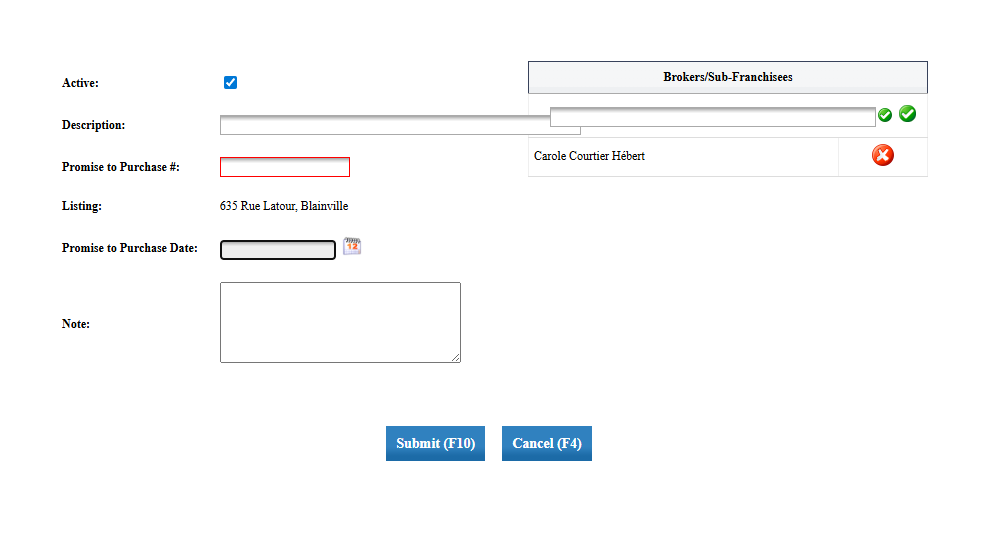
Enter the following information:
- Description: Optional.
- Promise to Purchase Number
- Promise to Purchase Date
- Note: Optional.
- Brokers/Sub-franchisees: By default, you will always be added as an broker to the file. To add an broker from your agency, begin typing their name in the Broker field, select them from the list, and click the green checkmark to confirm.
Click Submit.
You will be redirected to the section where you can add documents to the Refused Promise to Purchase.
Once completed, you can click the Promise to Purchase number in the Refused Promise to Purchase section of the listing to view it and access the associated documents.
NOTE: To close the window, click the X at the top of the white tab.
Listing from Another Agency – Collaborating Broker
From the Main Menu, navigate to Files >>Refused Promises to Purchase.
Click New Refused Promise to Purchase.

If you are the seller’s broker, select Yes , enter the Centris number , click Submit , and you will be redirected to the listing. You can then add the Refused Promise to Purchase by following the steps outlined earlier in this article under the “Your Agency’s Listing” section.
If you are not the seller’s broker, select No and click Submit.
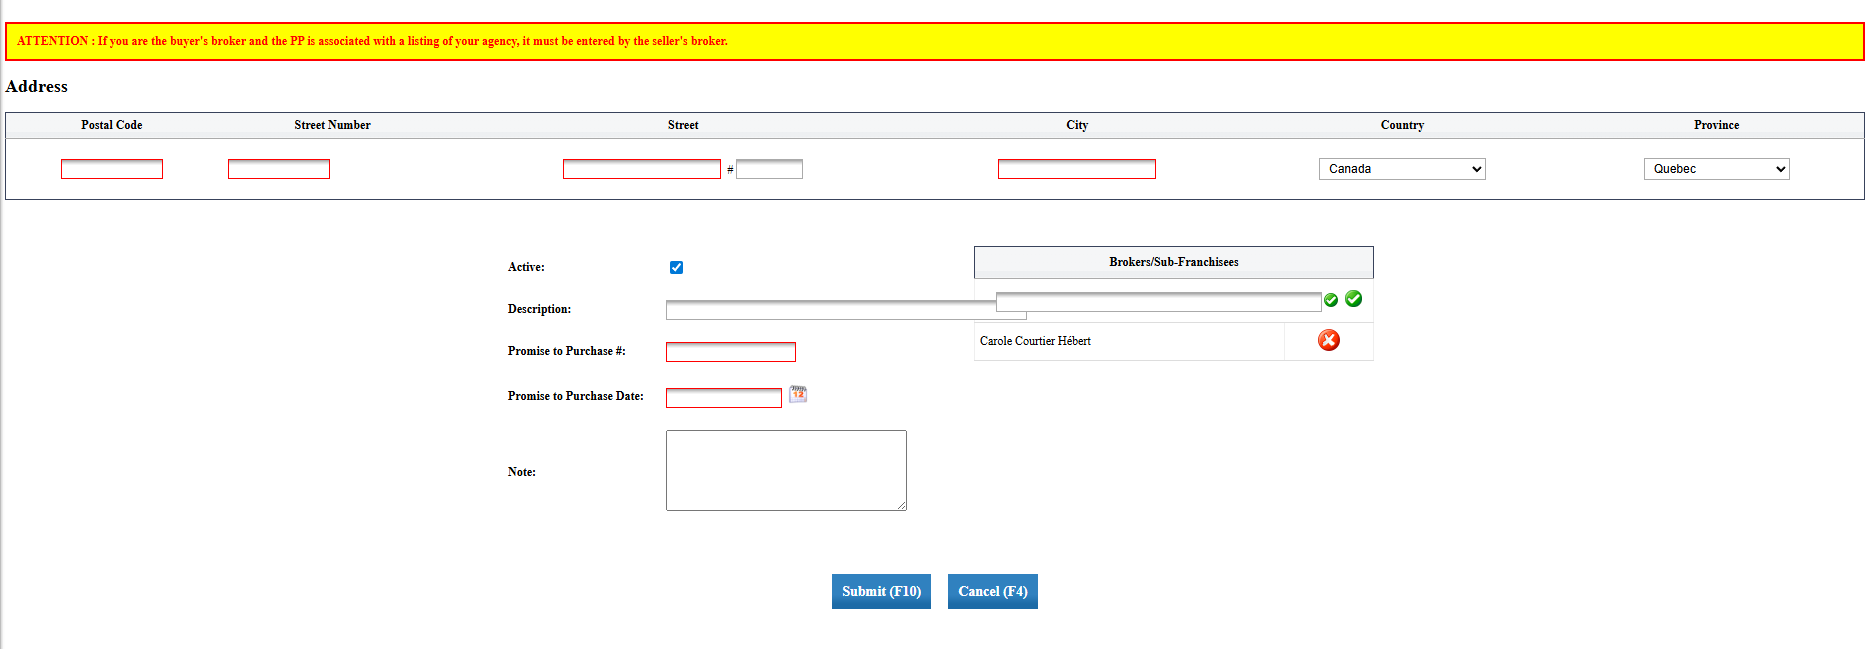
Warning
If you are the buyer’s broker and the Promise to Purchase is linked to one of your agency’s listings, it is the listing broker’s responsibility to associate the Refused Promise to Purchase with the listing and to add you as the buyer’s broker.
Enter the following information:
- Enter the postal code and street number , then select the suggested address. The system will automatically populate the full address in the remaining fields.
- Description: Optional.
- Promise to Purchase Number
- Promise to Purchase Date
- Note: Optional.
- Brokers/Sub-franchisees: By default, you will always be added as an broker to the file. To add an broker from your agency, start typing their name in the Broker field, select them from the list, and click the green checkmark to confirm.
Click Submit.
You will be redirected to the section where you can add documents to the Refused Promise to Purchase.
Once completed, you can click the Promise to Purchase number in the Refused Promise to Purchase section to view it and access the documents.
Linking a Refused Promise to Purchase / Listing
From the Main Menu, navigate to Files >> Refused Promises to Purchase.
If you open a Refused Promise to Purchase and it is linked to a listing, a Yes will appear on the right. You can click Yes and you will be redirected to the listing associated with this Refused Promise to Purchase.
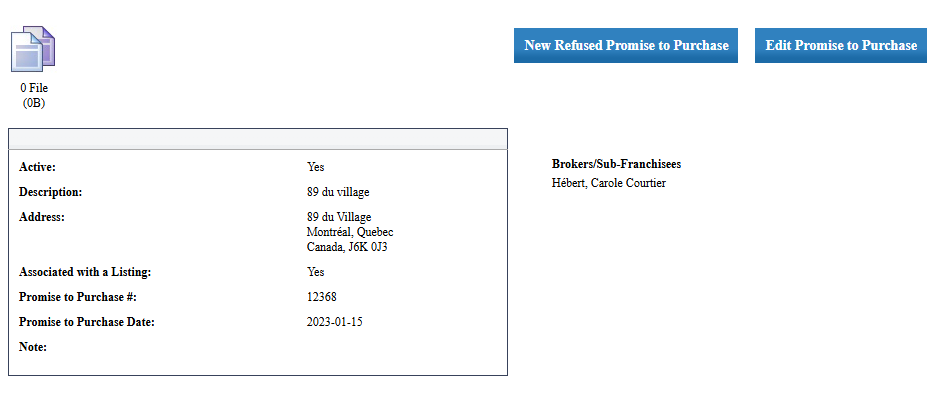
From the Main Menu, navigate to Files >>Listings.
If you open a listing and it is linked to a Refused Promise to Purchase, a Promise to Purchase number (# PA) will appear in the Refused Promise to Purchase section. You can click the # PA and you will be redirected to the Refused Promise to Purchase associated with the listing.
