
English
Adding/Editing/Apply a Stamp
It is possible to create a stamp that can be applied to a document during its electronic signature. It can be an image of an accreditation seal, a handwritten signature or other. Once created, this stamp can be selected when adding fields in a document.
Adding a Stamp
- Click on this icon

(eZsign Personal Folders).
- Click on List of Stamps and then on New Stamp.
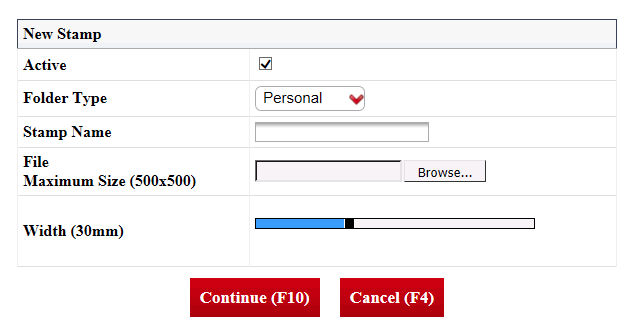
Active will be checked when the stamp is active. To inactivate a stamp, uncheck this box.
Select in which Folder Type the stamp will be available.
Enter the Stamp Name , i.e. the description of the stamp.
Click on Browse to select the desired File from your computer.
Warning
The maximum size of the stamp file (image) is 500 x 500 pixels.
You can determine the Width in millimeters (20 to 50) that the stamp will have in a document from the selection bar.
Click on Continue and the stamp will be added in the system.
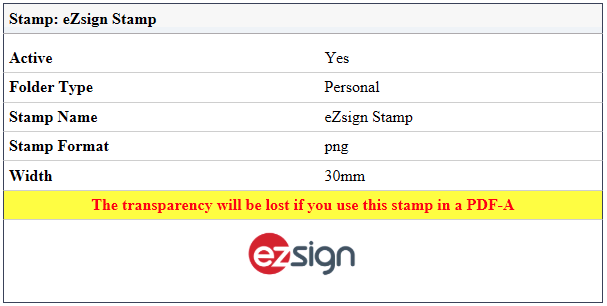
- In the case of a transparent PNG image, you will get this warning message: "The transparency will be lost if you use this stamp in a PDF-A". This means that you will see the white outline (or the color of the starting background) of the stamp when it is applied in a PDF/A document.
Editing a Stamp
- Click on this icon
(eZsign Personal Folders).
- Click on List of Stamps and then on the desired stamp.
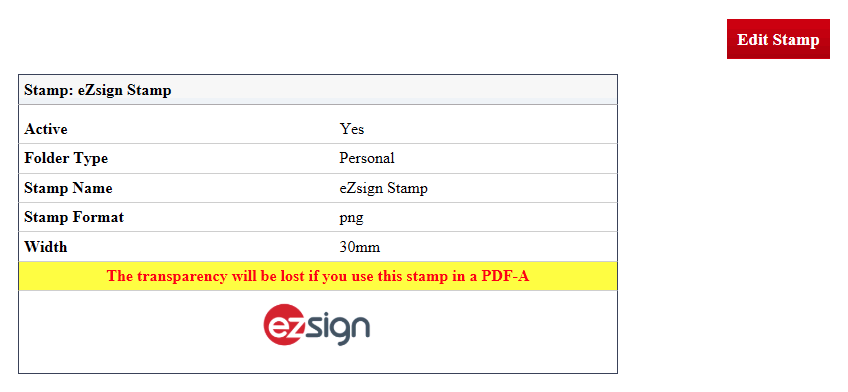
- Click on Edit Stamp.
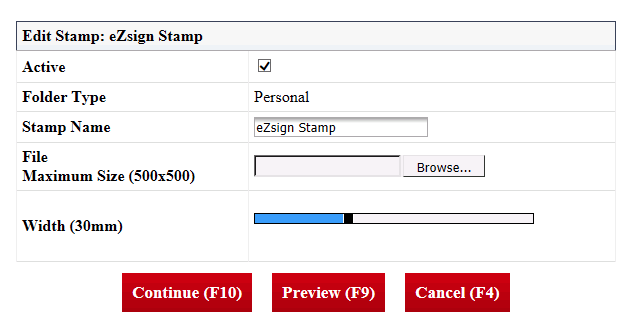
You can change the Stamp Name , select another File , and/or change the stamp Width.
To see the stamp applied in a sample document, click on Preview.
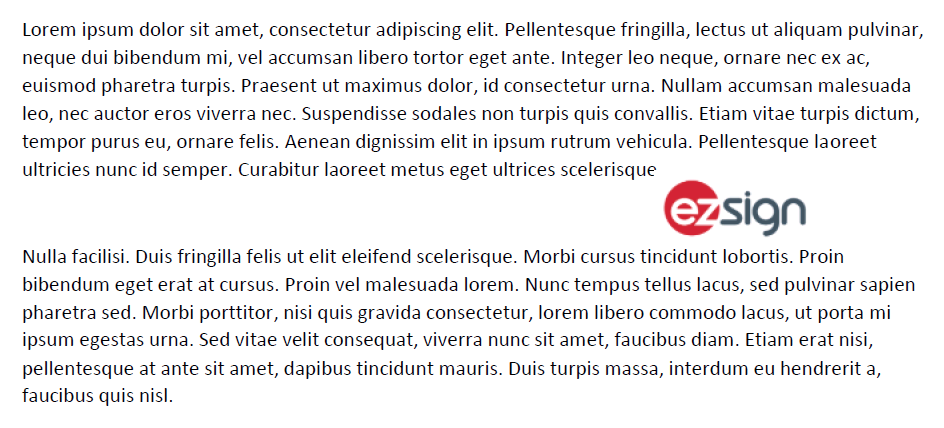
- When you have completed the changes, click on Continue to save them.
Apply a Stamp
Once a stamp has been added to the list of stamps, it is possible to select it when adding fields in a document.
- From the desired eZsign folder:

- In the "List of Documents" section, click on **the file name or the **Fountain Pen icon to display the document.
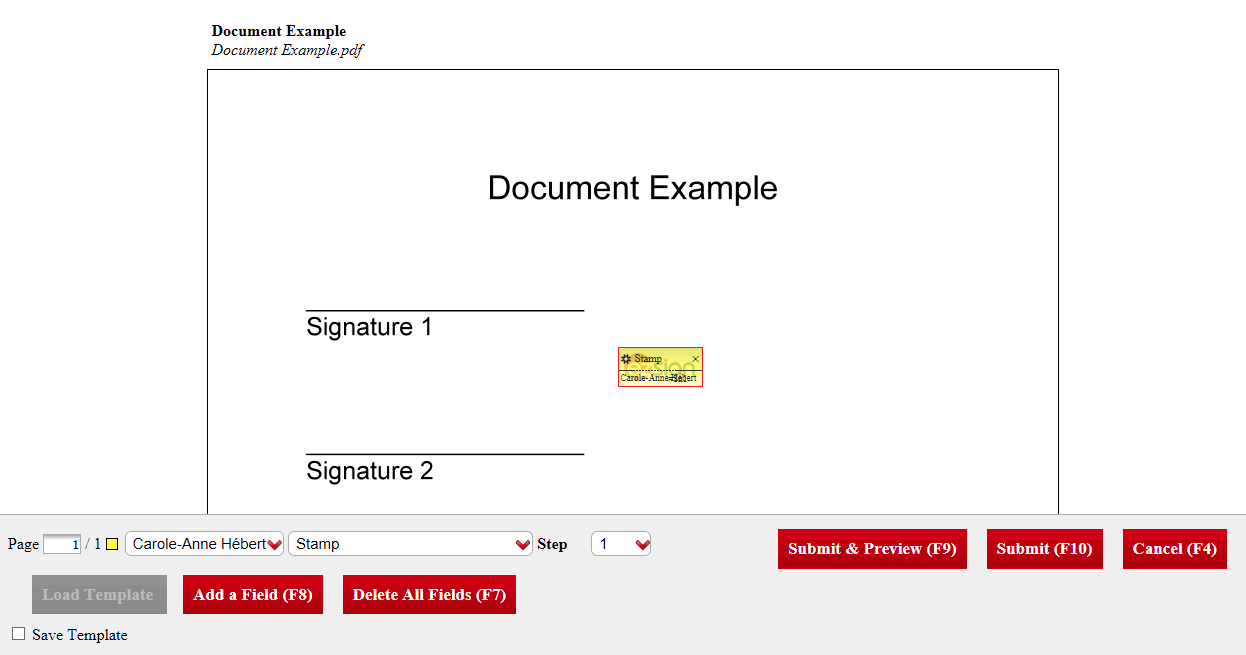
- From the drop-down lists, select the desired signatory, the type of field "Stamp" and the desired Step.
NOTE: Only the user can be selected as a signatory when the field is a stamp.
- If the stamp that appears is not the one you want, click on the Gear Wheel icon in the field. From the drop-down list, select the desired stamp.
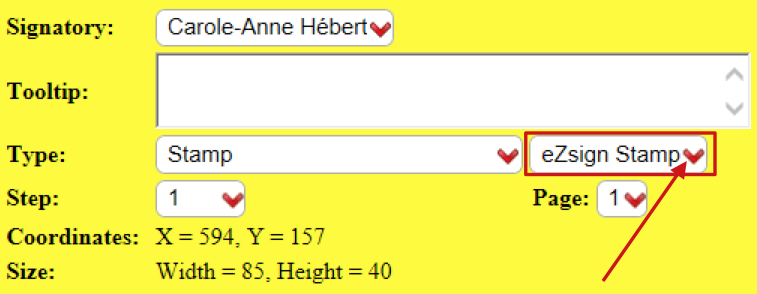
When all the desired fields are added, you can click onSubmit & Previewto verify the appearance of the final document or you can click onSubmit to confirm the location of the fields.****
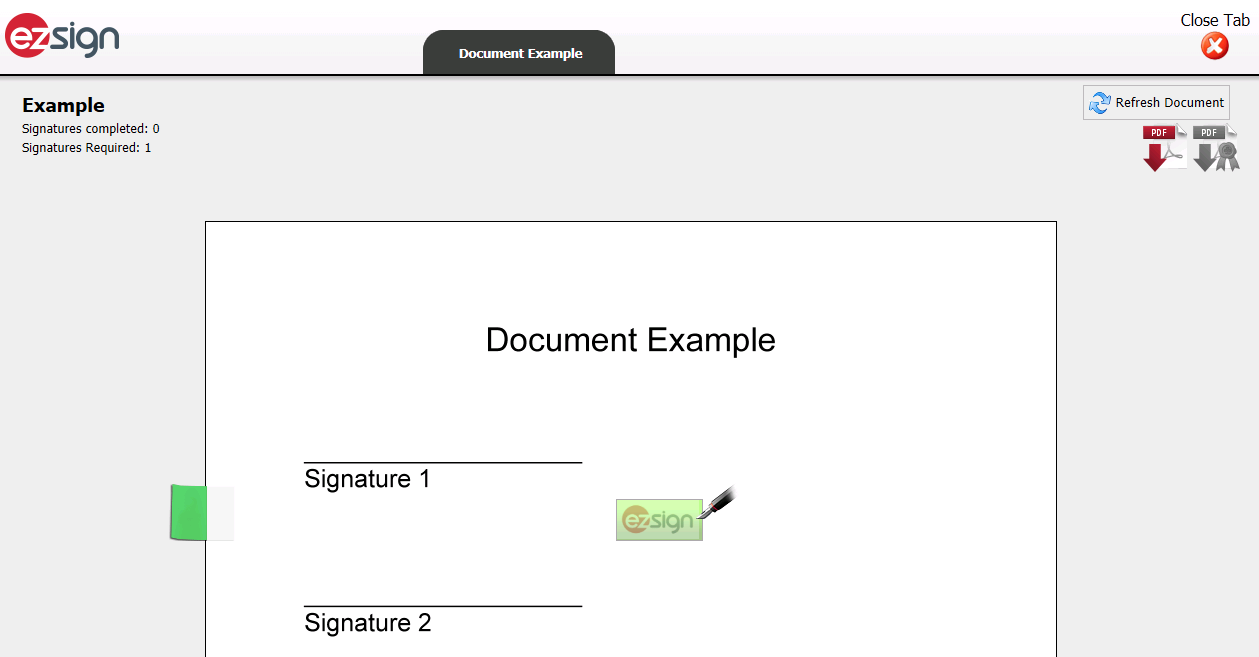
During the document signing process, you will be able to click on the stamp to apply it.