

English
Adding Documents to eZmax via Camera
This feature will allow you to scan a document using the camera of a phone or tablet.
- From the eZmax application, right-click on the

icon, then select Document Editor.
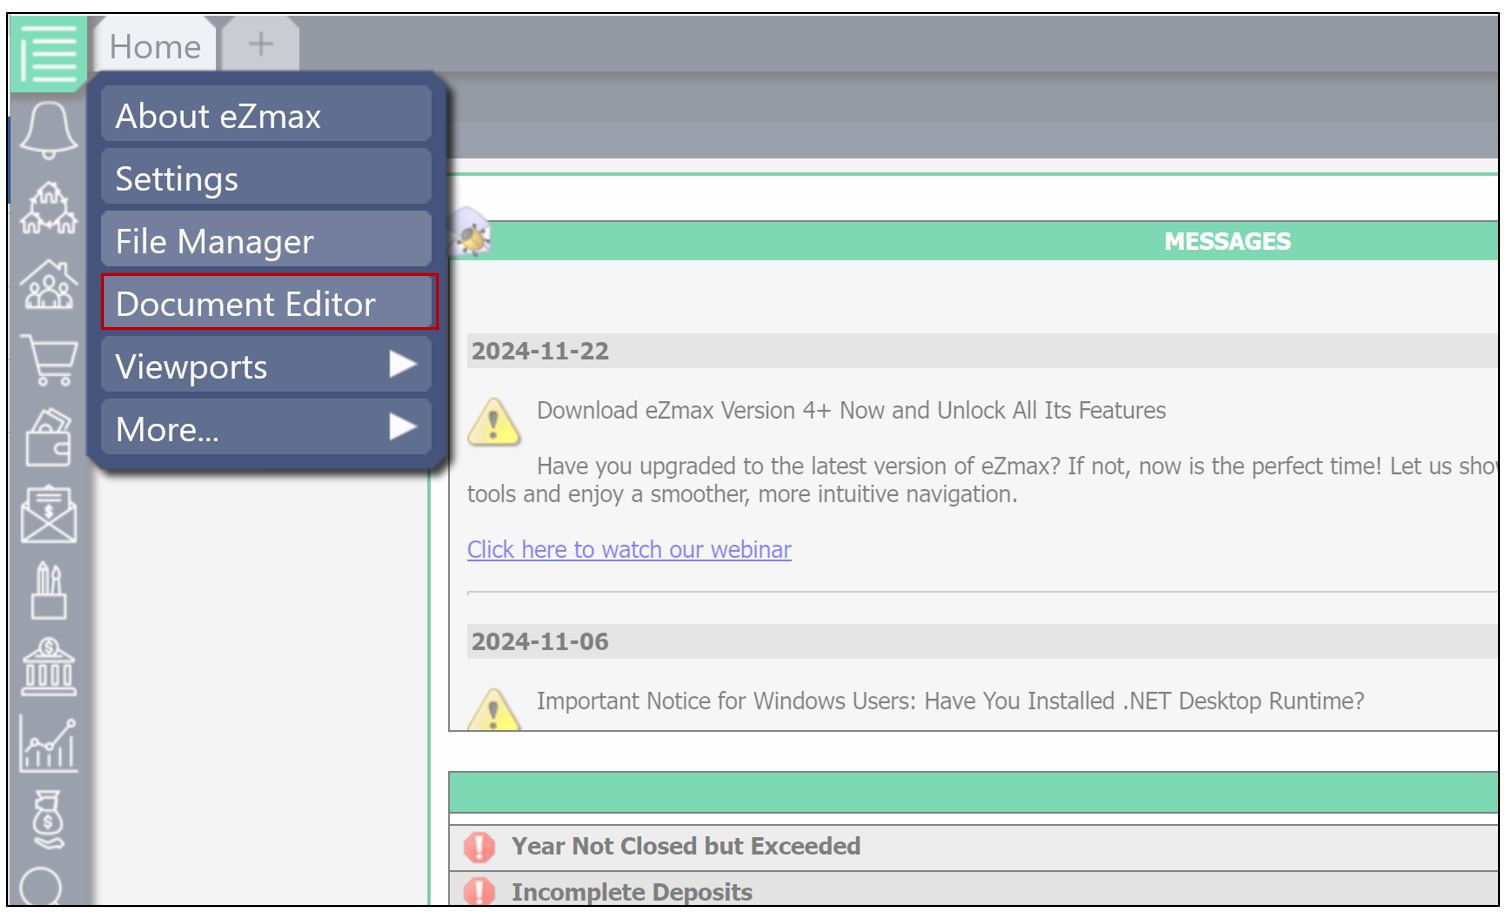
- Click on the "+", then select Add from Camera.
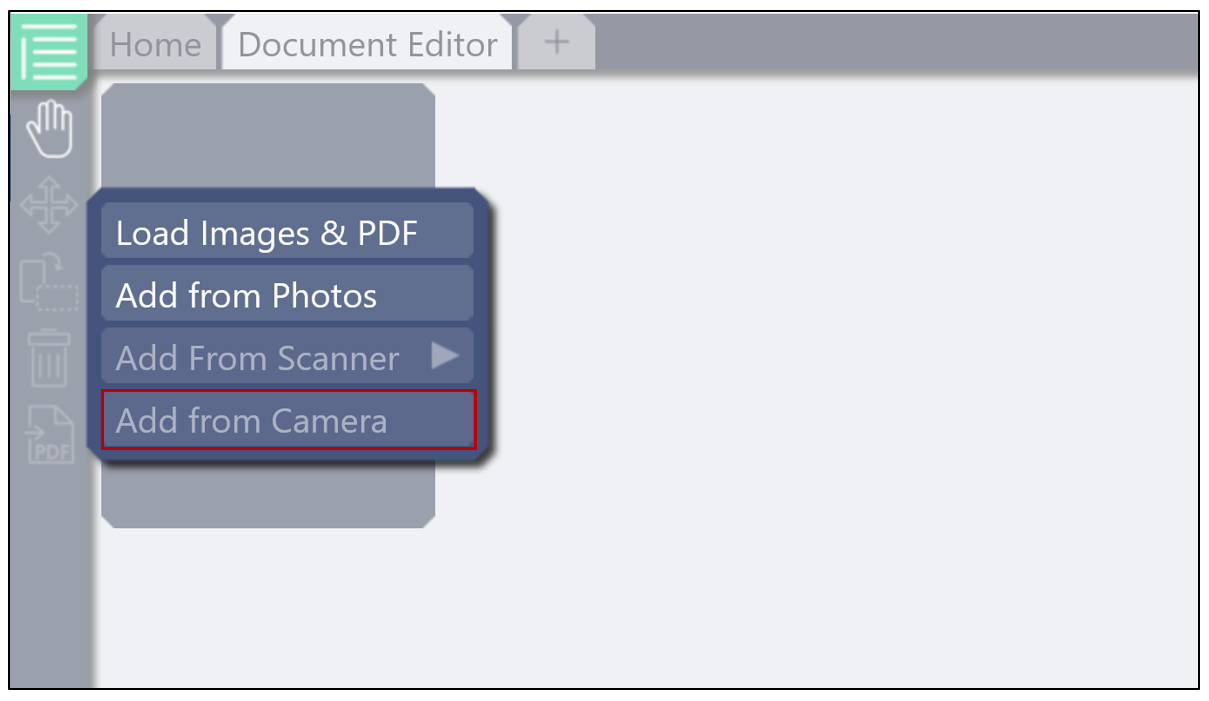
- Once your images are added, you will be able to edit them. Double-click to edit each image.
Edit Documents
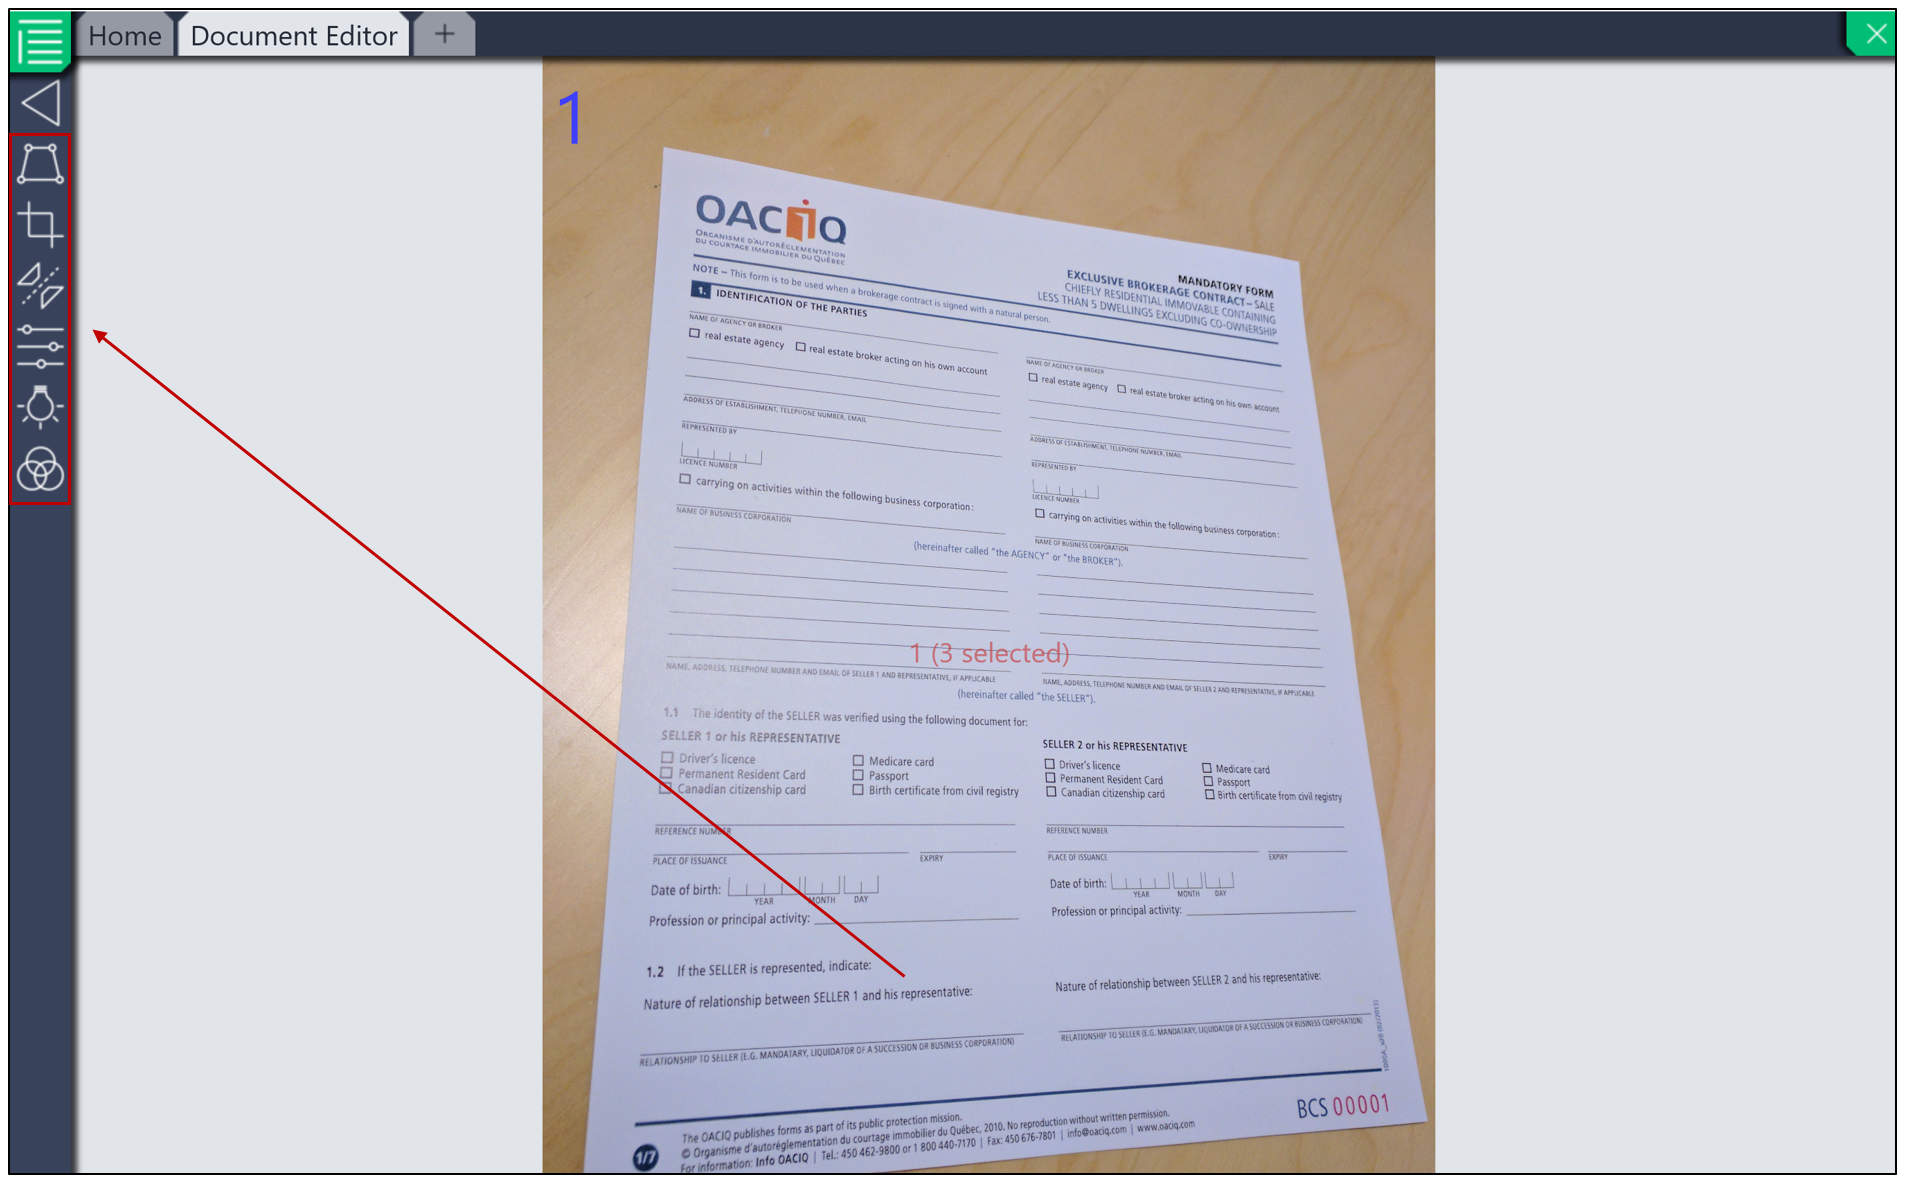
Straighten
- Click on the

icon. Using the four red dots, you can straighten your image.
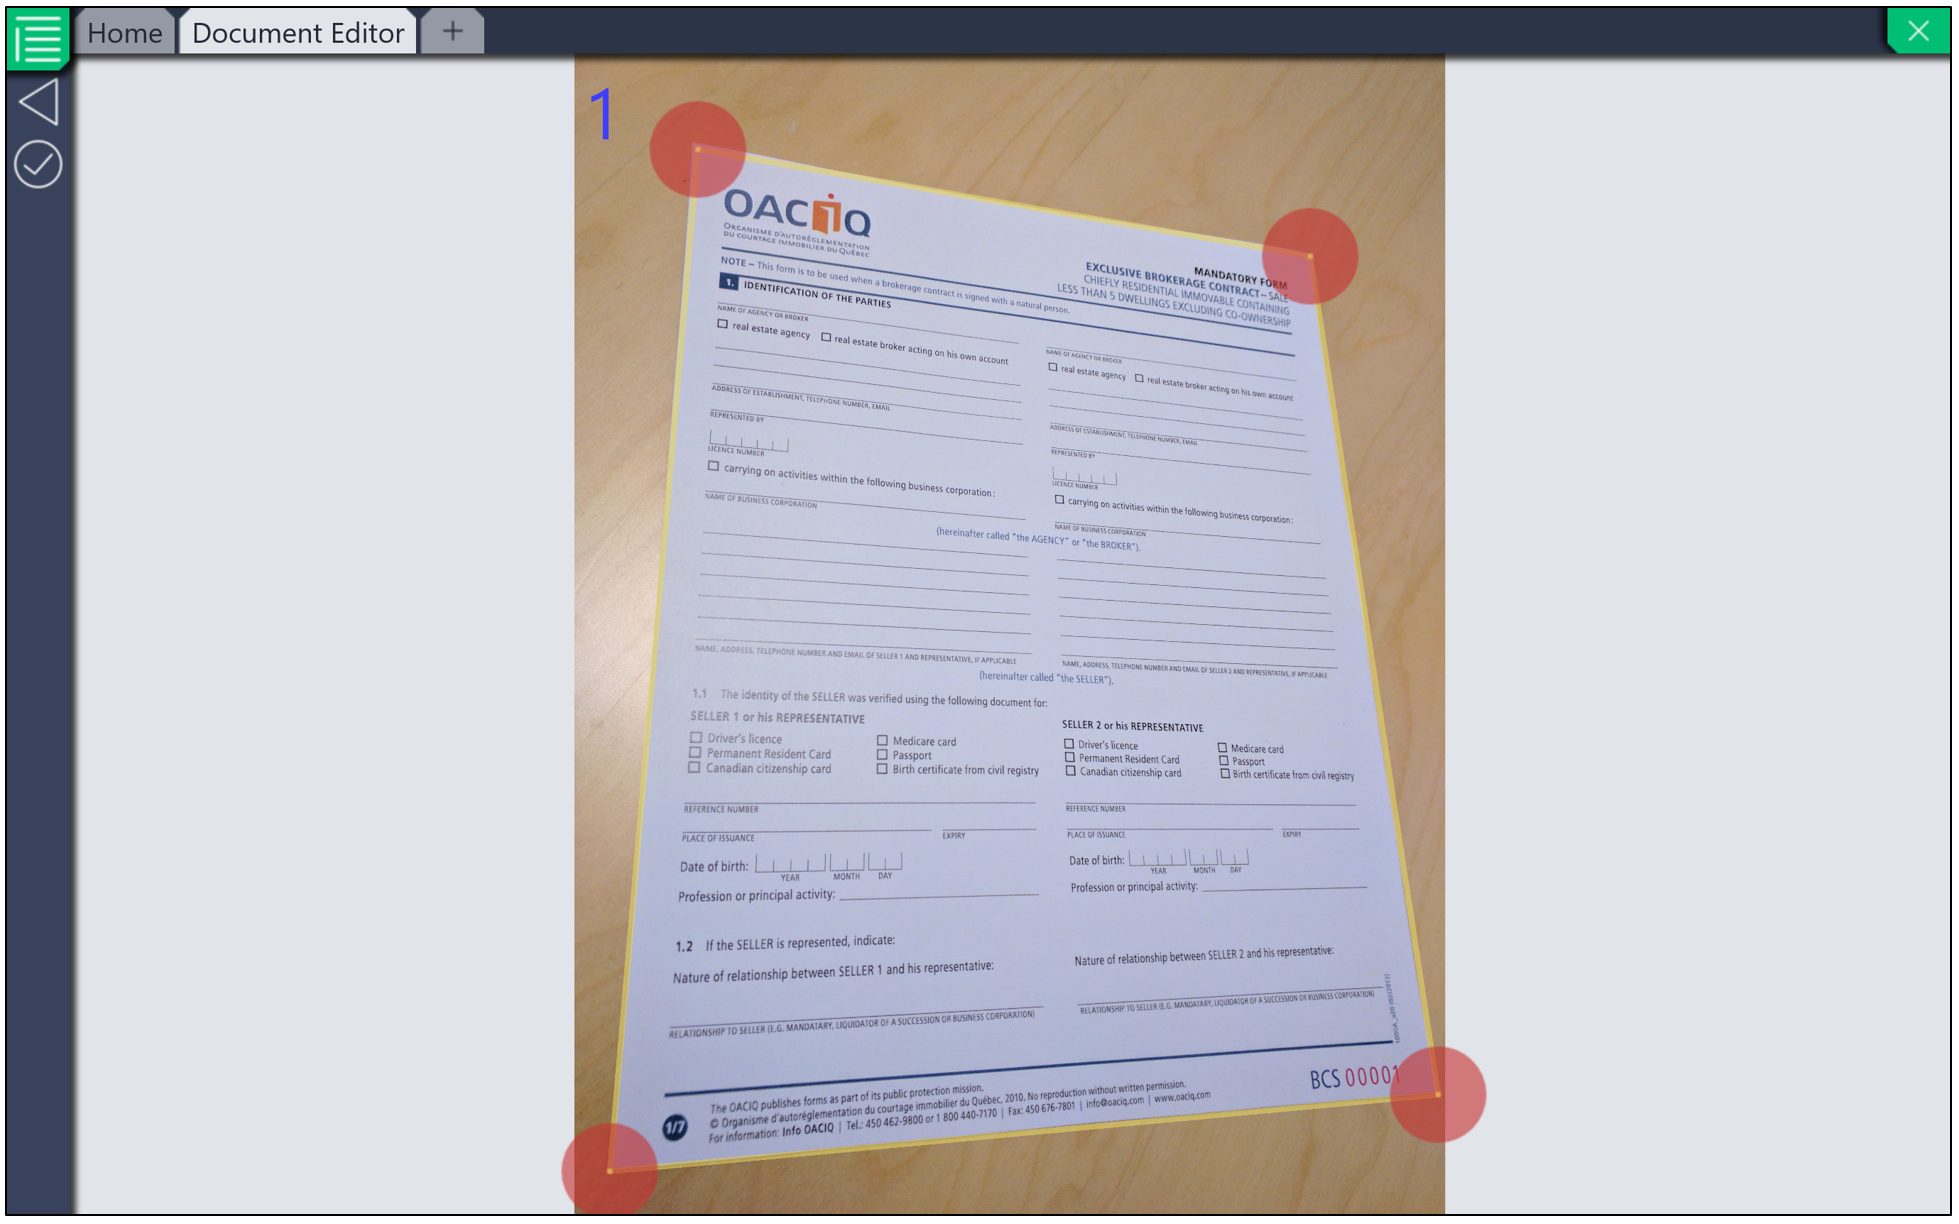
- Click on the checkmark on the left to save your change.
Crop
- Click on the

icon. Using the four red dots, you can crop your image.
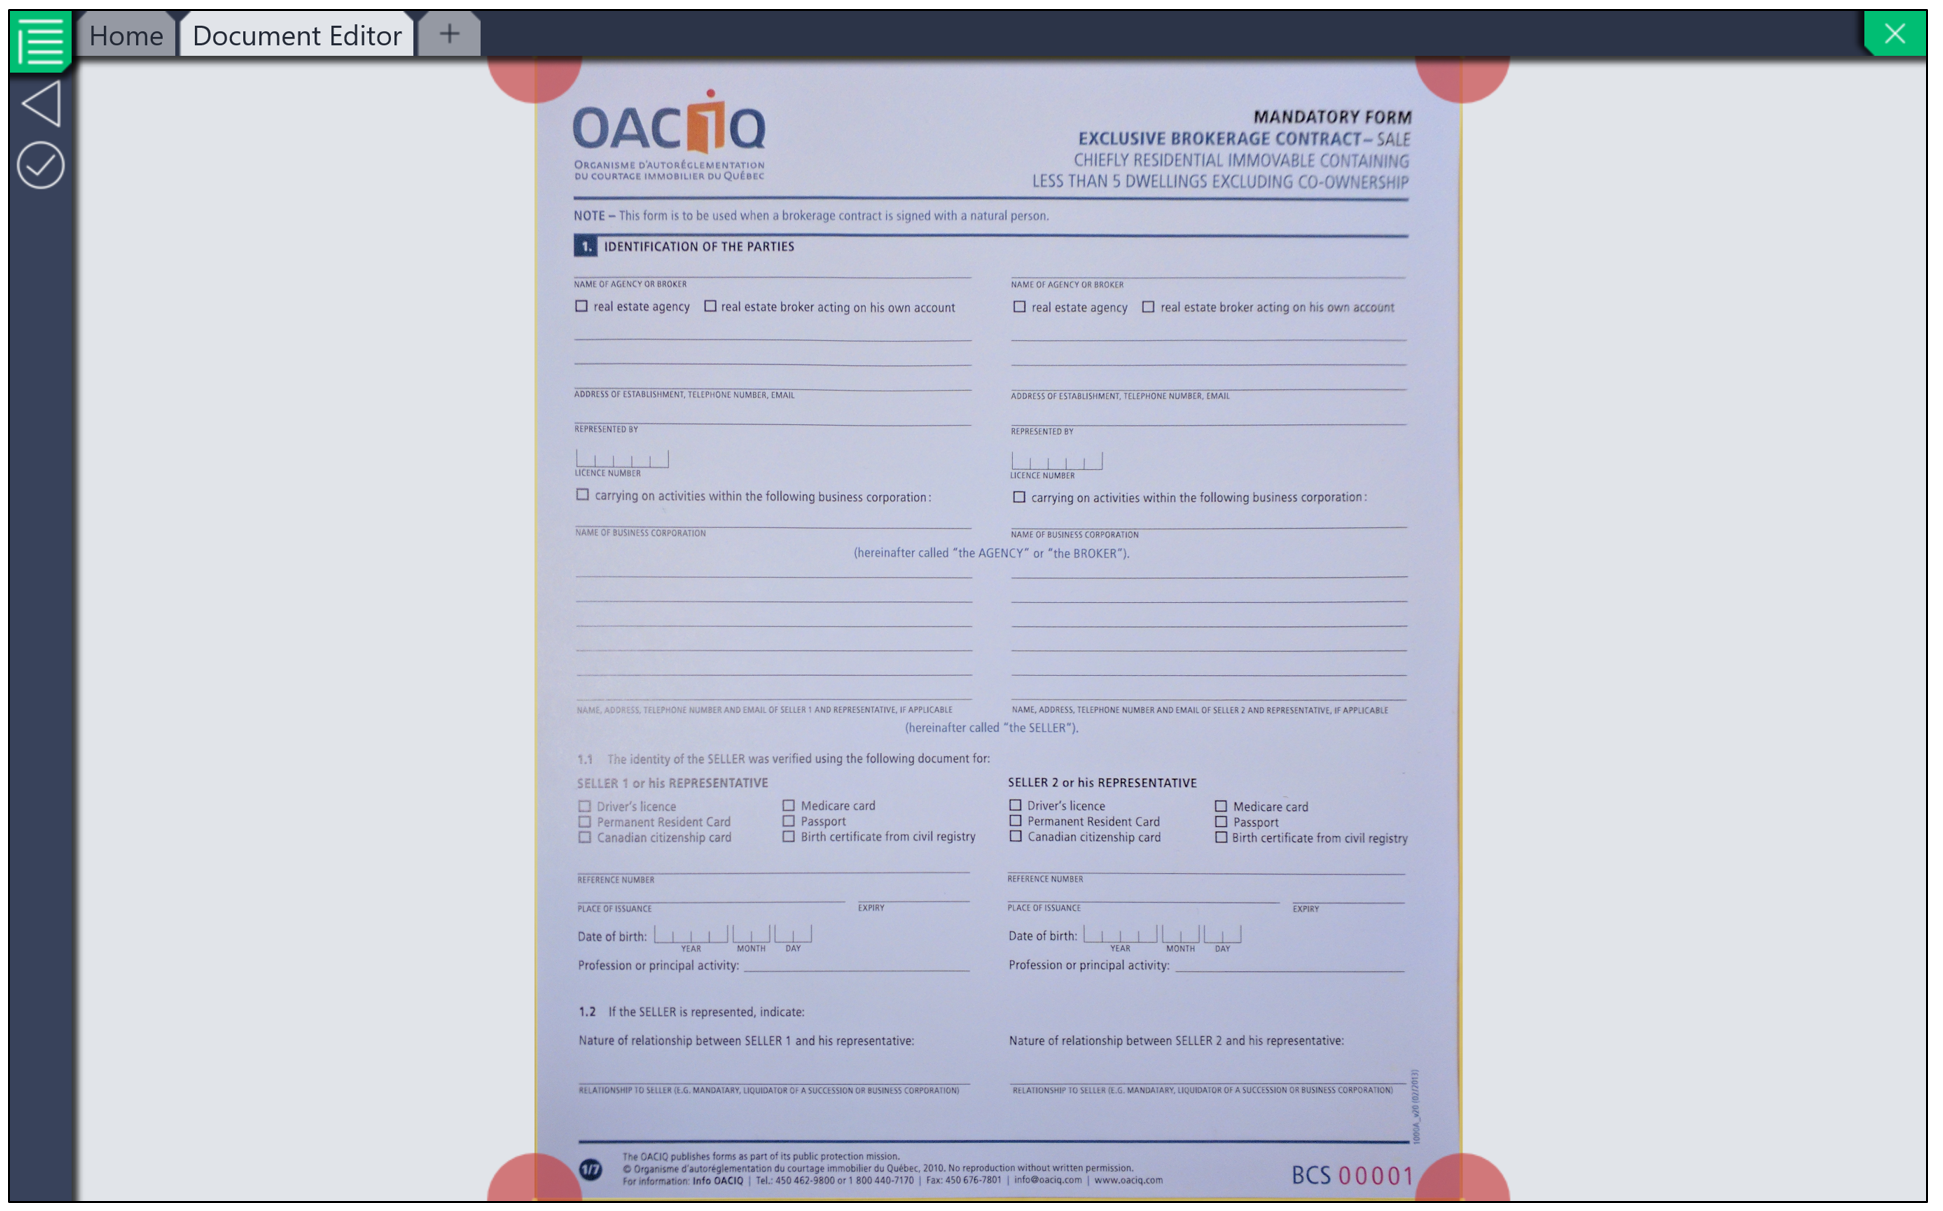
- Click on the checkmark on the left to save your changes.
Mirror
- You will have the option to mirror your image vertically, horizontally, or both at once by clicking on the icon

.
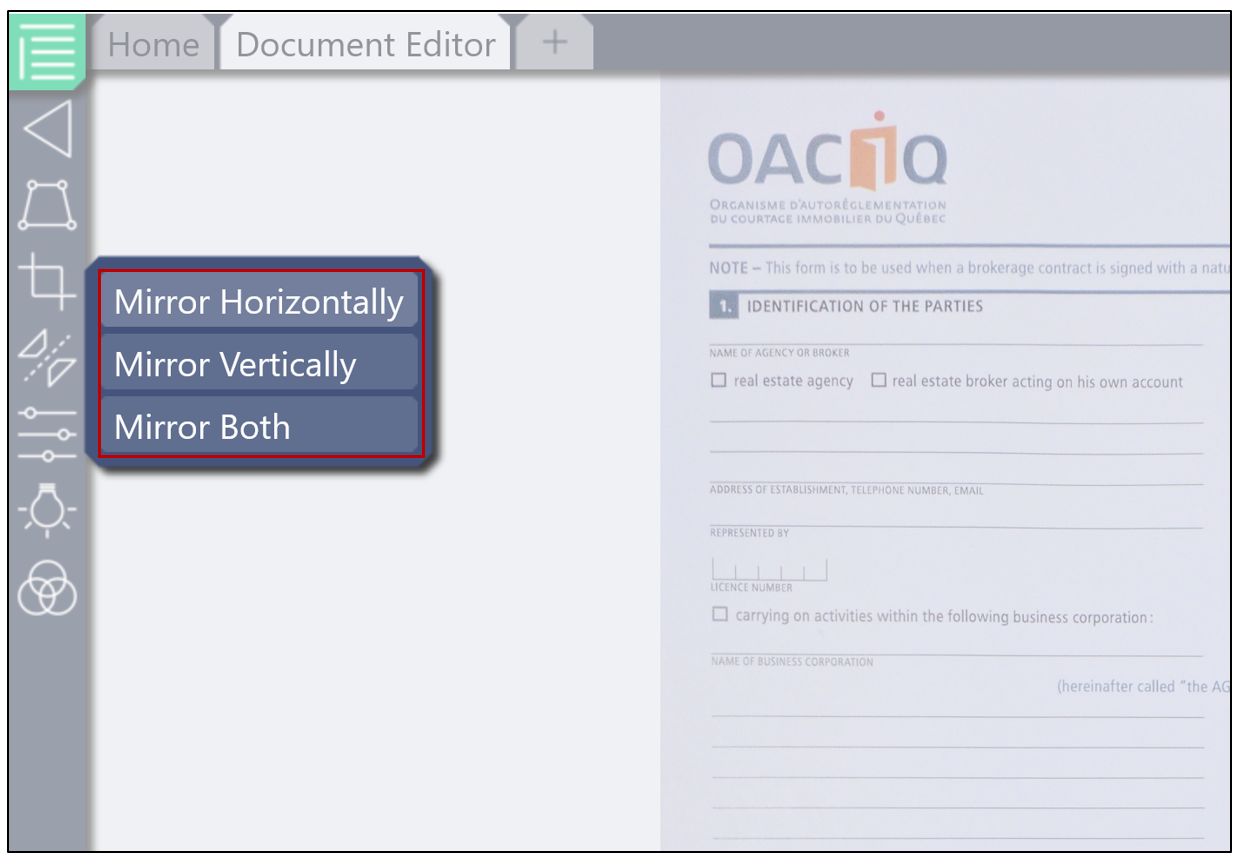
- Click on the checkmark on the left to save your changes.
Adjust Contrast and Brightness
- You will also have the option to adjust the contrast and brightness if needed. Click on the

icon, then select Adjust Contrast and Brightness.
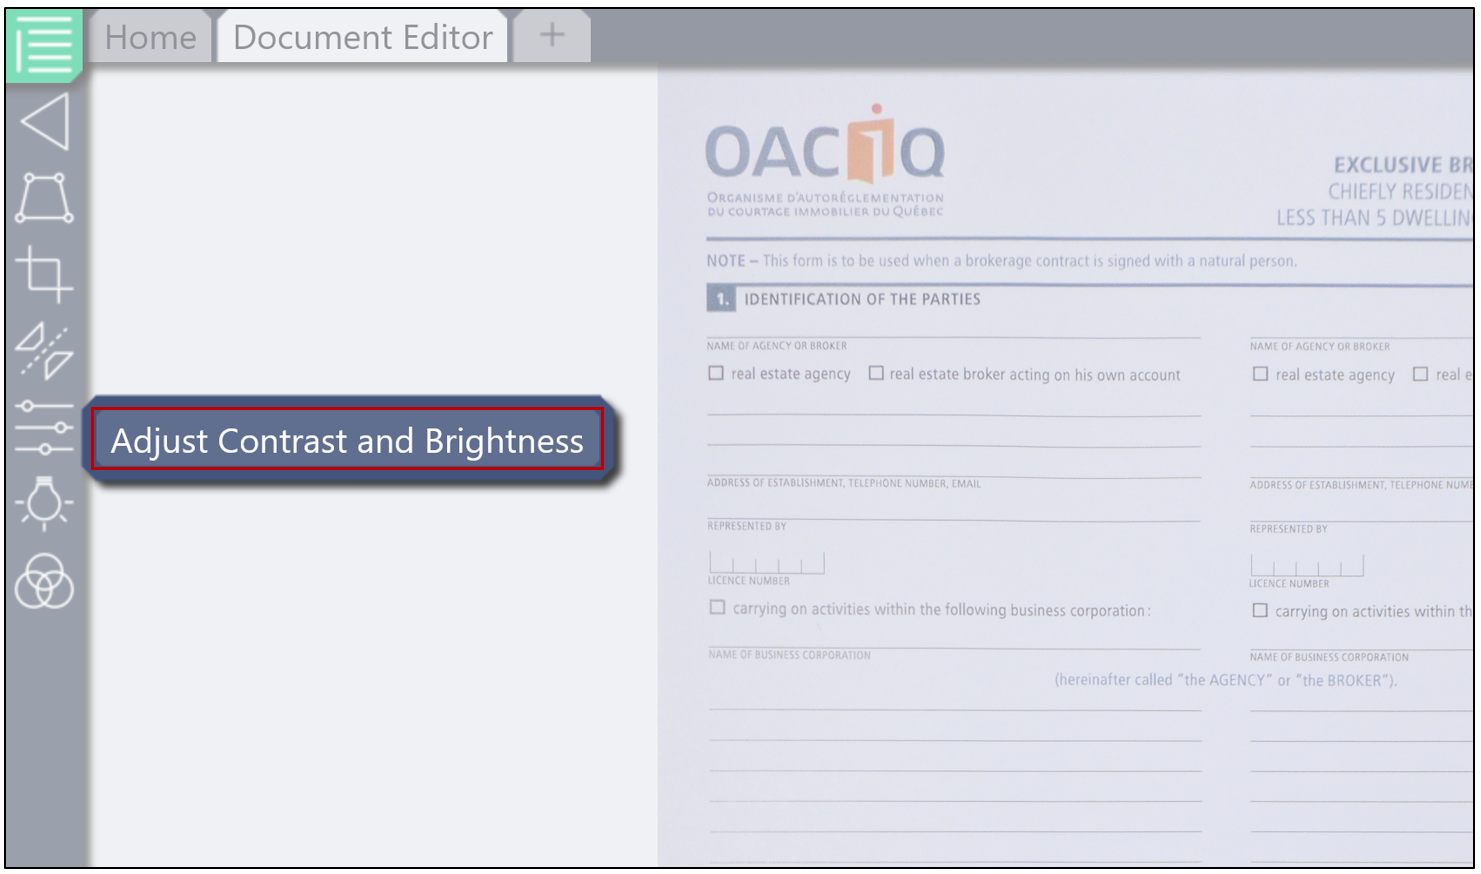
- Using the circles around the image, you can adjust the brightness as well as the contrast.
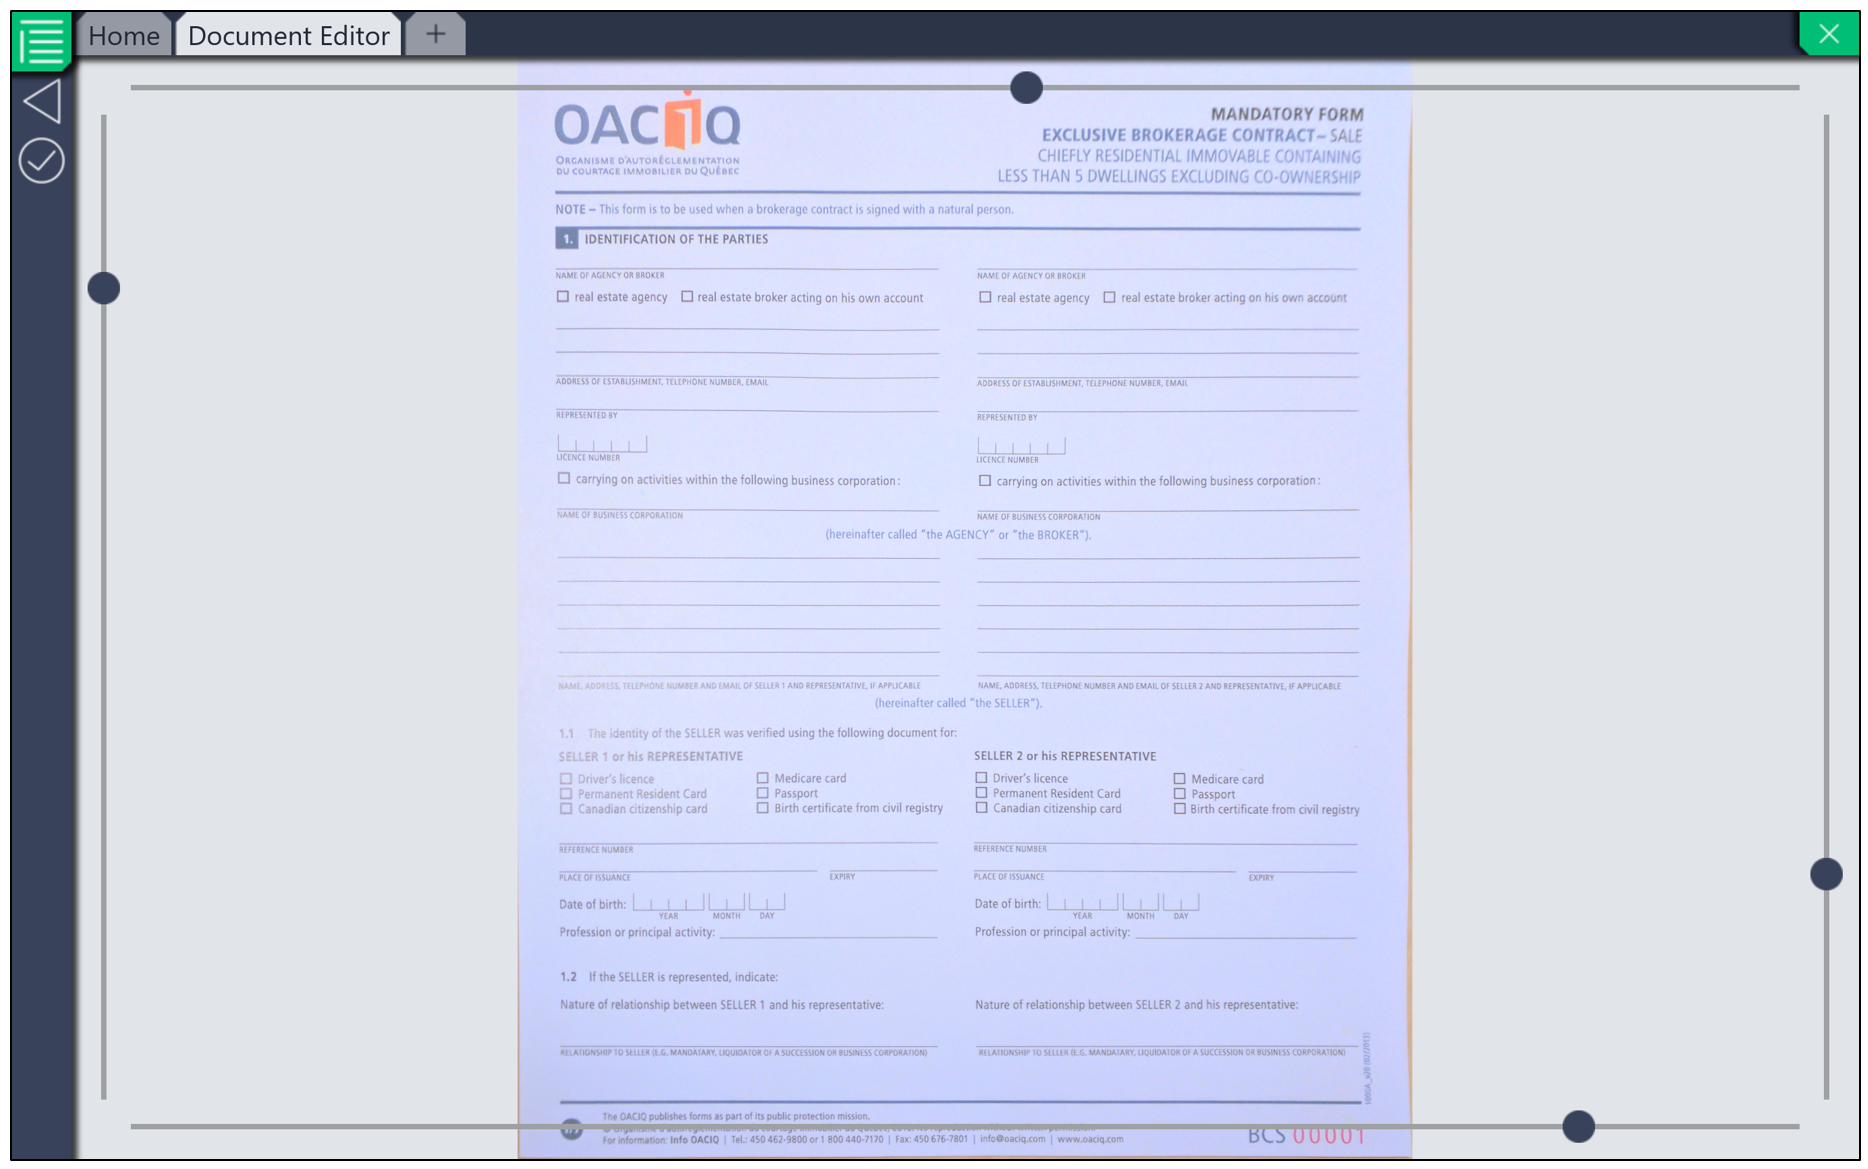
- Click on the checkmark on the left to save your changes.
Adjust White Balance
- If your image appears too dark, too gray, or too blue, you have the option to adjust the white balance by clicking on the

icon. Simply move the red circle to the desired location.
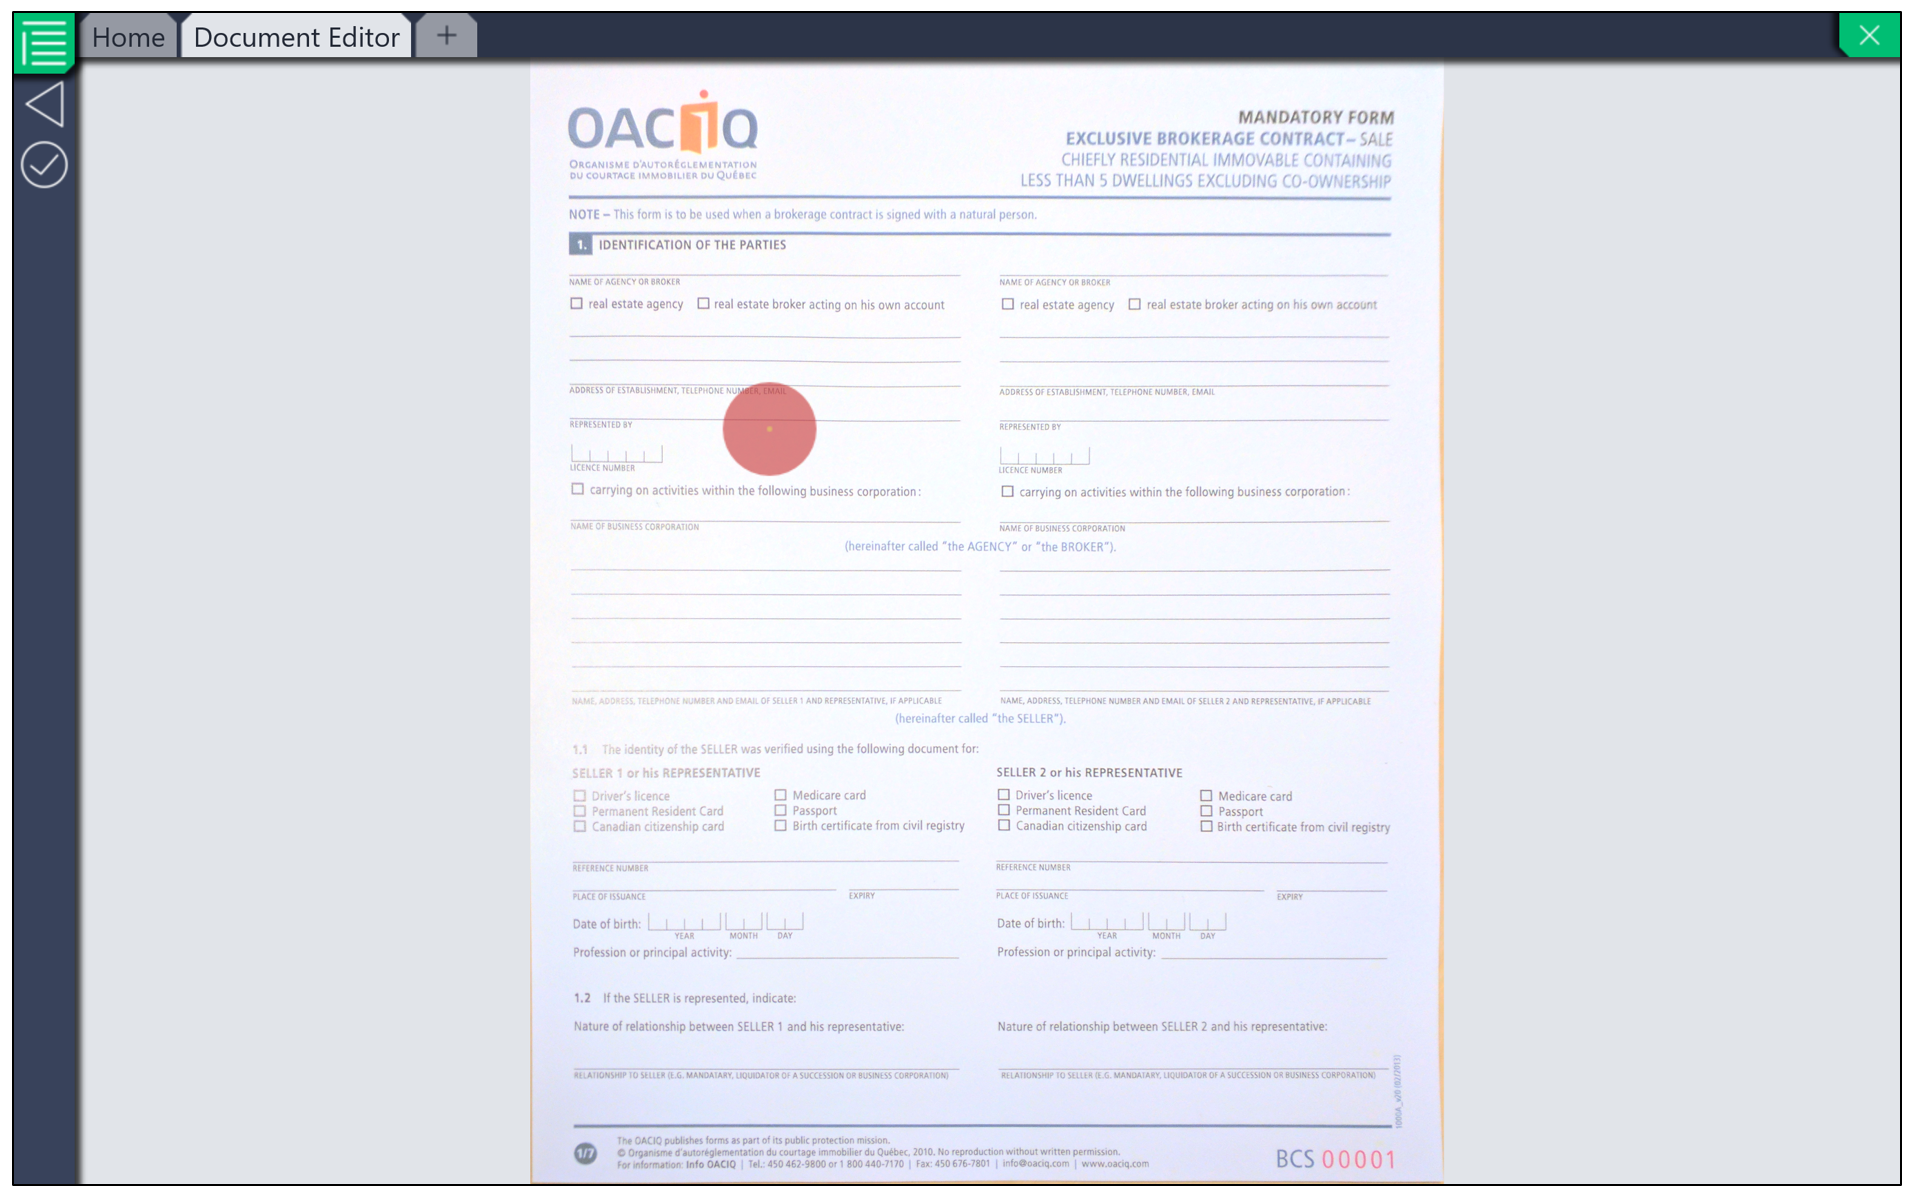
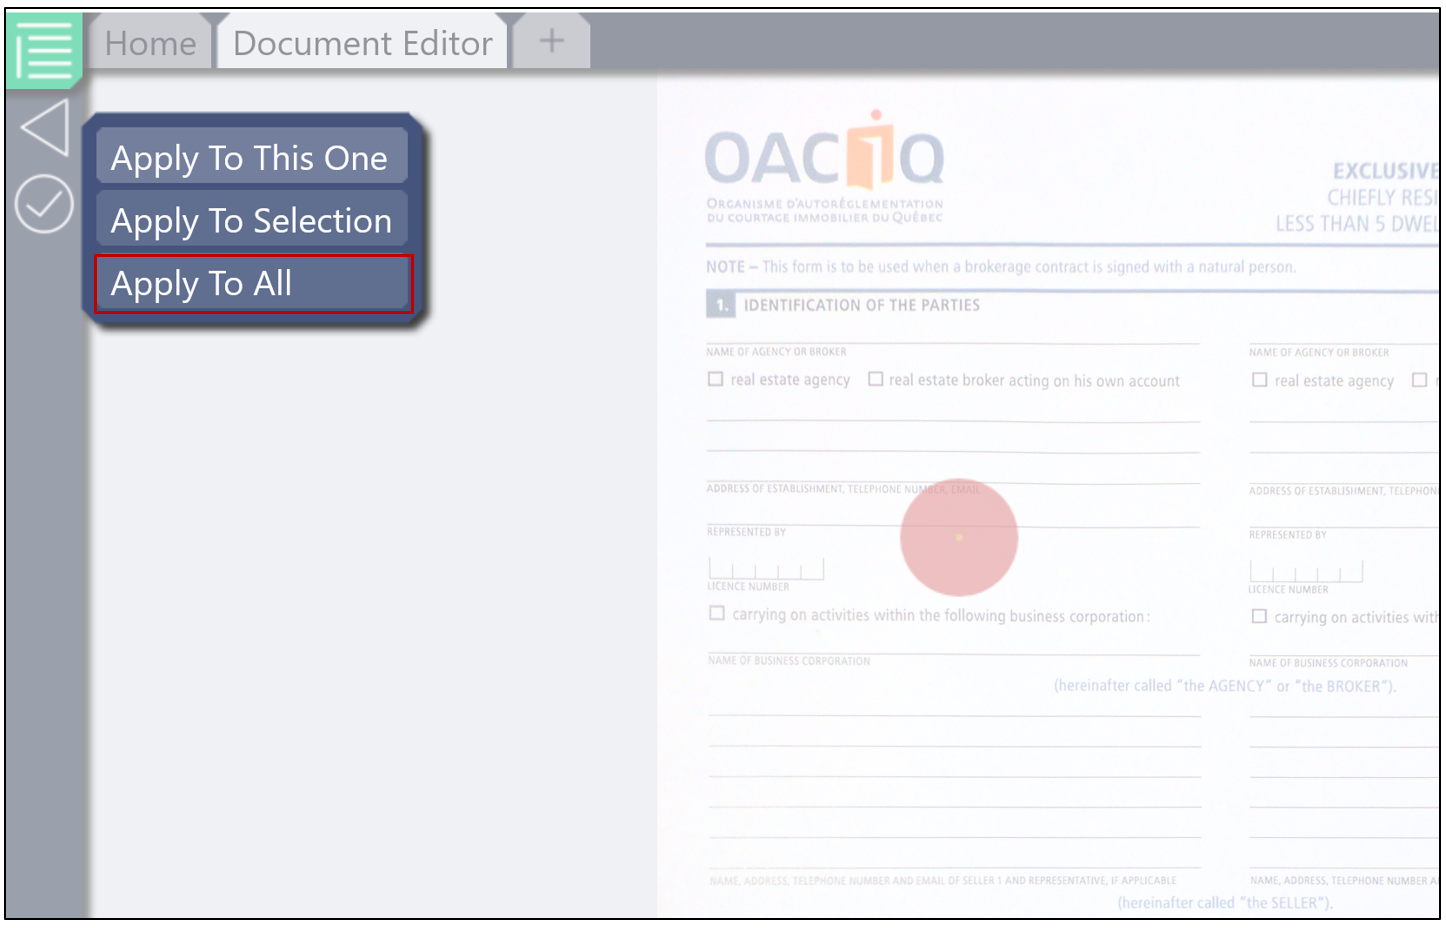
- Click on the checkmark on the left to save your changes. If you wish to apply these changes to all documents, right-click and then select Apply to All.
Convert to Grayscale
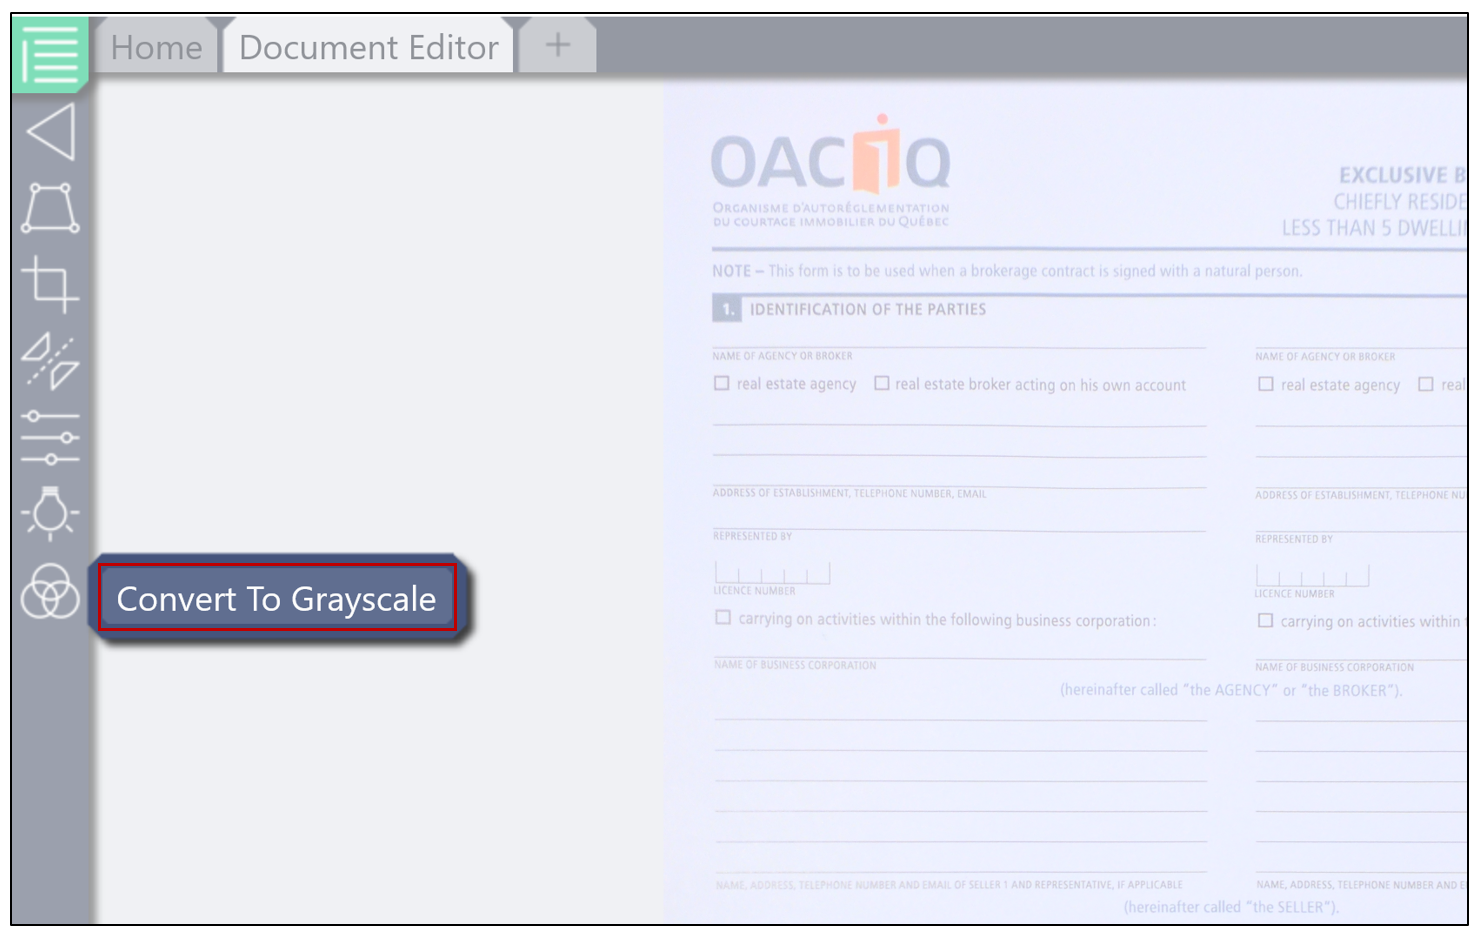
- If you want a black and white image, click on the

icon, then select Convert to Grayscale.
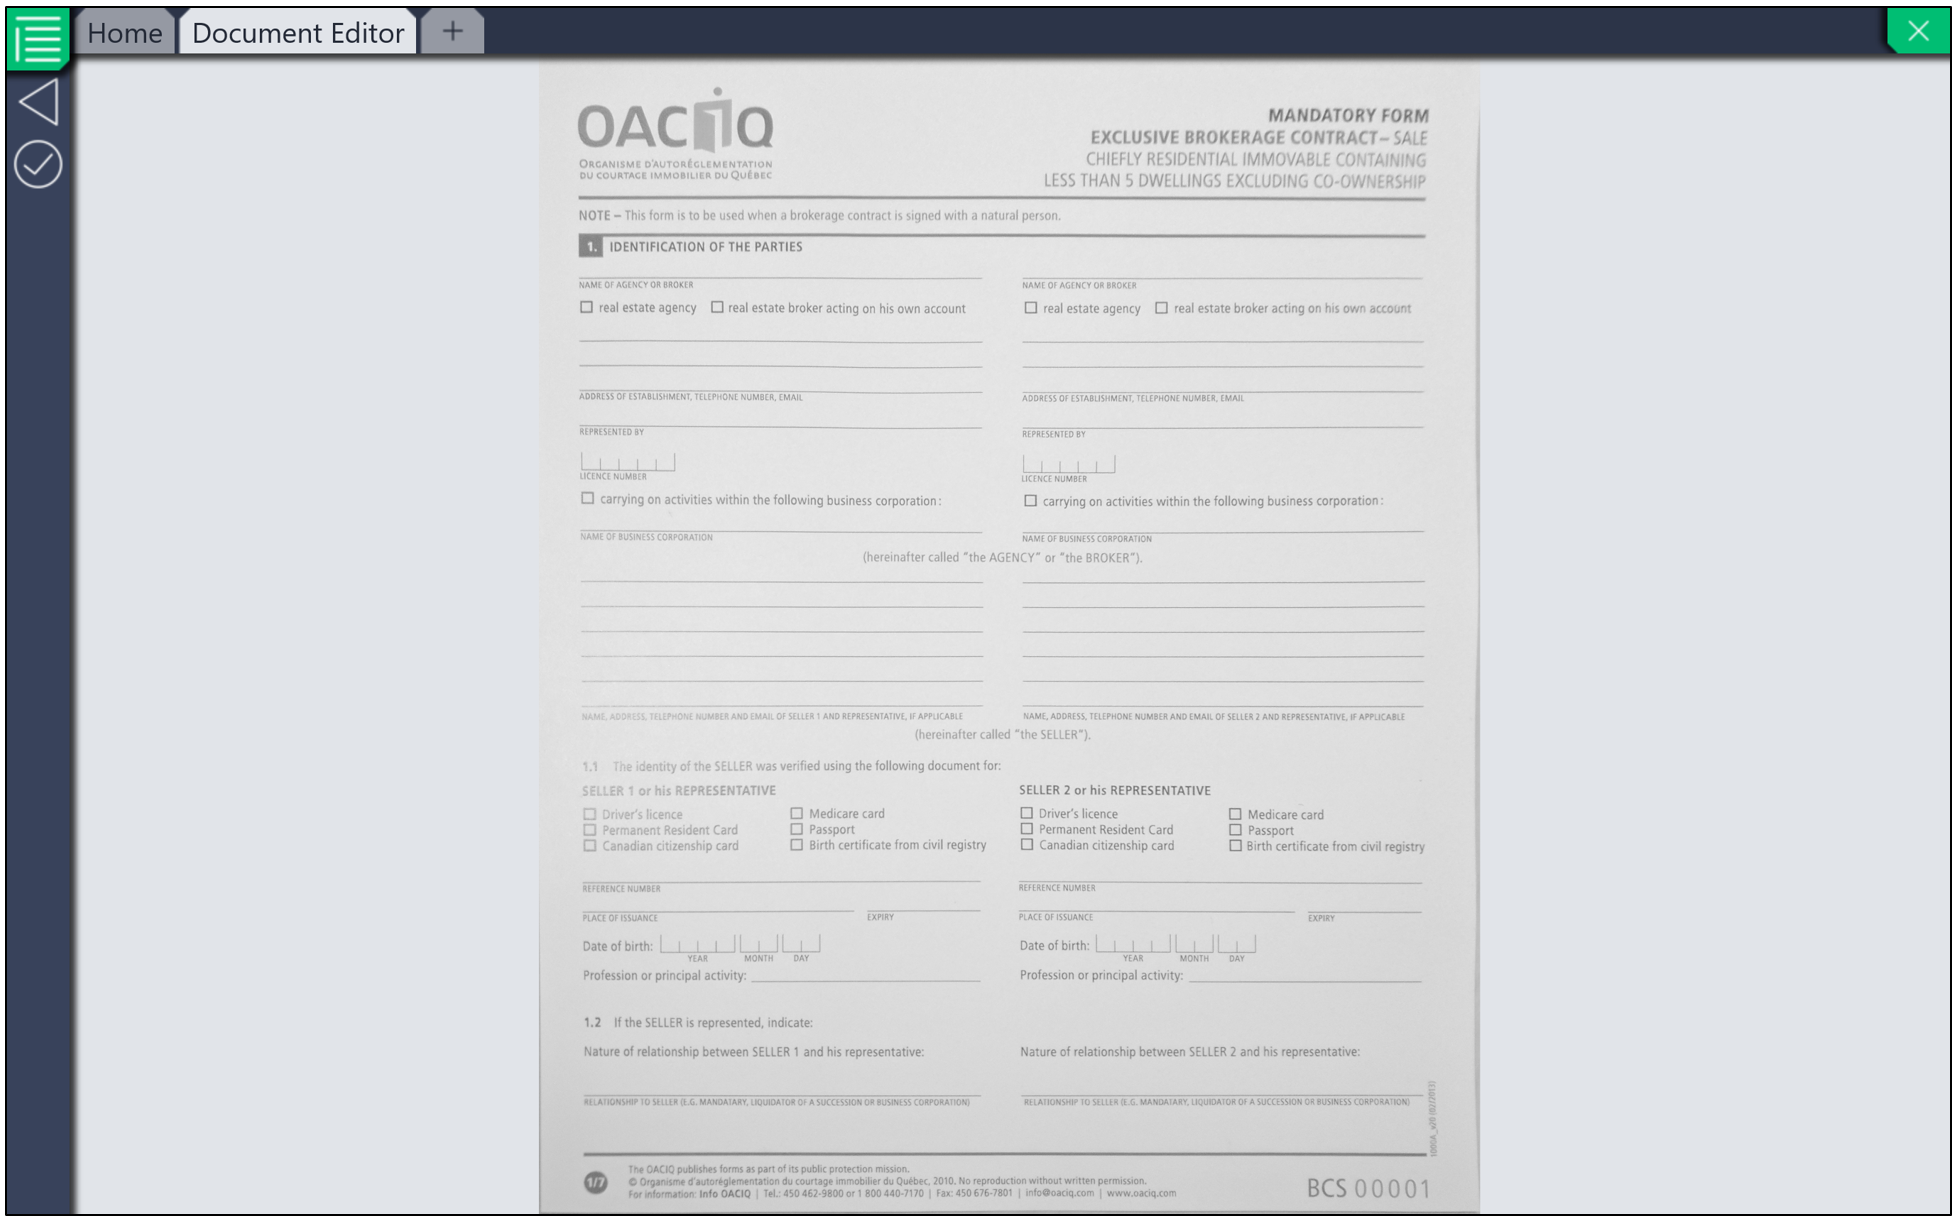
- Click on the checkmark on the left to save your changes.
Generate and Save a PDF
To generate a PDF document, select all the desired images, then click on the

icon.
To save a document as a PDF, simply select the desired images, then click on the

icon.
You can then send the document to the Electronic Document Management (EDM).