
English
Creating a brand image
Create a Brand Image
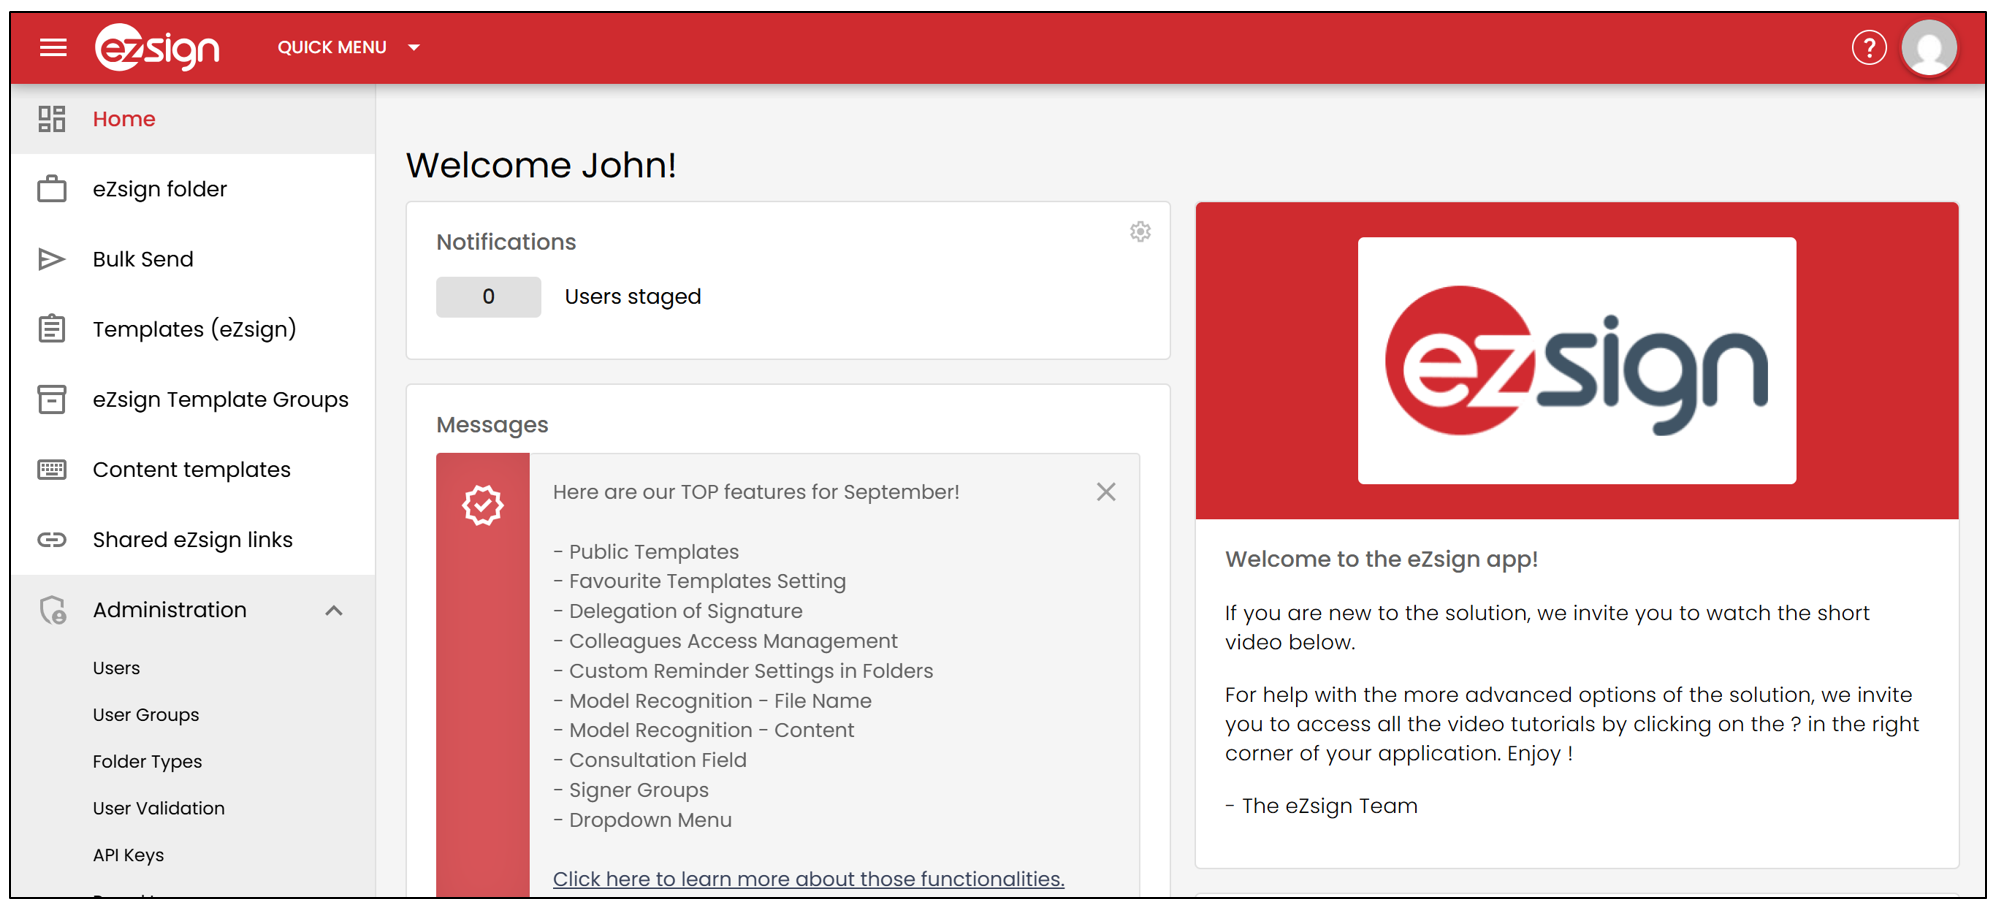
From the Administration menu >> Brand Images >> New Brand Image.
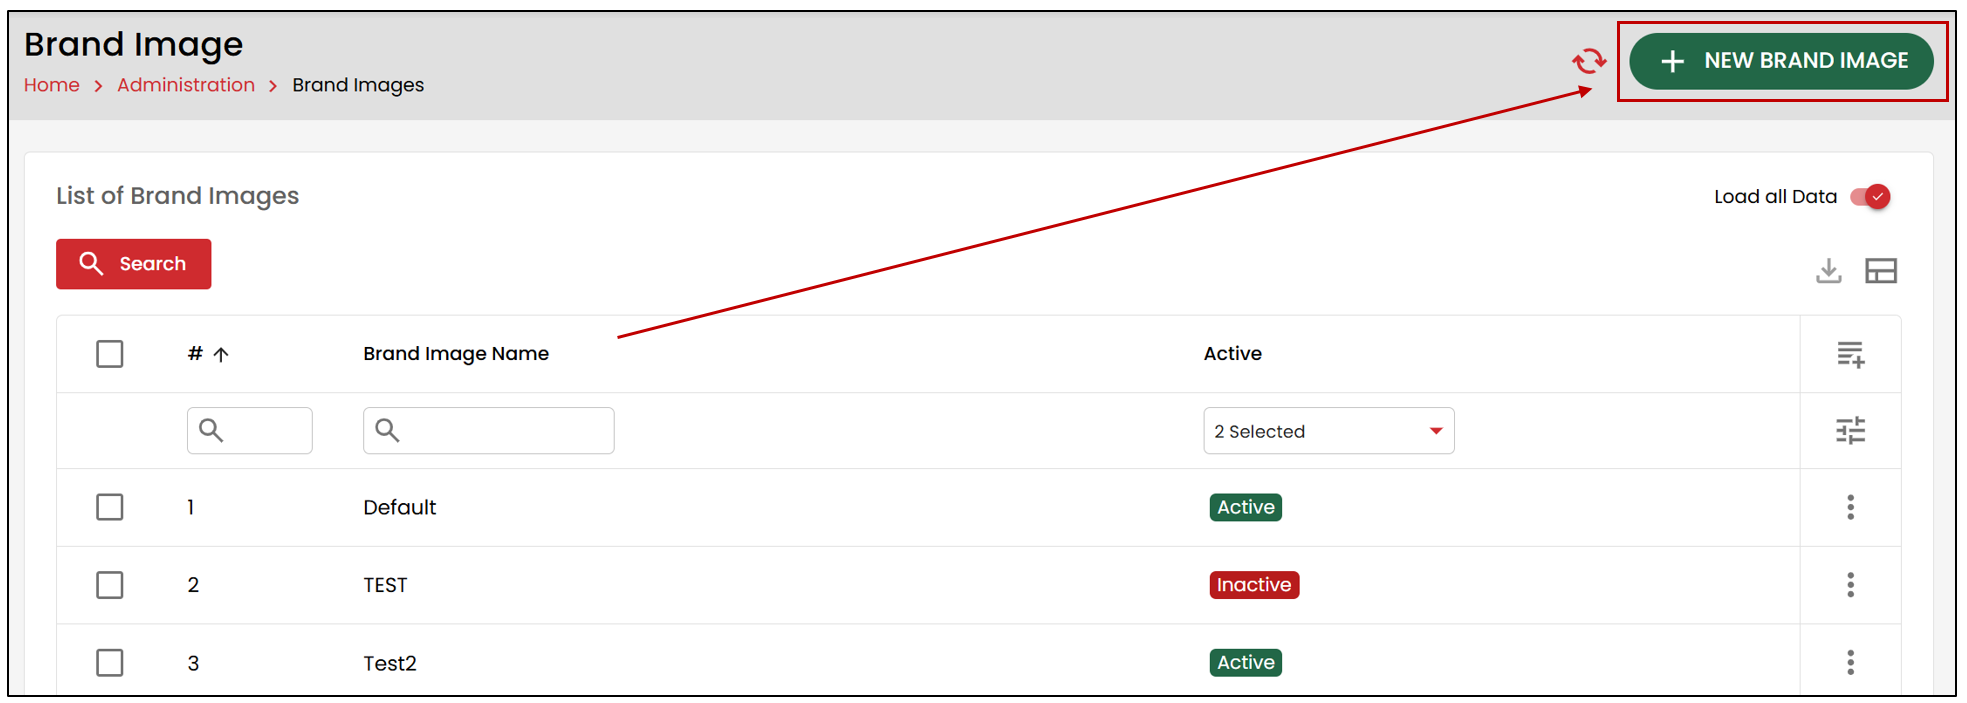
NOTE: It is possible to create multiple brand images for different folder types.
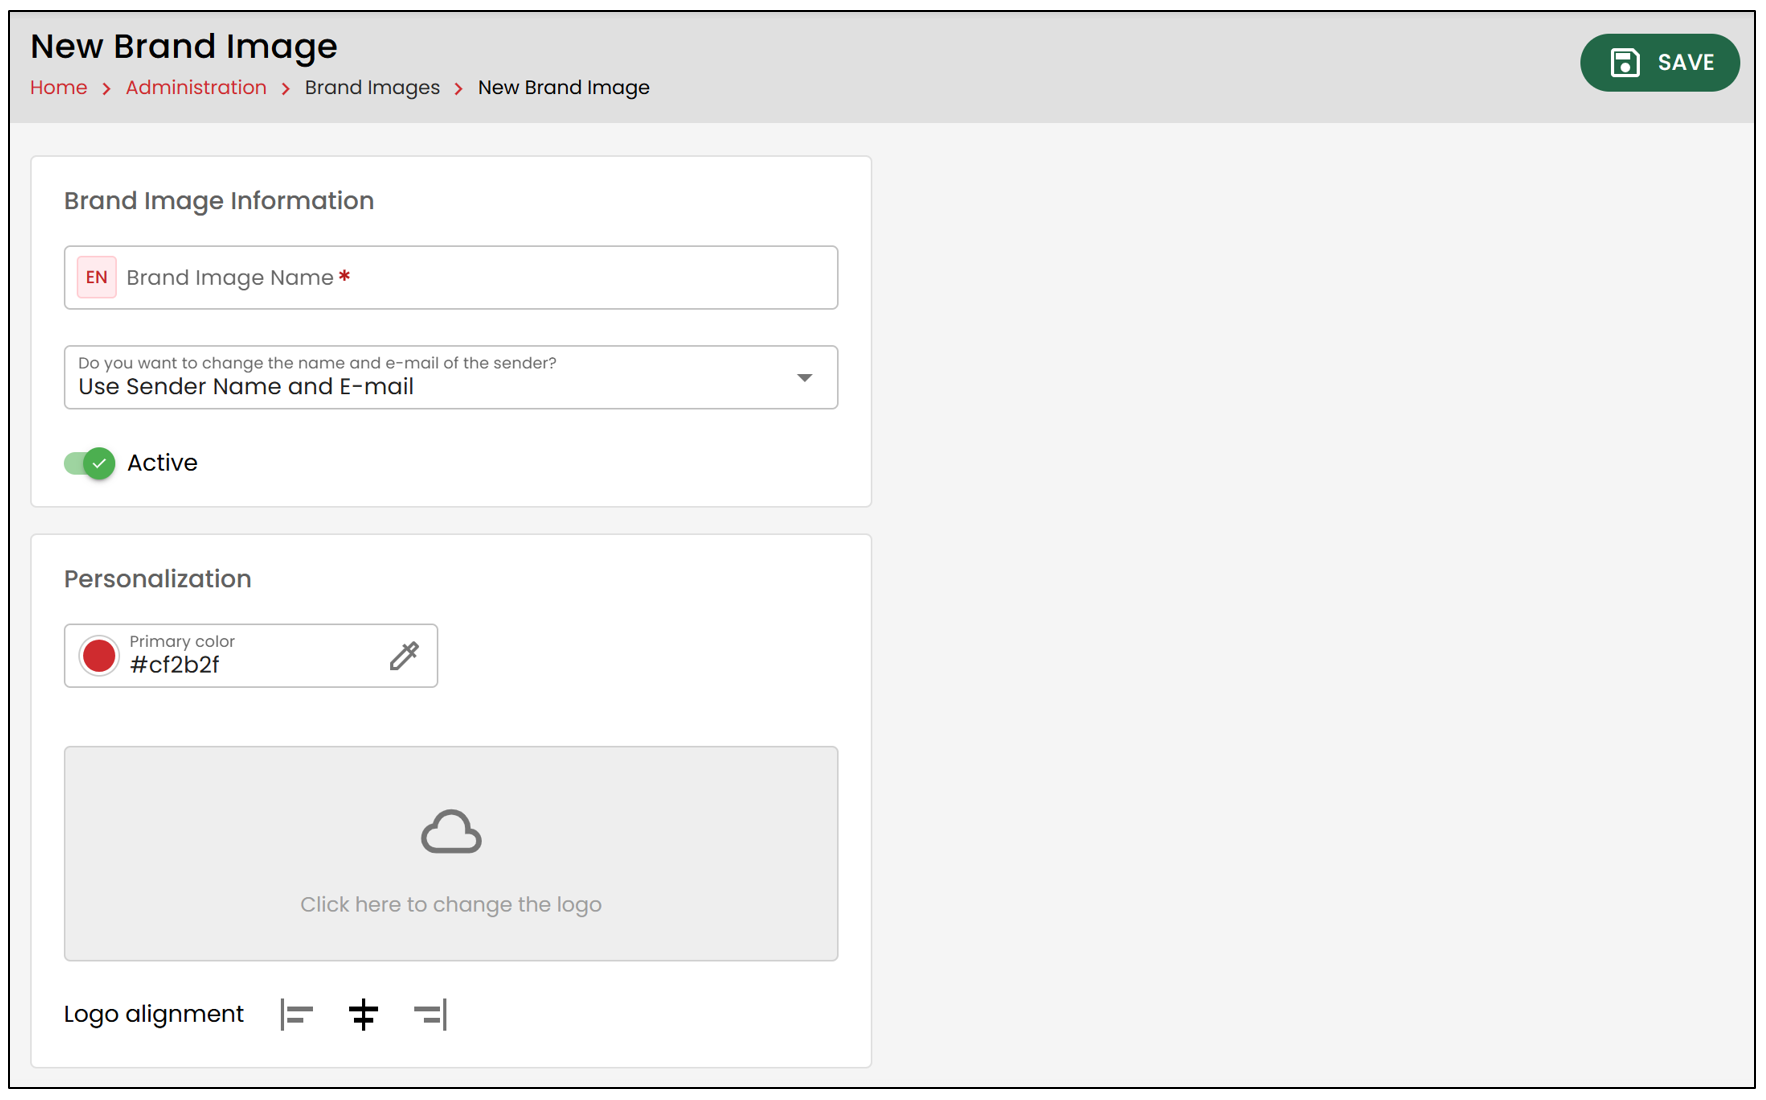
- Brand Image Name**😗* Enter the brand image name in both French and English. To switch the language from French to English, click on the

icon.
- Edit sender's name and e-mail: The name and e-mail address that will appear when sending documents for signing.
- Use Sender's Name and E-mail**😗* The sender's name and e-mail will be kept for each send.
- Replace Sender's Name and E-mail**😗* You will be able to enter the sender's name and e-mail, for example, a generic name and e-mail in the Personalization section.
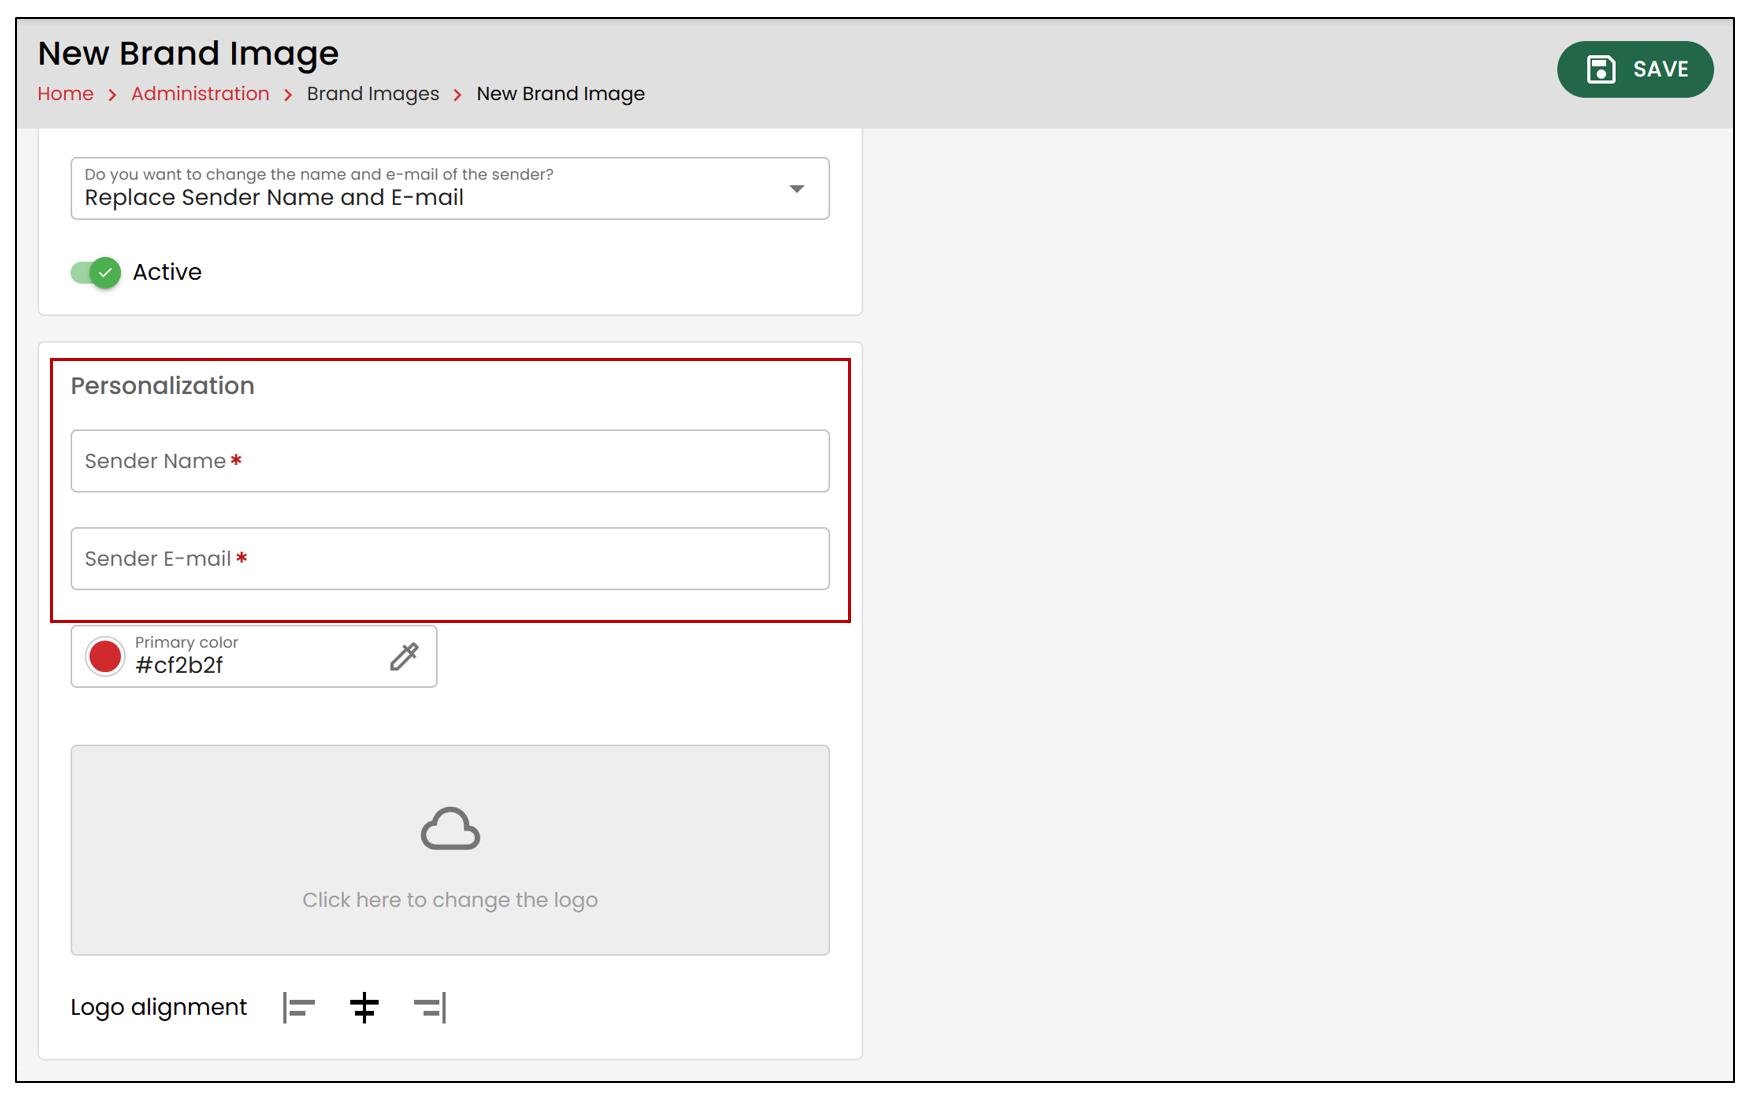
- You will also have the option to change the colour by clicking on the

icon. The selected colour will appear in the sent e-mails, the homepage, and during the signature application process.
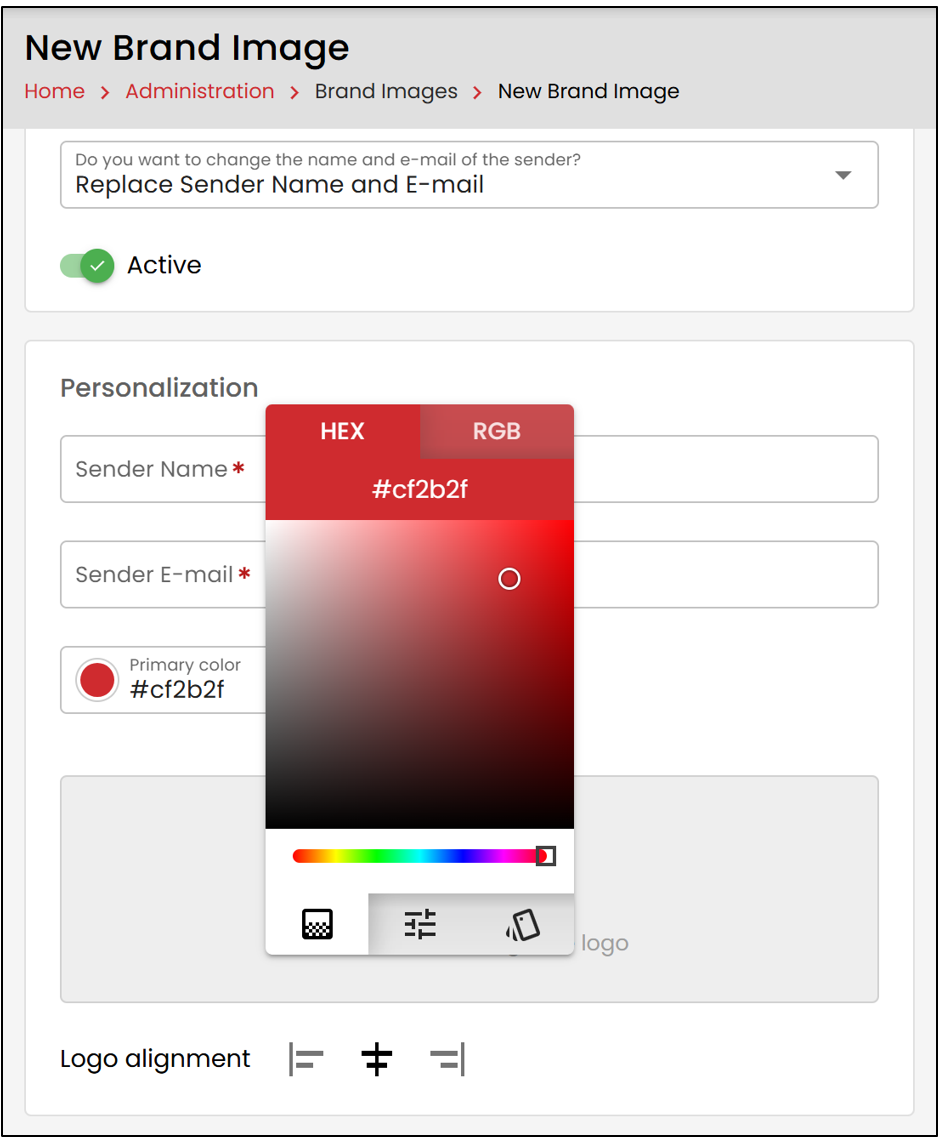
- To add your brand image, simply drag and drop it into the designated box. You will also have the option to modify its alignment.
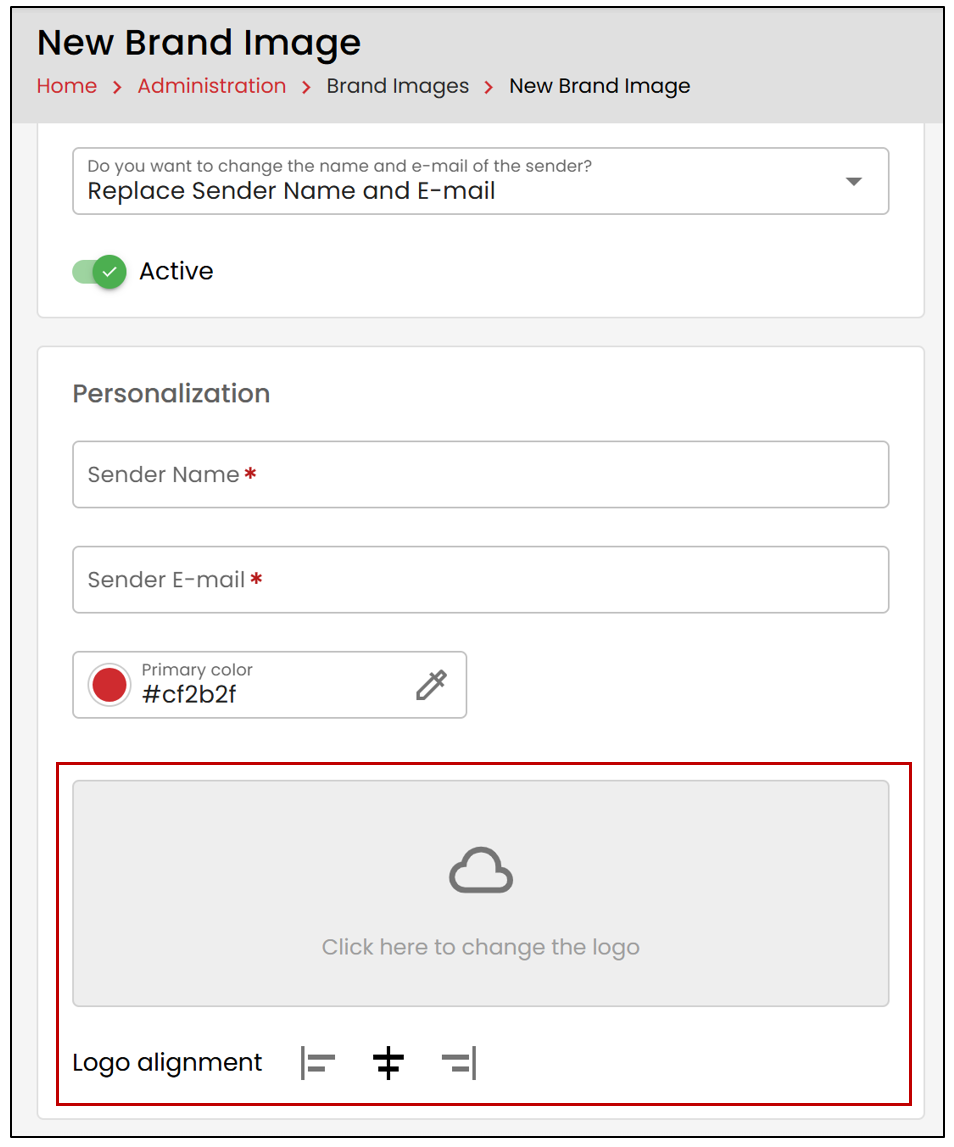
- Click Save to save your changes.
Add a Brand Image to a folder type
From the Administration menu >> Folder Types >> Select the desired folder.
- Click on Edit Folder Type , then select the Brand Image.
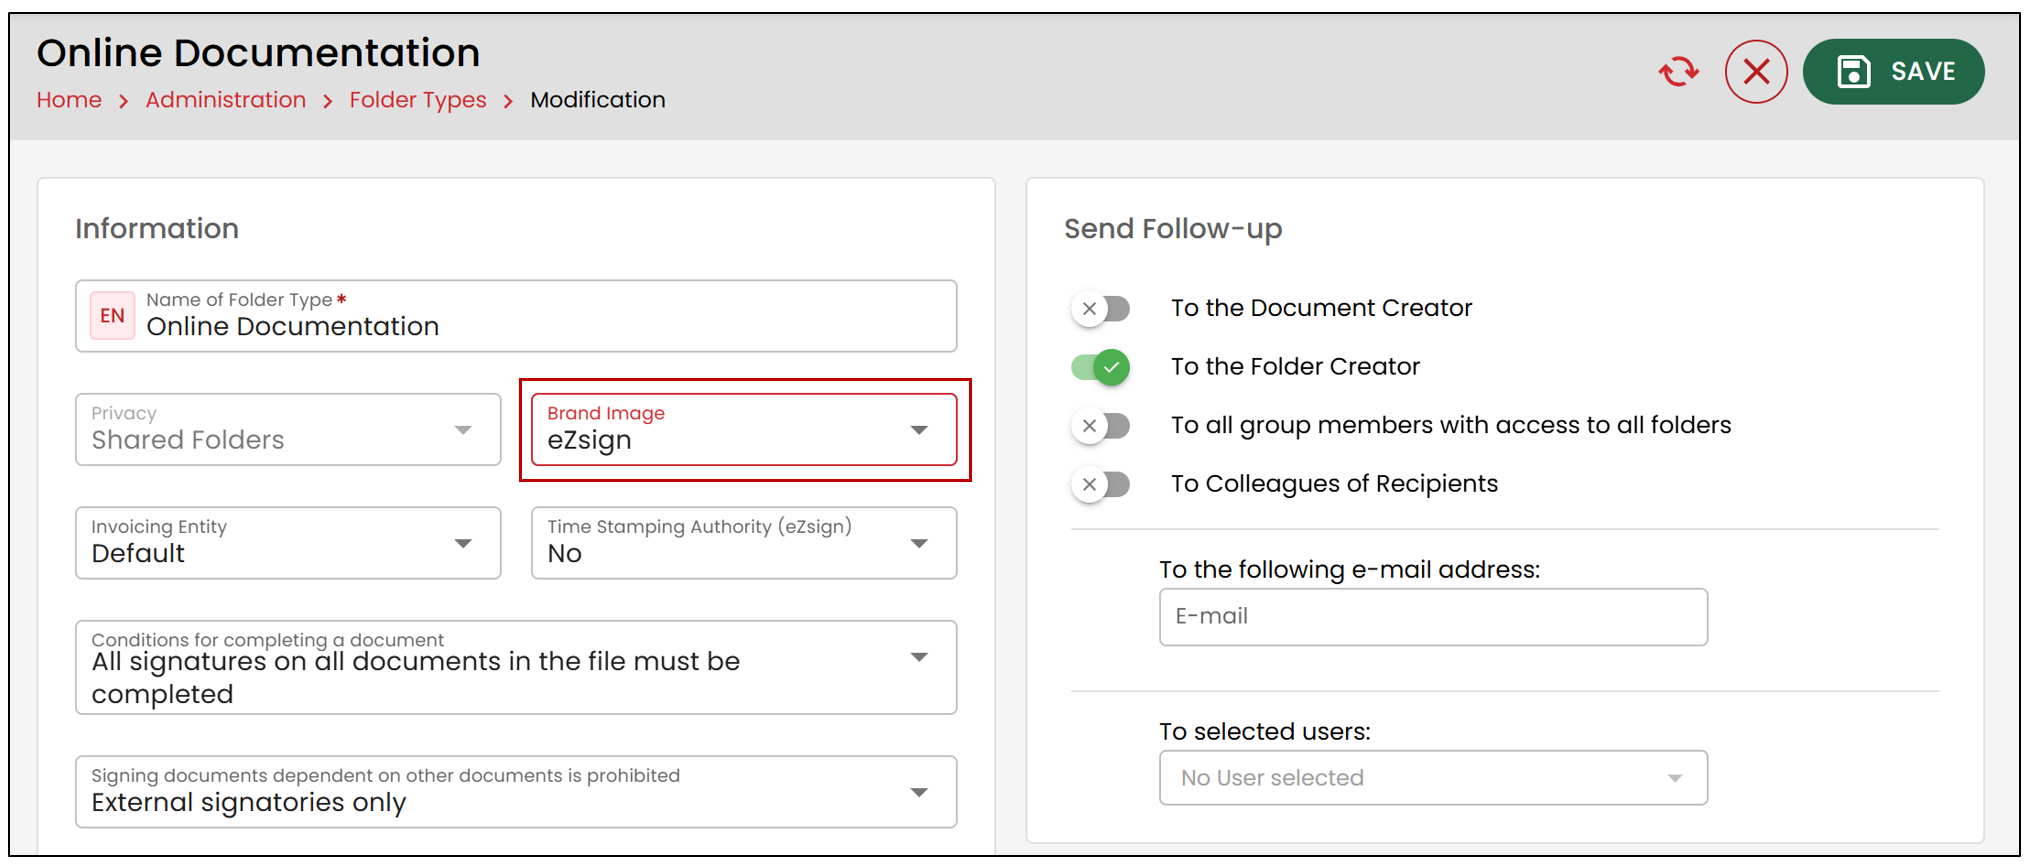
NOTE: This brand image will only apply to the selected folder type. The brand image will be displayed when sending an e-mail, on the homepage, and during the signing of a document belonging to this folder type.
- Click Save to save your changes.
Add a Default Brand Image
It is possible to add a default brand image for all users.
From the Administration menu >> System Configuration.
- Select the desired brand image from the drop-down list.
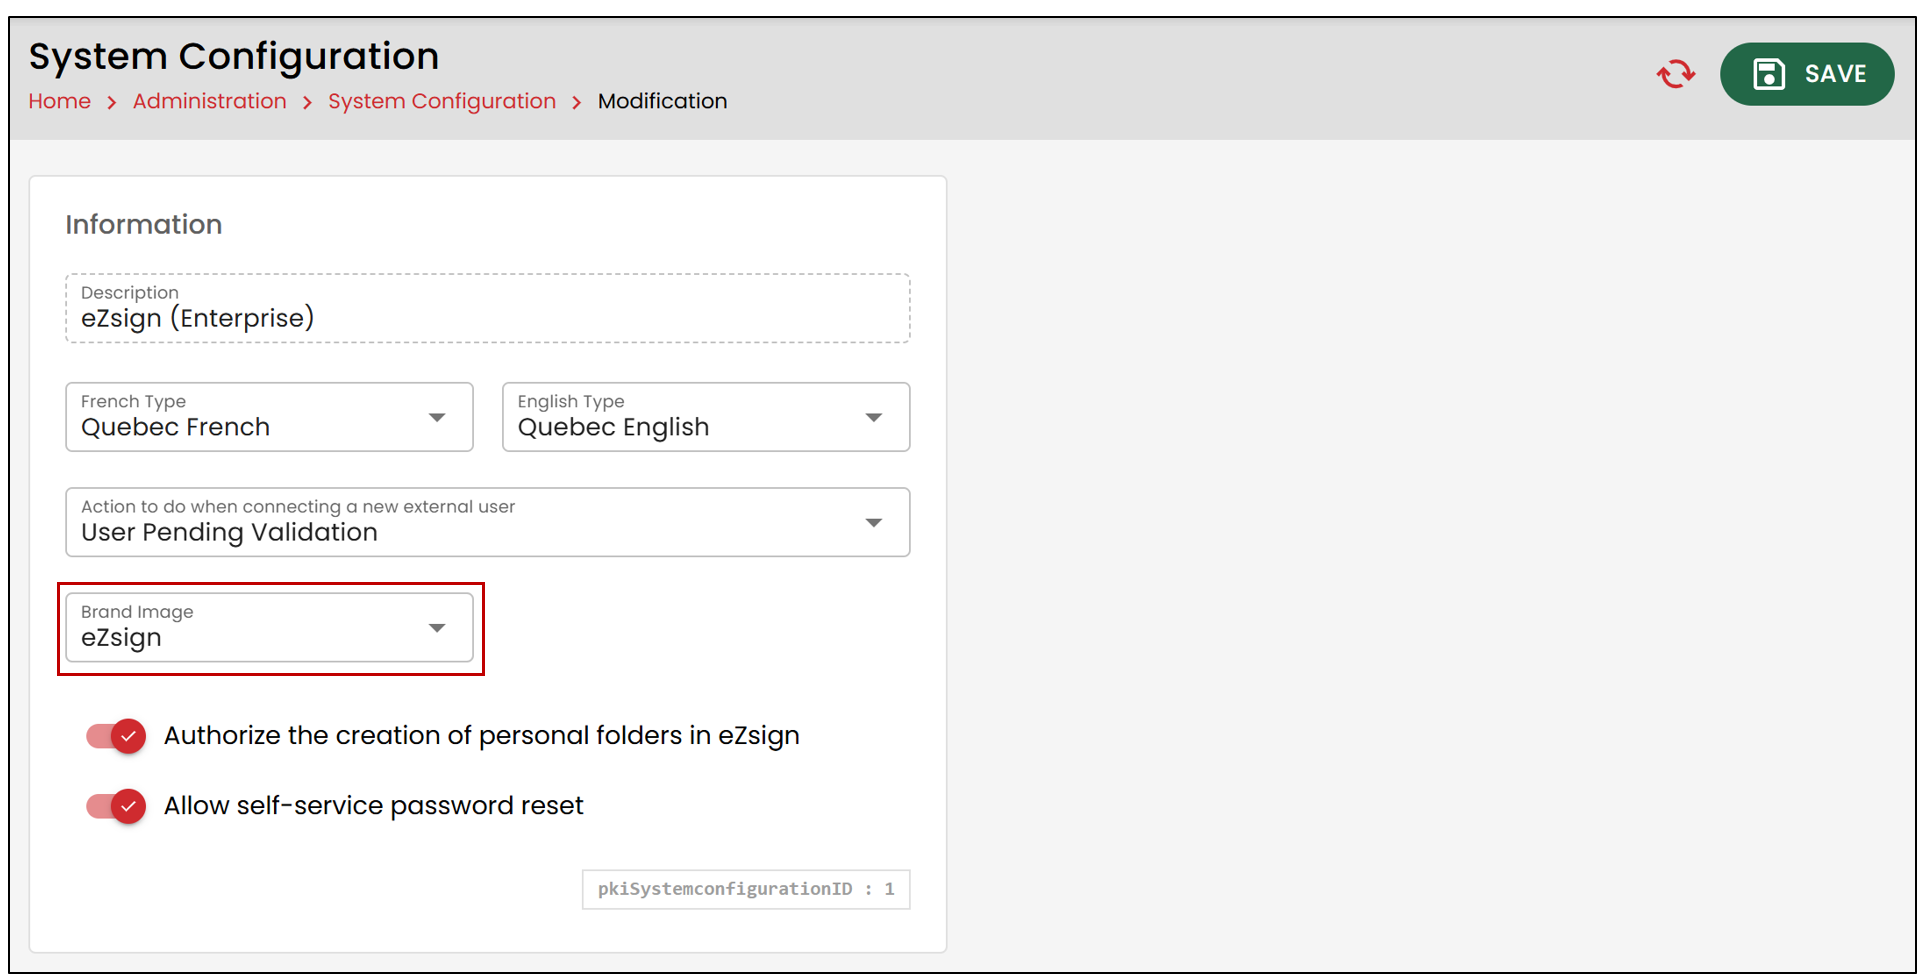
By clicking the Save button, the brand image will now be displayed on the users' main menu.