

English
Send Documents from InstanetForms to eZsign (eZsign version 4+)
Sending InstanetForms Documents to eZsign (eZsign version 4+)
Before you can send documents from InstanetForms to eZsign, you need to set up InstanetForms for eZsign.
InstanetForms Key Configuration
In the left menu of your eZmax platform, click on this icon

(Finance) >> Subscription Status.
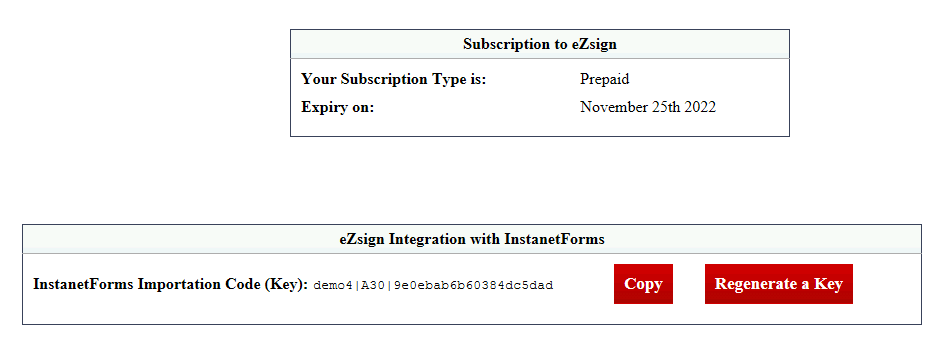
- Click on Copy to copy the InstanetForms Importation Code (Key).
NOTE: If you don’t see the Copy button, click on Generate a Key. If the key no longer works, click on Regenerate a Key.
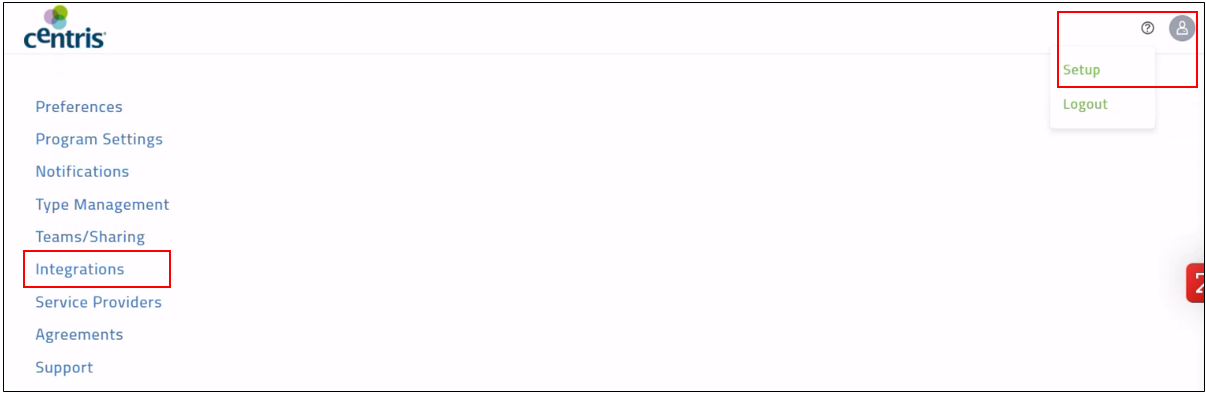
- Click on the gray circle on the upper right corner, select Setup >> Integrations.
- Click on the arrow to the left of Signature Settings.
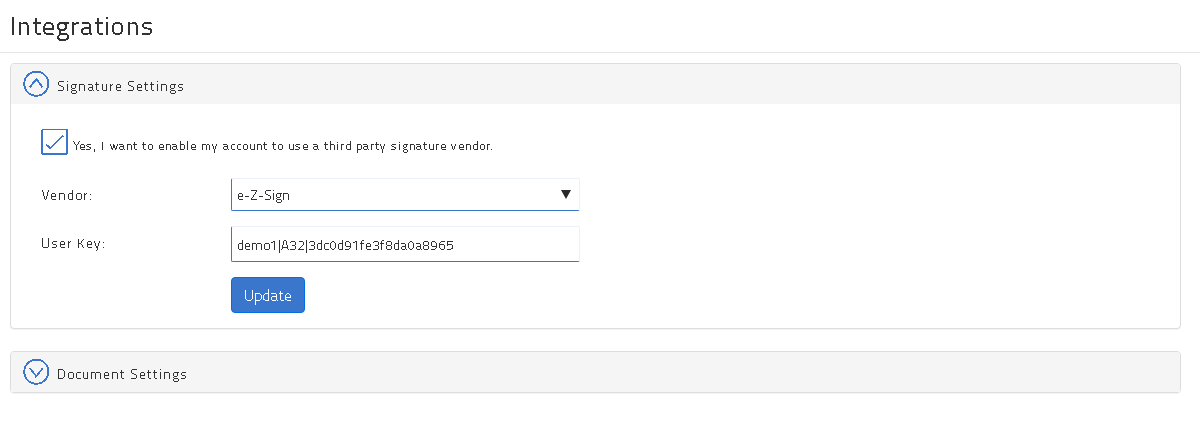
For the Vendor field, select "eZsign".
In the User Key field, paste the InstanetForms (Key).
Click on Update.

- The message Settings updated will appear at the top right of the page.
eZsign is now linked to InstanetForms.
Sending an InstanetForms Document to eZsign
It is possible to quickly send documents from InstanetForms to eZsign, i.e. without having to save them on the desktop before adding them to the desired eZsign folder.
- In the left menu of your InstanetForms platform, click on the House icon (TransactionDESK).

- Click on the transaction that contains the document you want to send to eZsign.
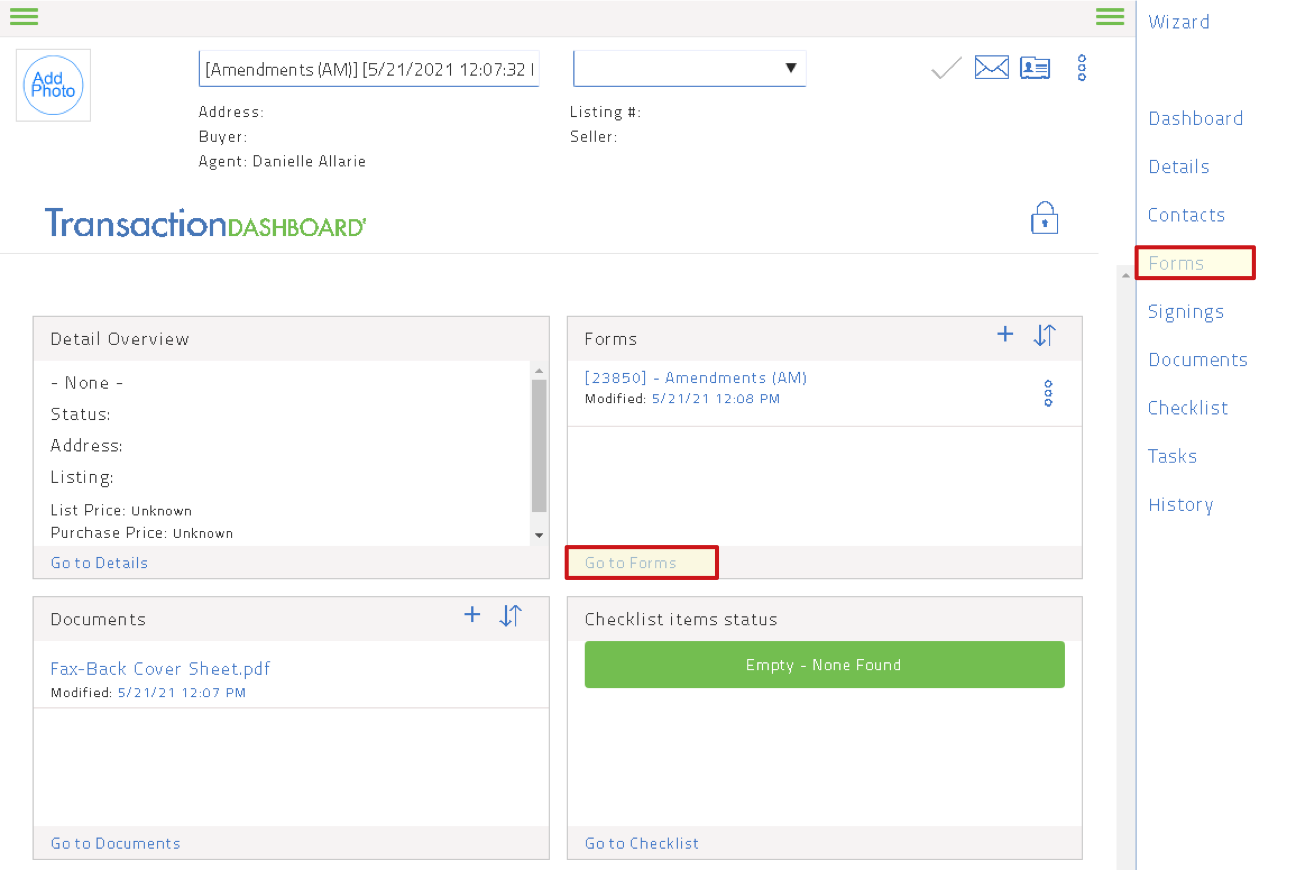
- Click on Go to Forms in the "Forms" section or on Forms in the Wizard menu on the right.

Warning
Only finalized forms can be exported so make sure to see the red F to the right of the form to send. Otherwise, the option to send to eZsign will not be displayed in the menu.
To send the form, you have 2 options:
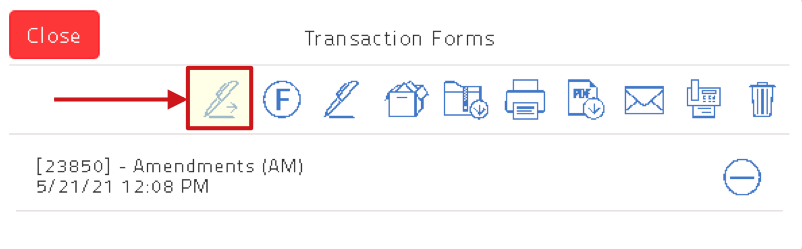
- Check the circle to the right of the document to send and click on the Shopping Cart icon. In the window that appears, click on the 1st icon on the left (Send to eZsign).
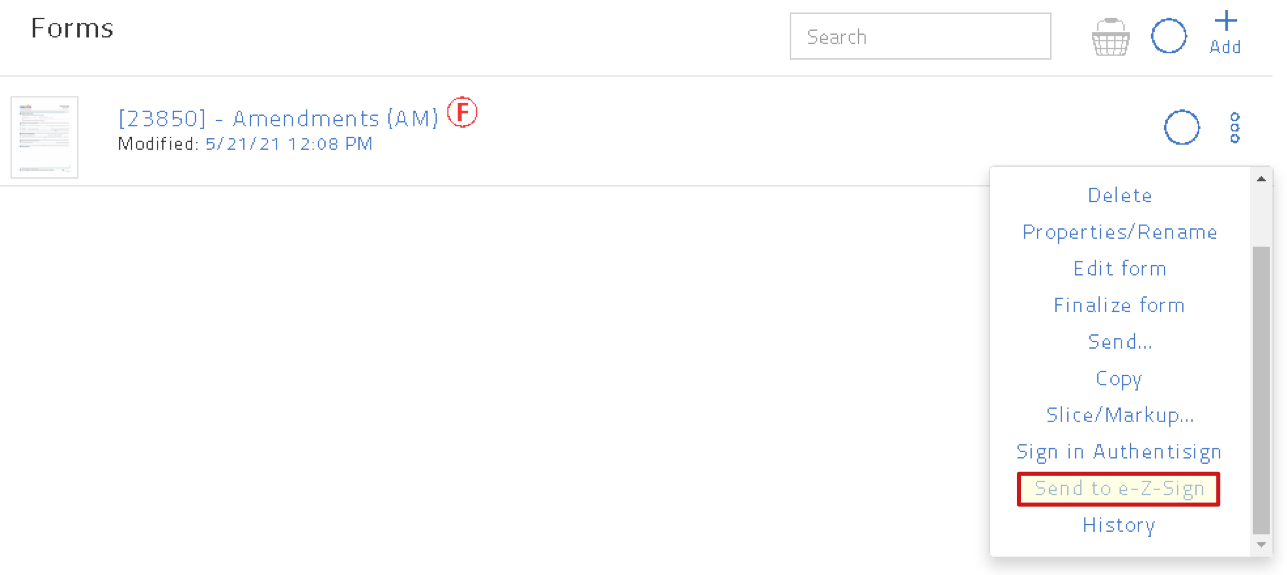
* Or, click on the 3 dots (Menu) to the right of the document to send and click on Send to eZsign.
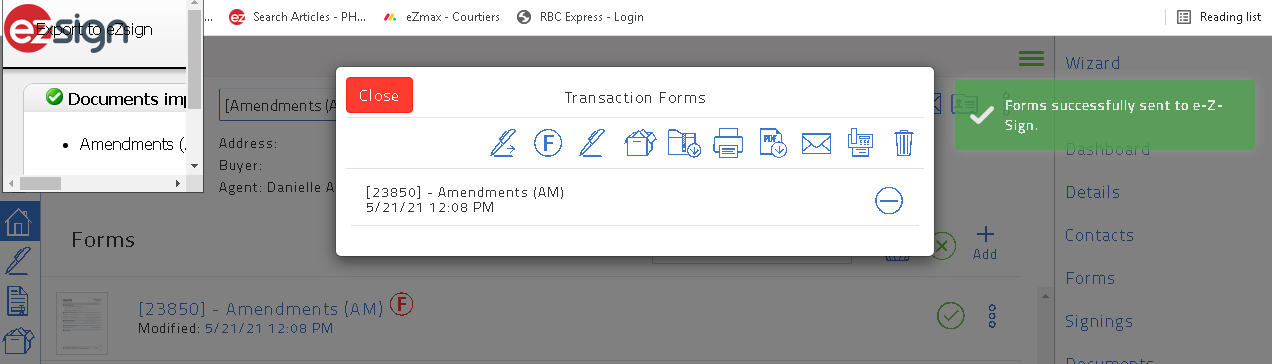
- The message "Forms successfully sent to eZsign" in green and a small window will appear.
Importing InstanetForms Documents into eZsign
From your eZmax account homepage, you will see a notification informing you that documents from InstanetForms have been imported but are not yet completed.
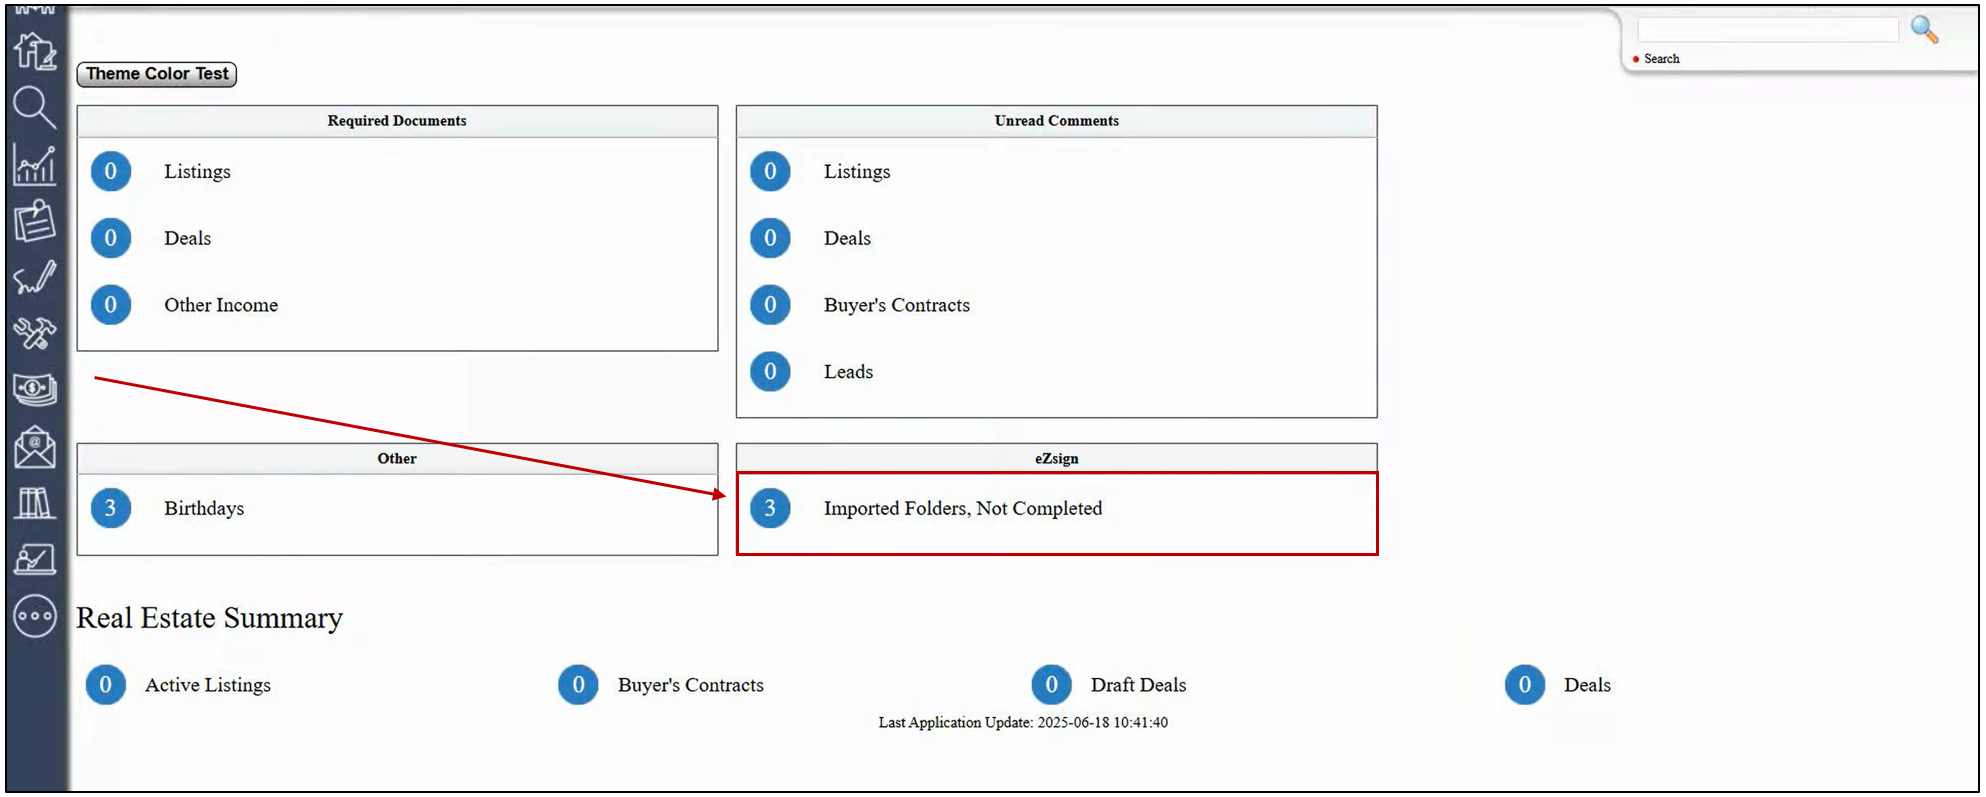
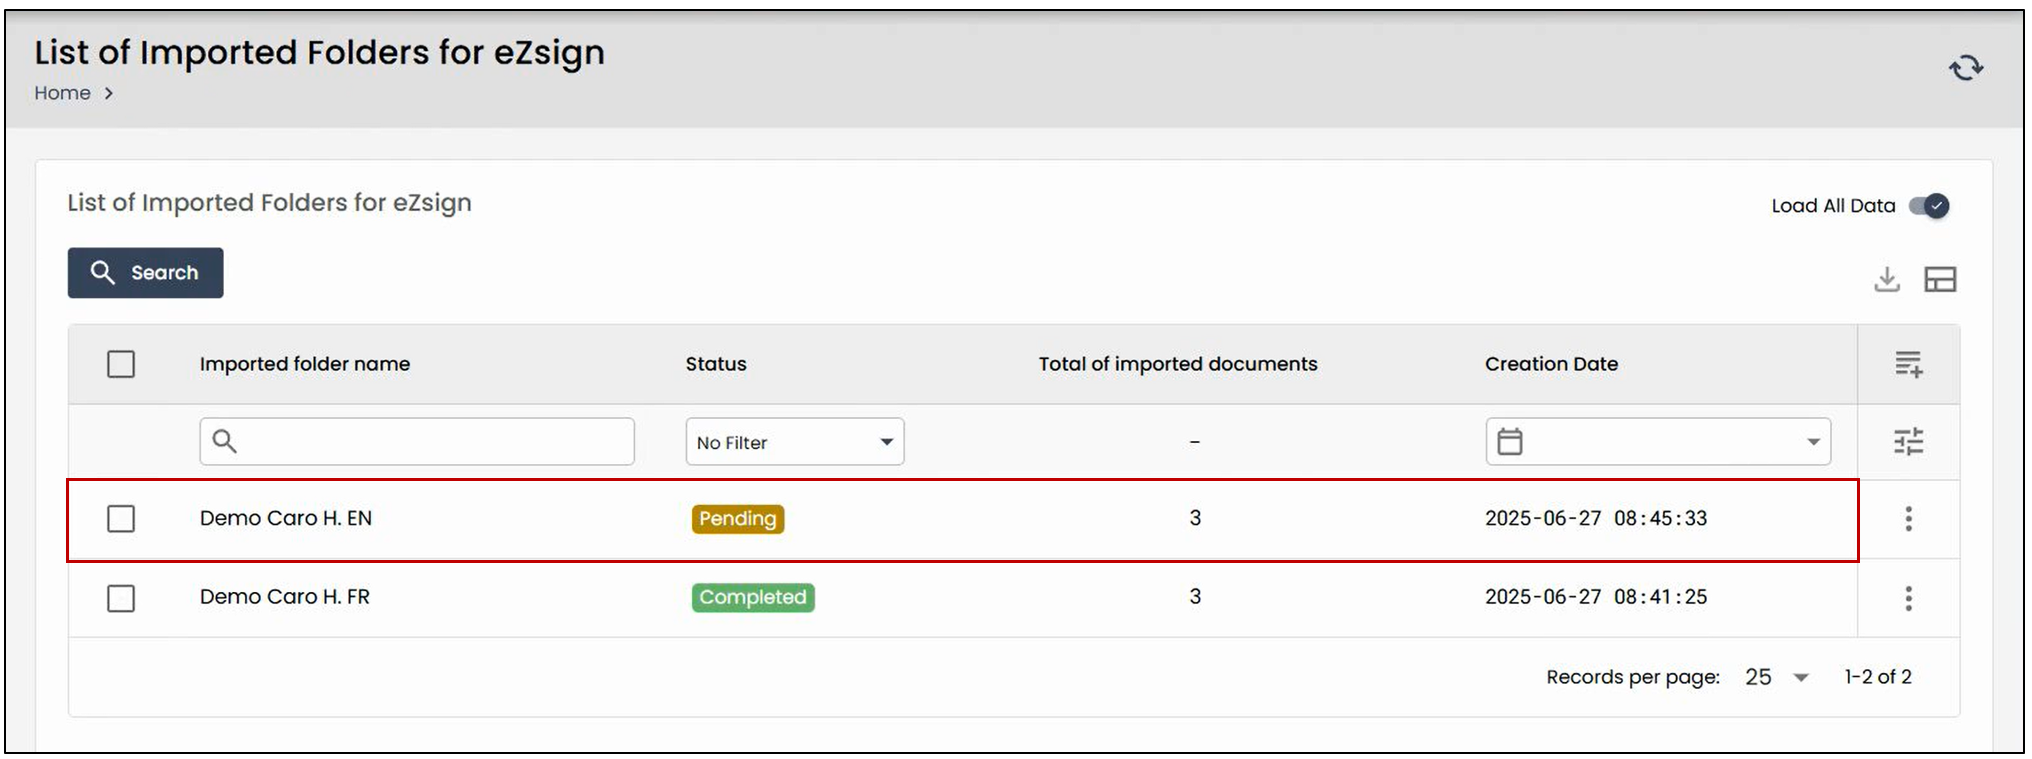
- Click on the number to the left of Imported Folders, Not Completed. You will then be redirected to the list of imported folders for eZsign.
NOTE: If no notification appears or if you wish to access these folders another way, you can also find them under the Administration tab, in the List of Imported Folders for eZsign section.
- Select the desired imported folder. You will have the opportunity to link the documents to an existing eZsign folder.
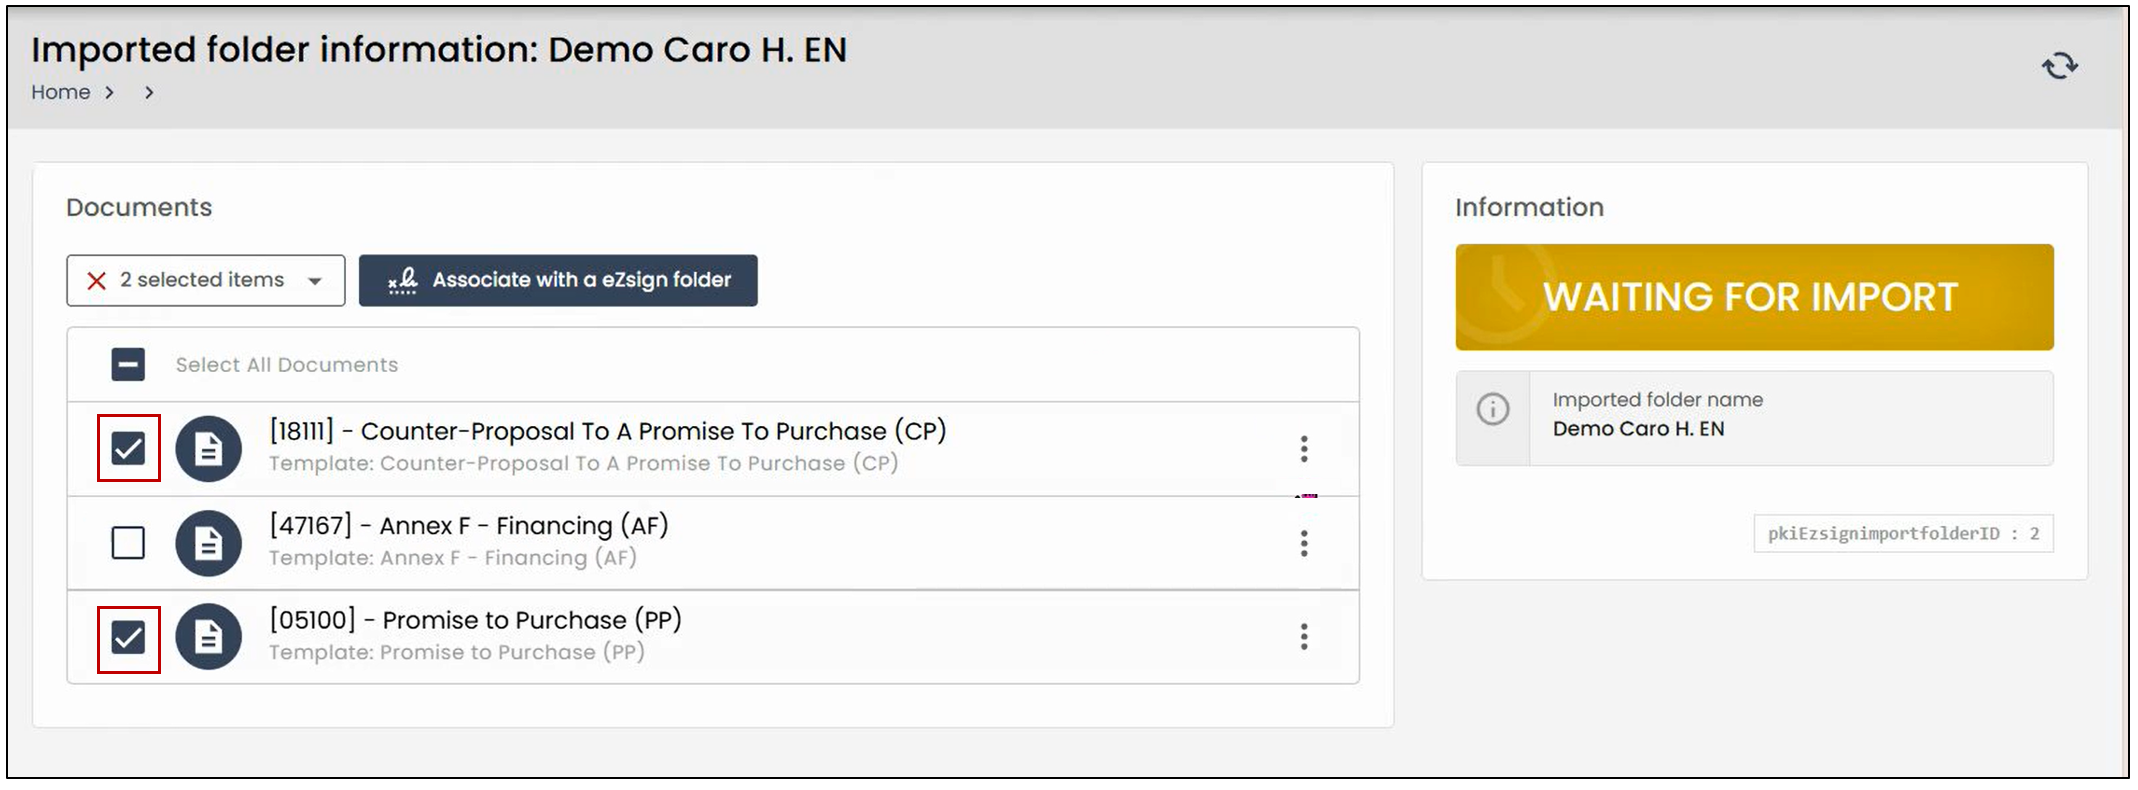
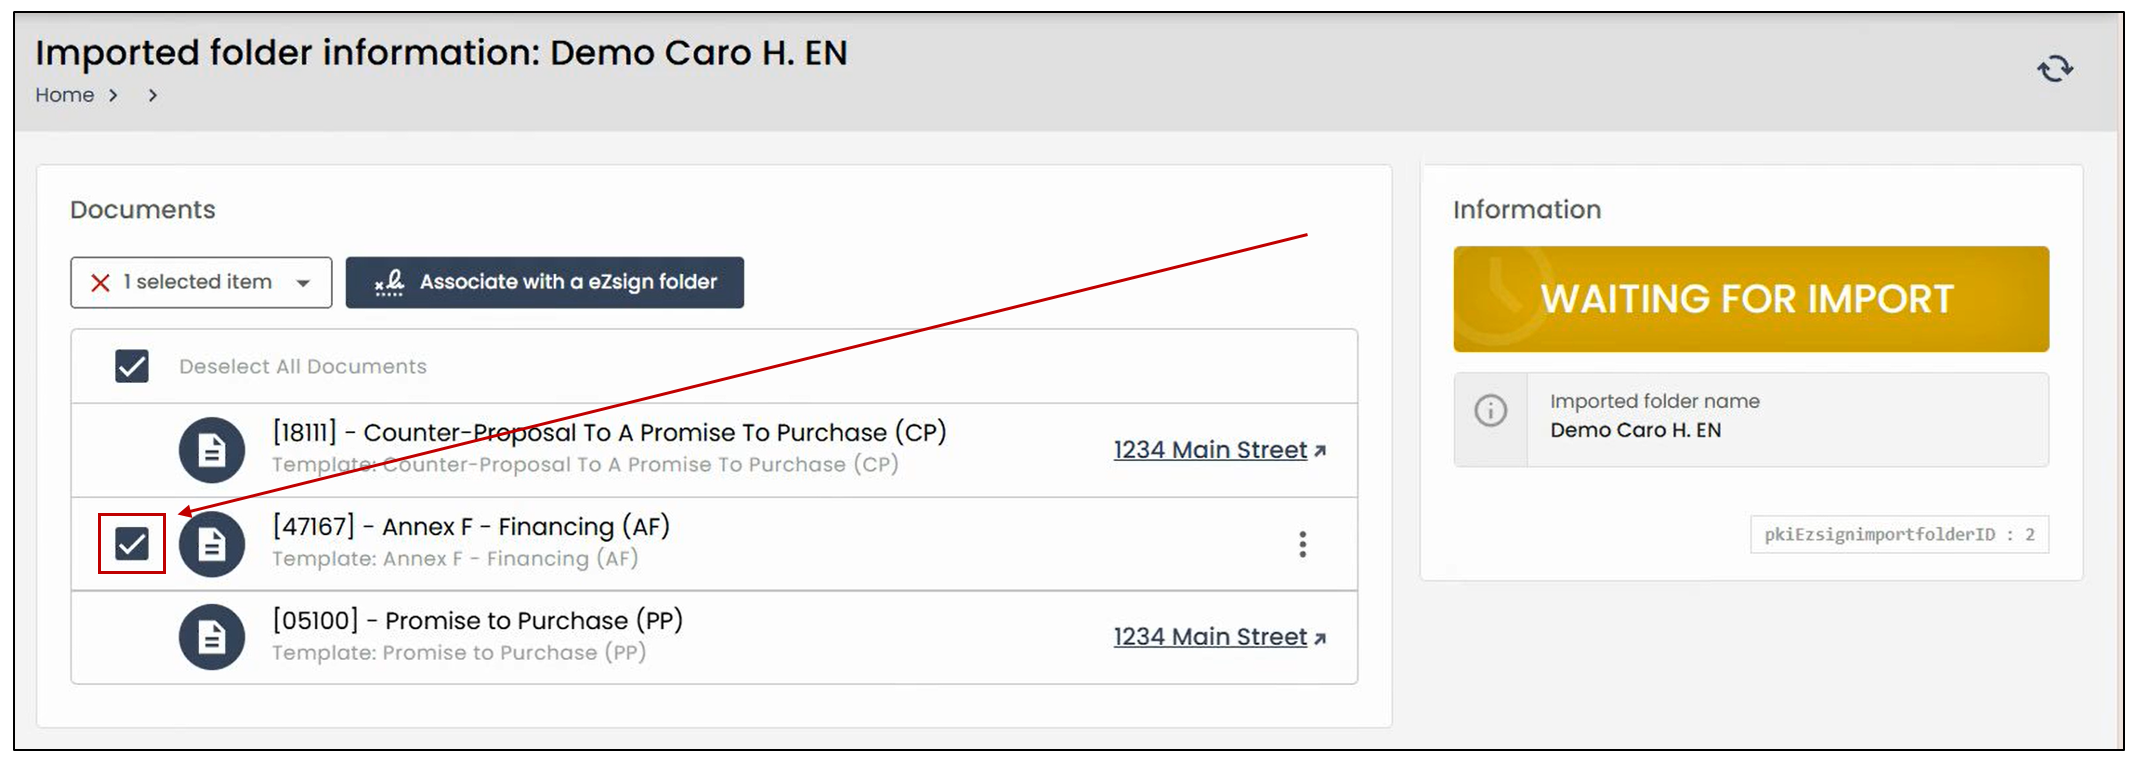
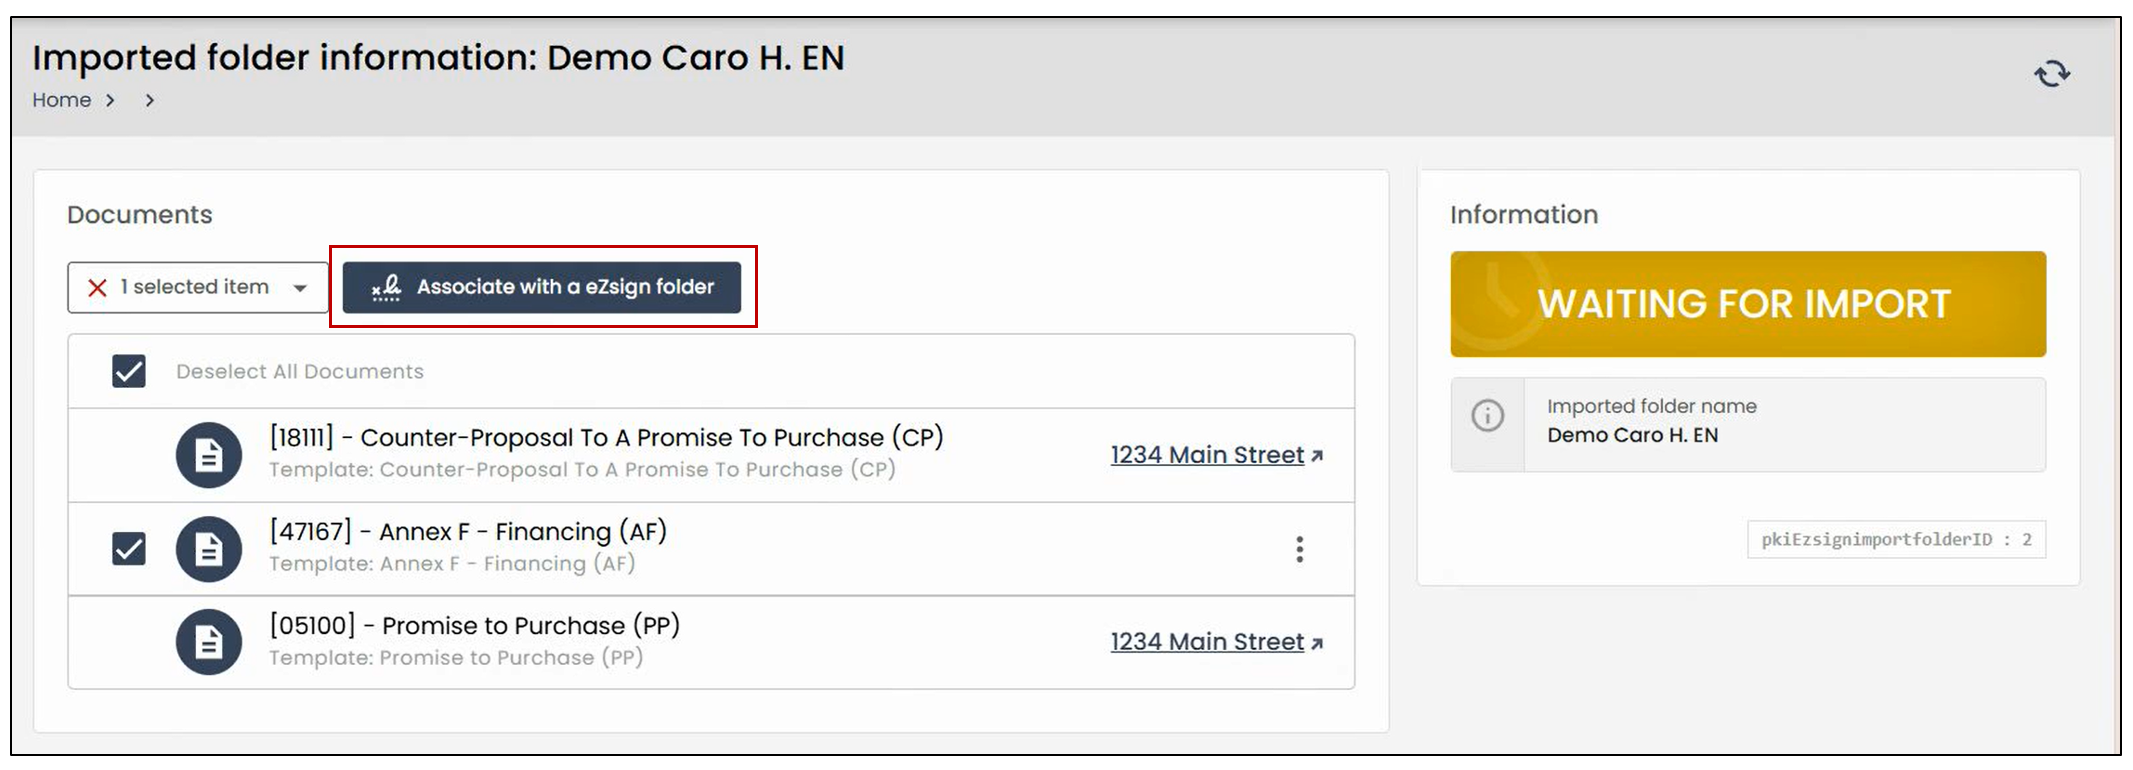
- Check the desired documents, then click on Associate with an eZsign folder.
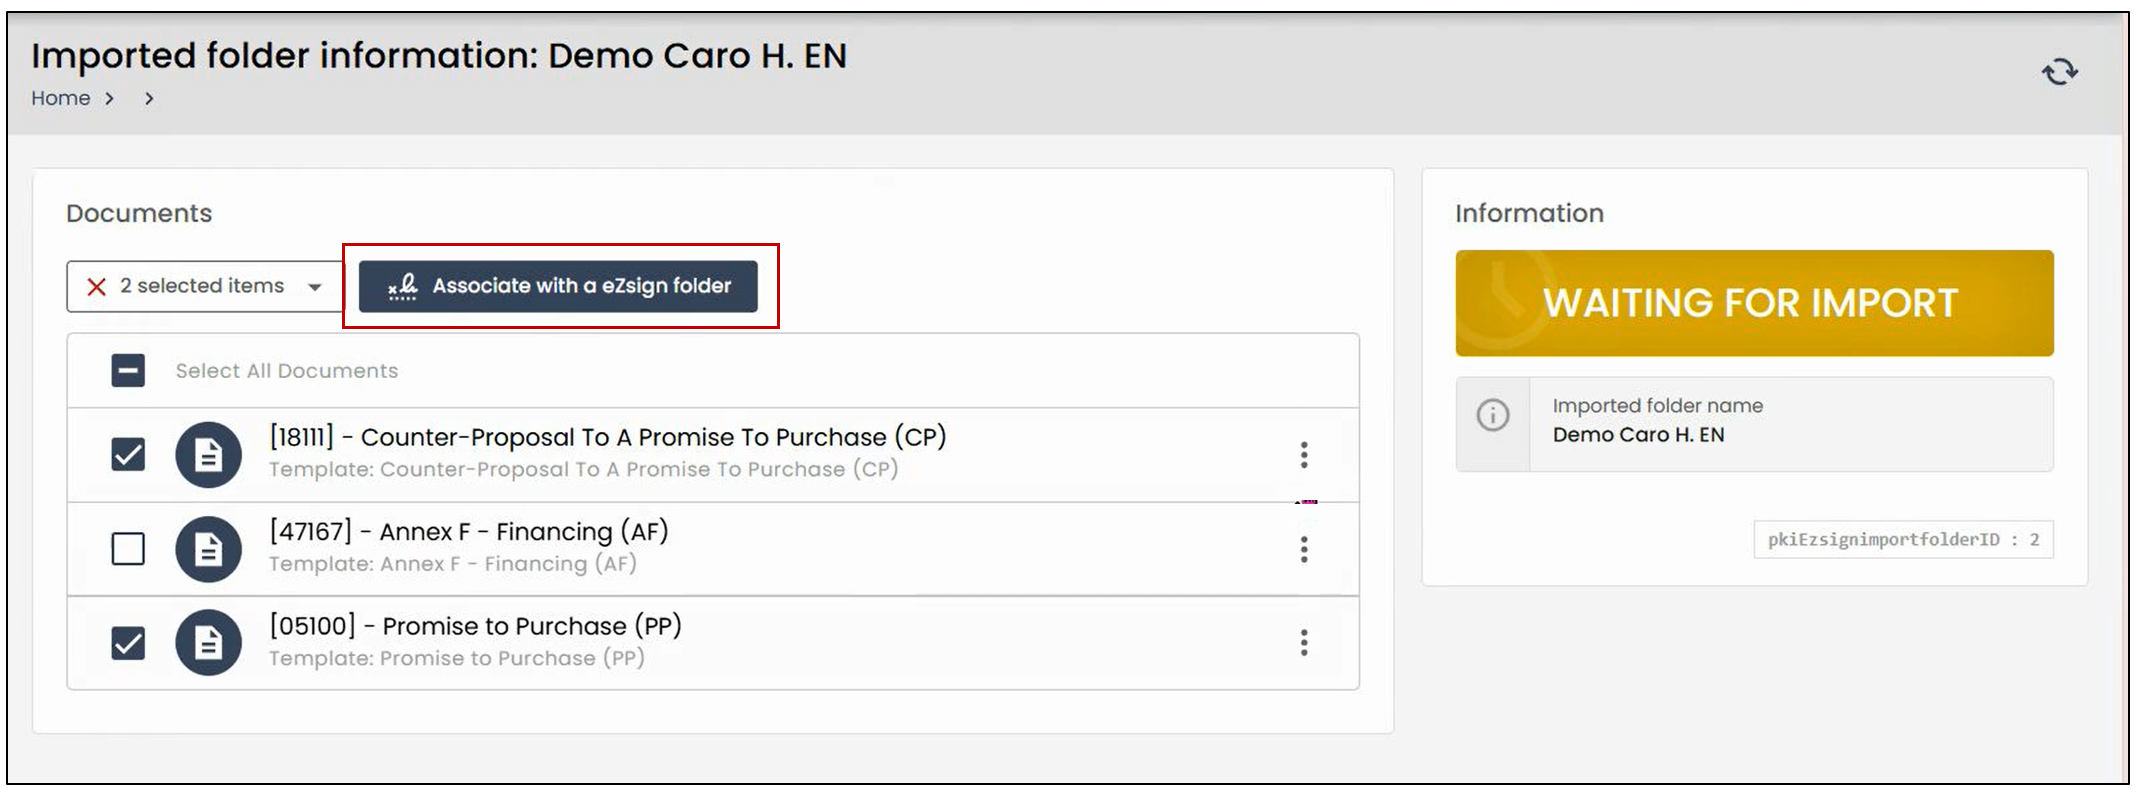
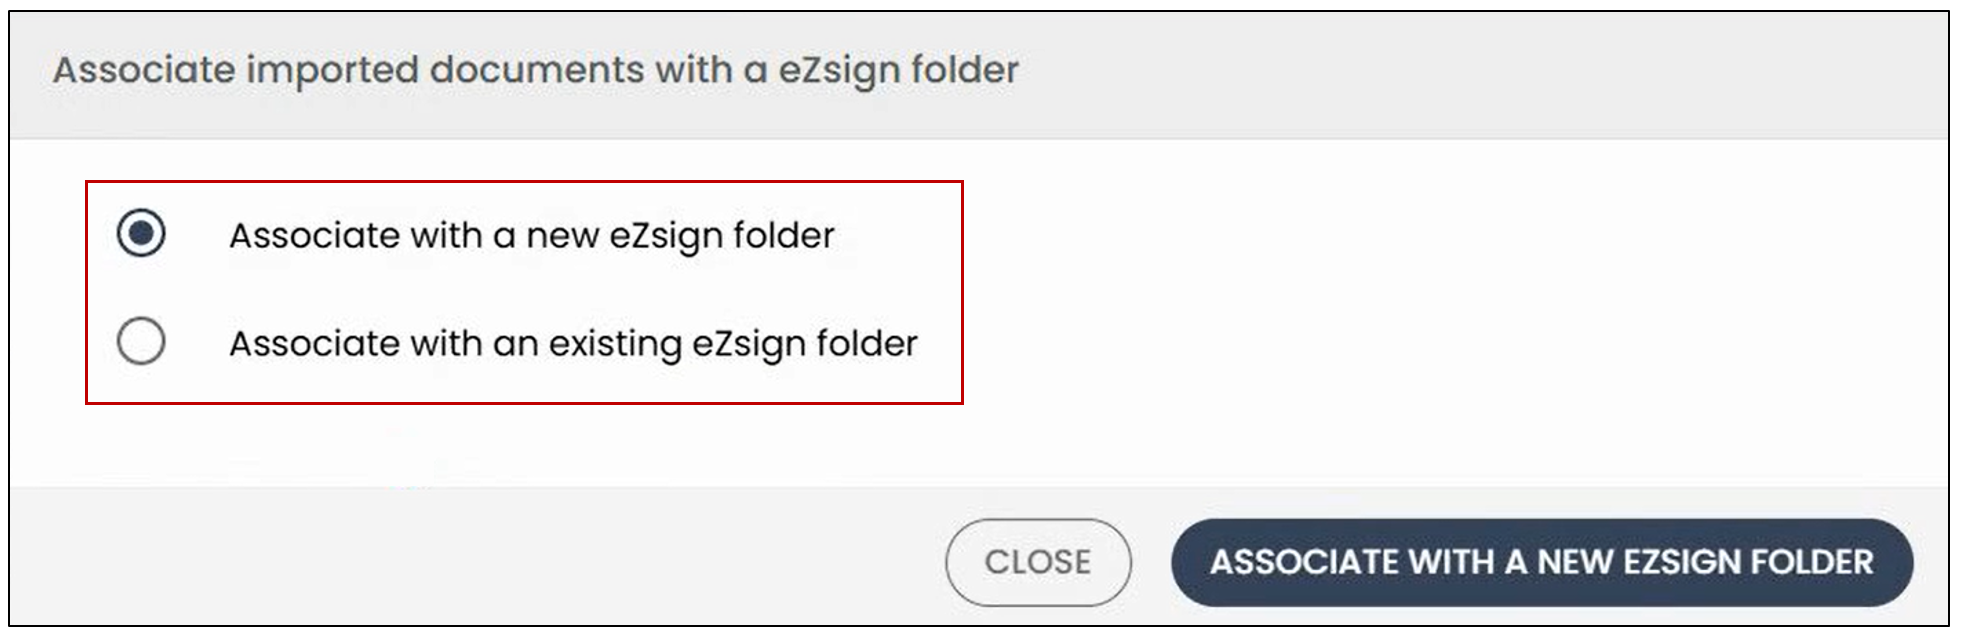
- You will be able to associate the documents either with a new eZsign folder—especially if it’s the first signature for your clients—or with an existing folder.
Associating with a new eZsign folder
- Select Associate with a new eZsign folder.
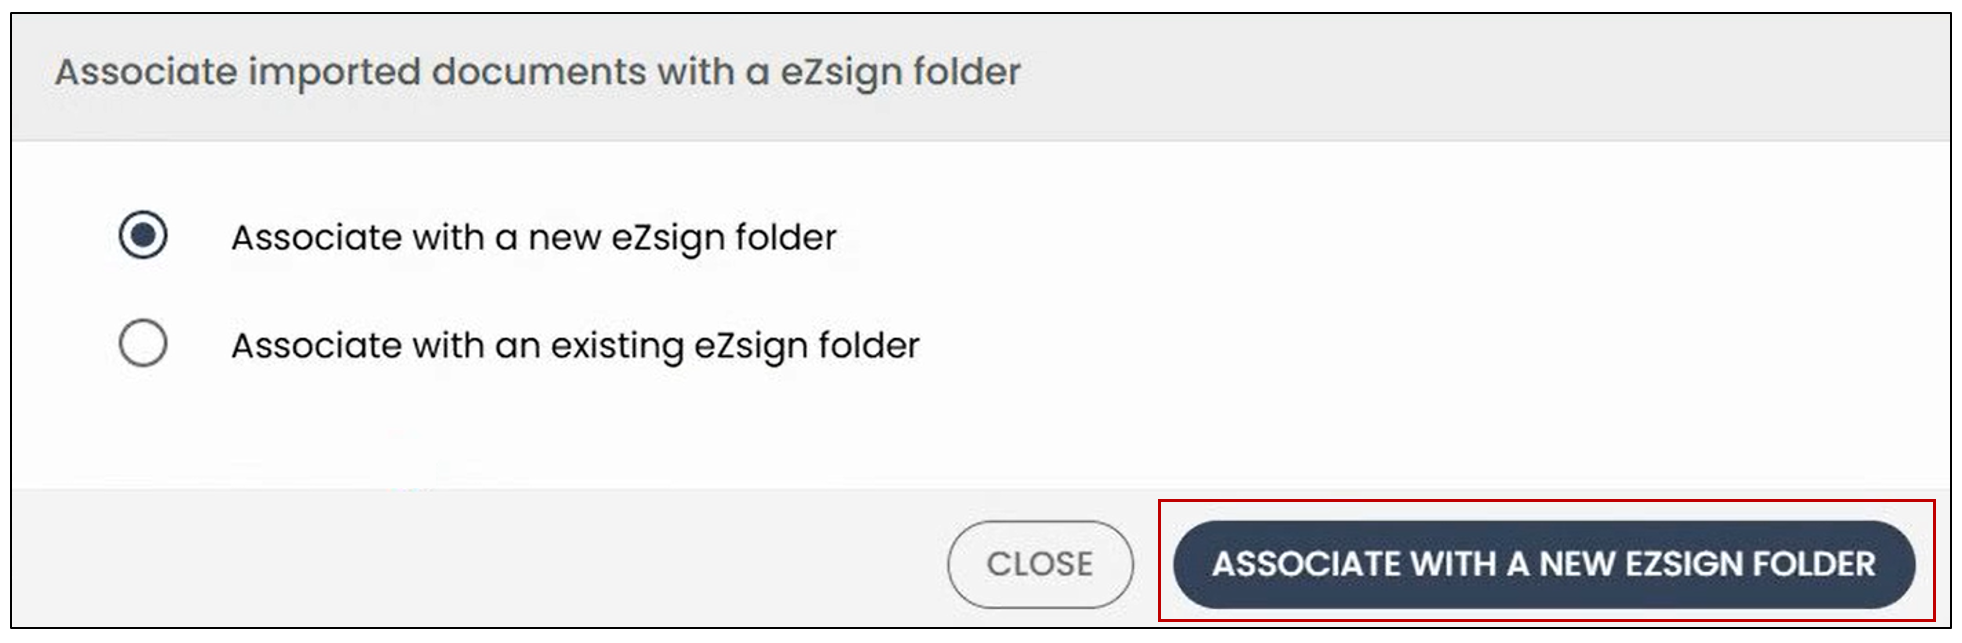
The system will automatically direct you to create a new eZsign folder, guiding you through the various steps with an assistant.
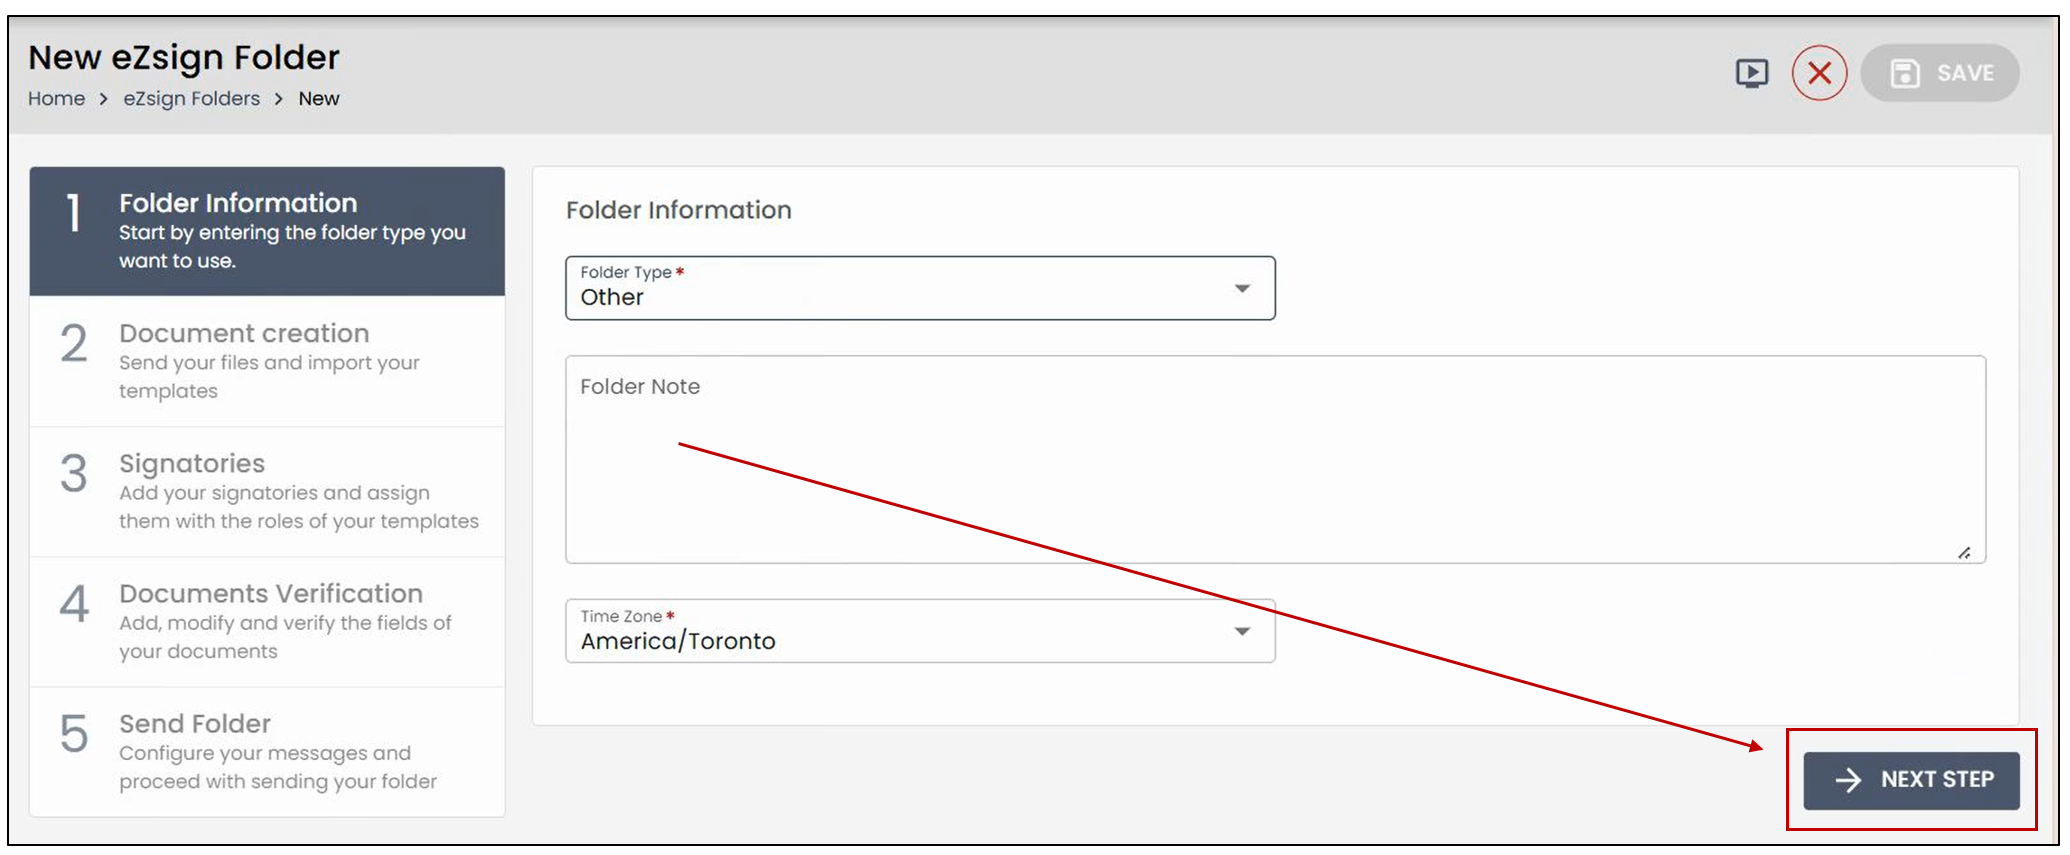
- The first step is to enter the folder information, including the folder type, then click Next Step to continue.
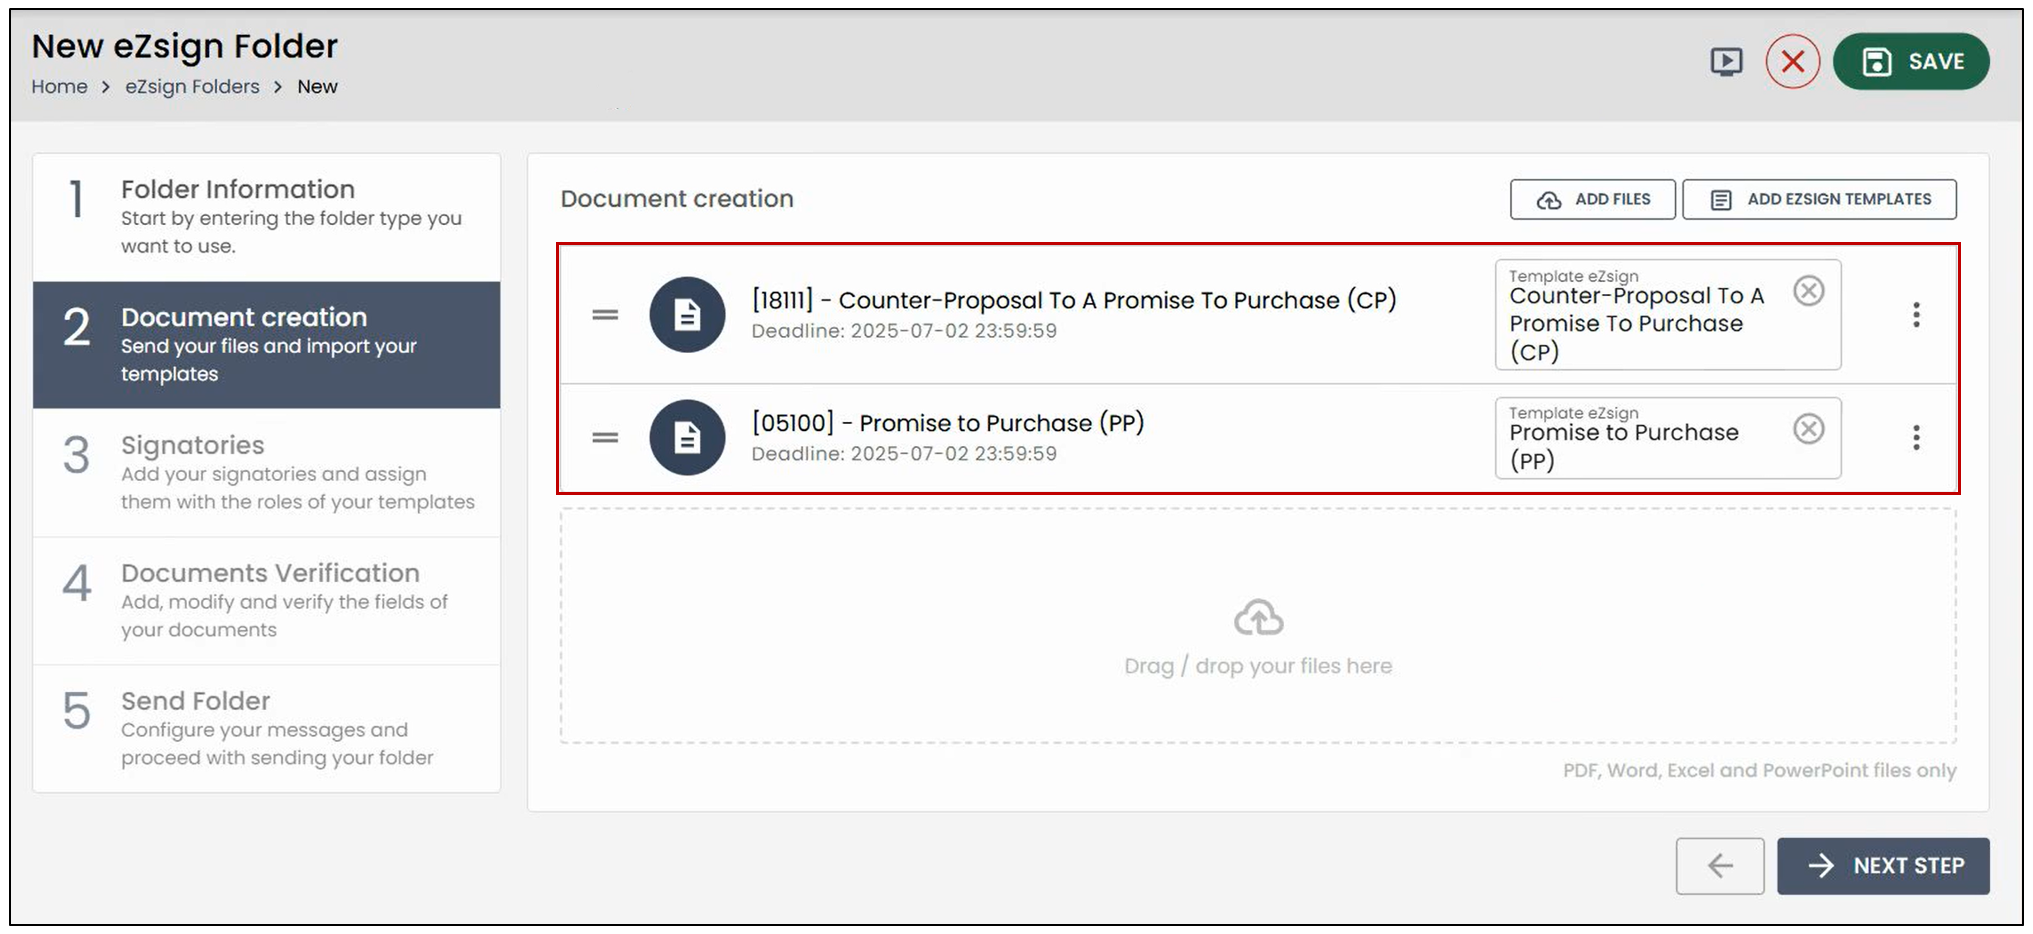
- At the Document Creation step, you will find the documents you previously selected.
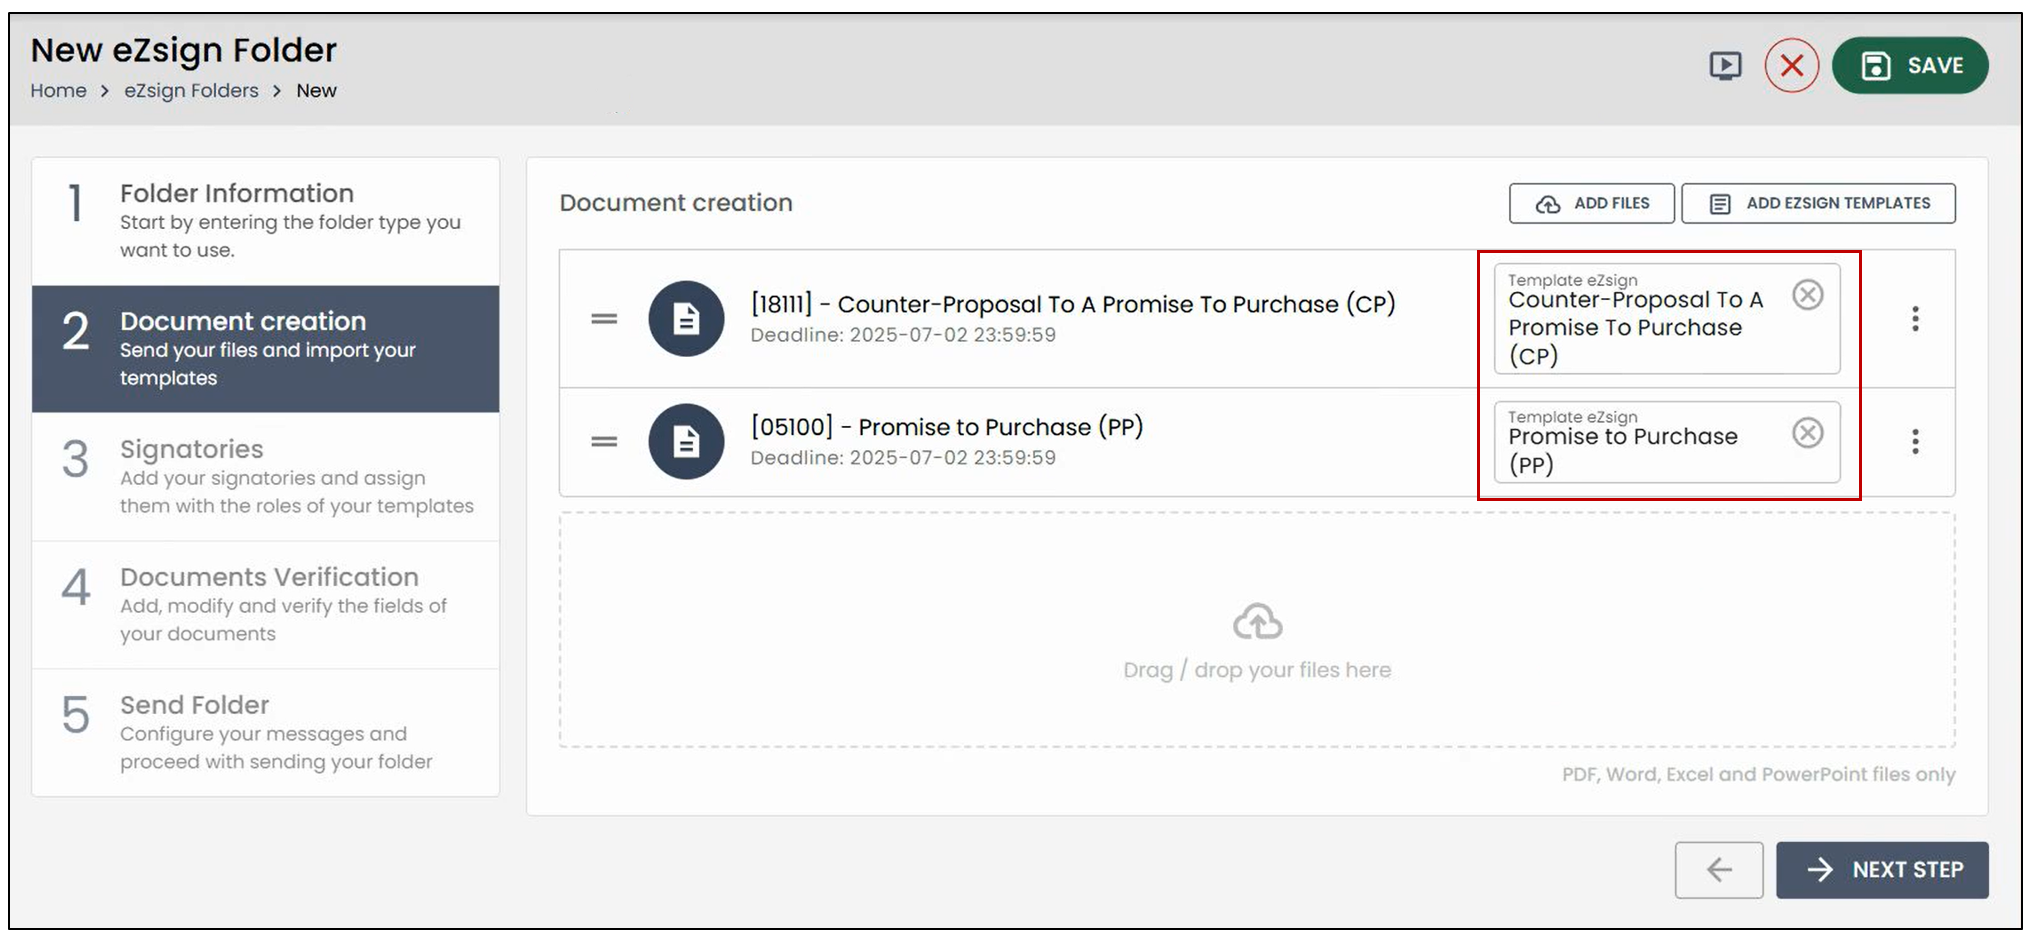
- In this example, eZsign templates are automatically associated with the documents, so no fields will need to be added.
- Click Next Step , and the assistant will guide you to the Signatories step.
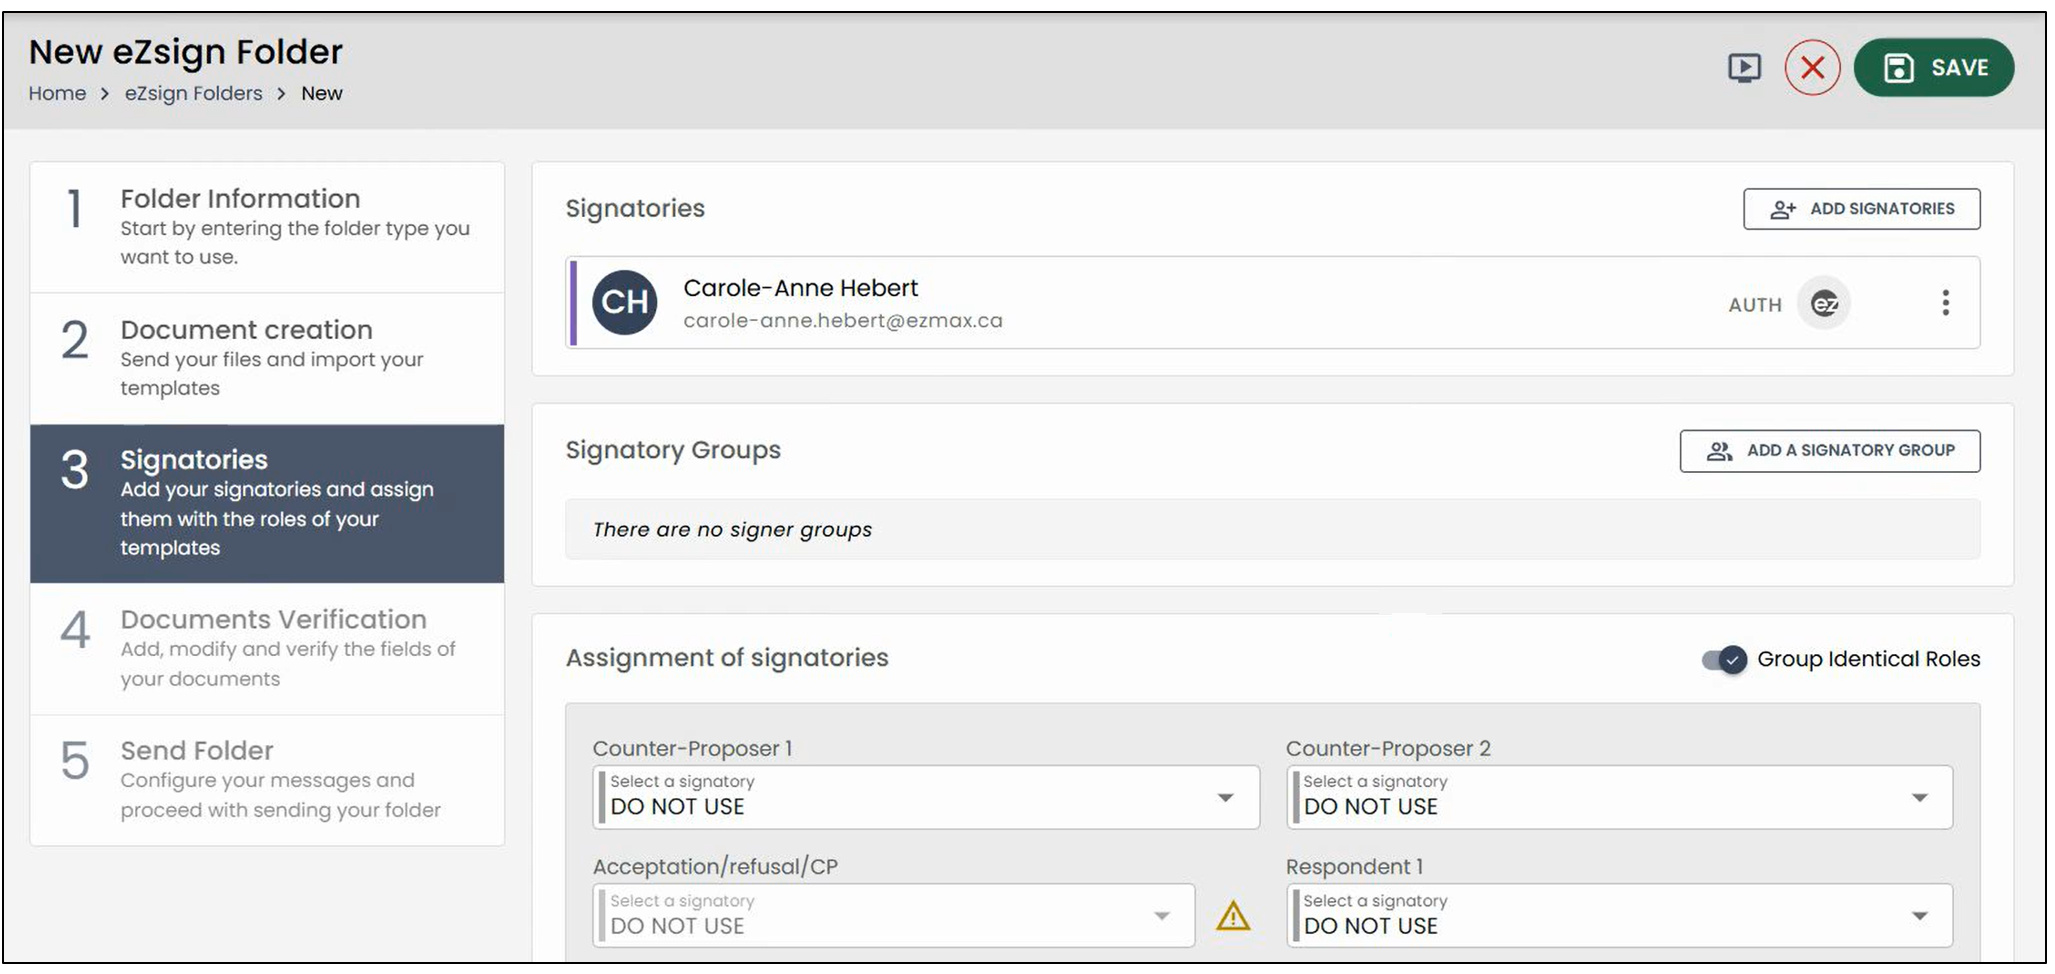
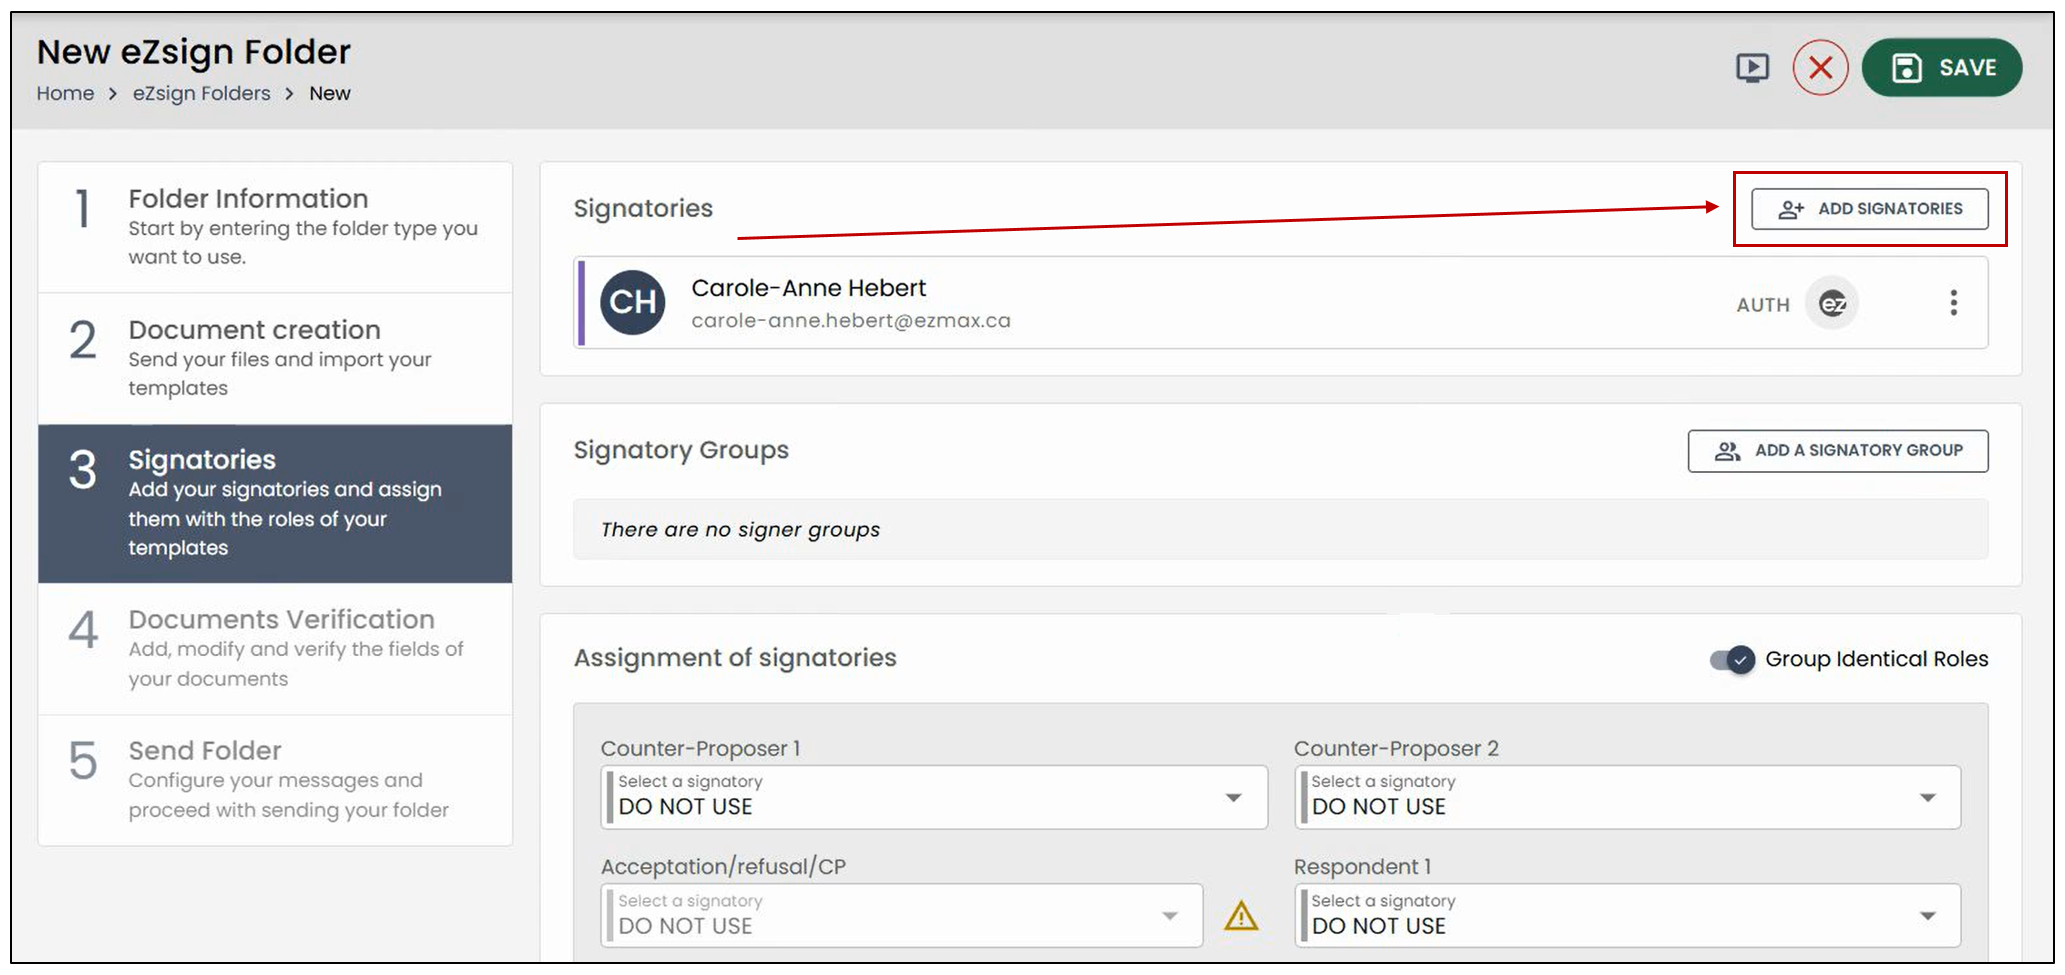
- Click Add Signatories located at the top left, or simply click on one of the roles.
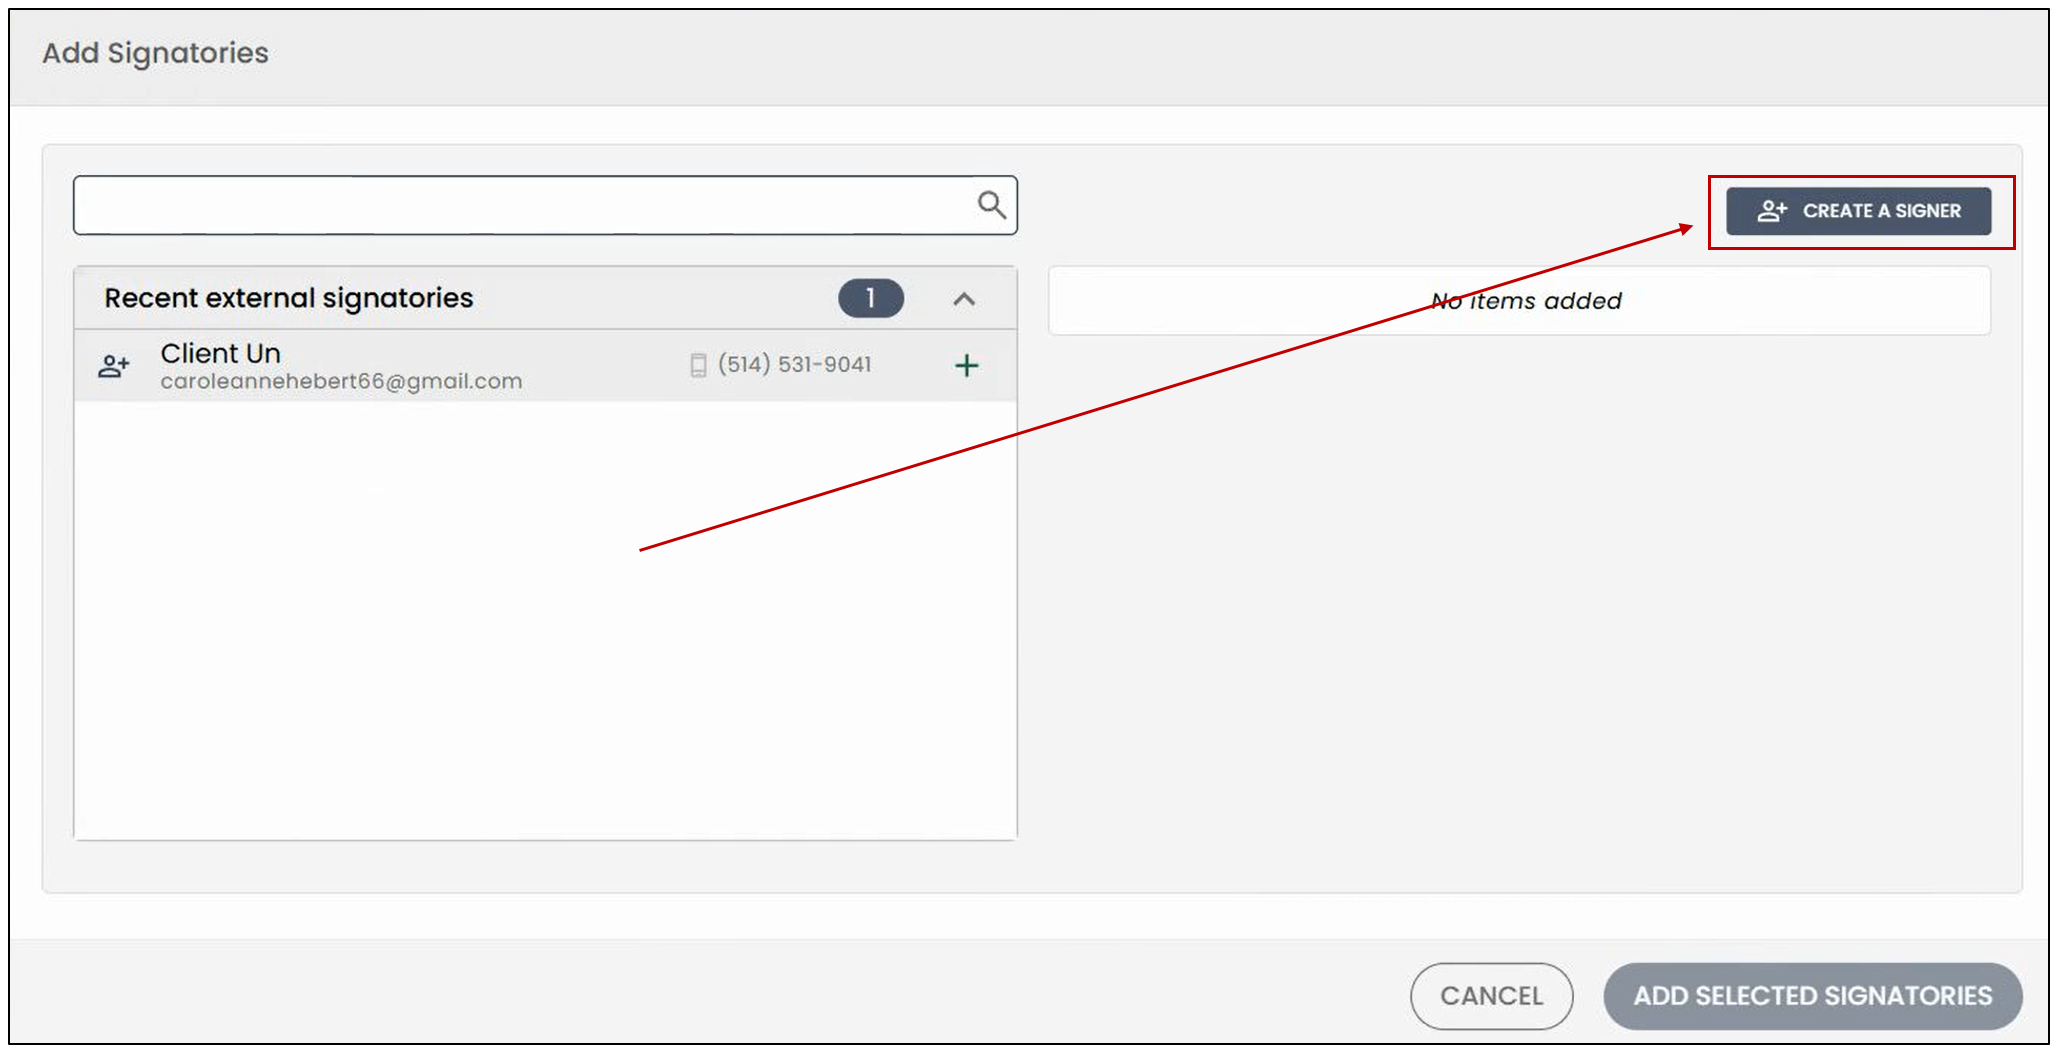
- If the signatory is a recent external signatory, they can be selected from the drop-down list. If you want to create a new signatory, click the designated button.
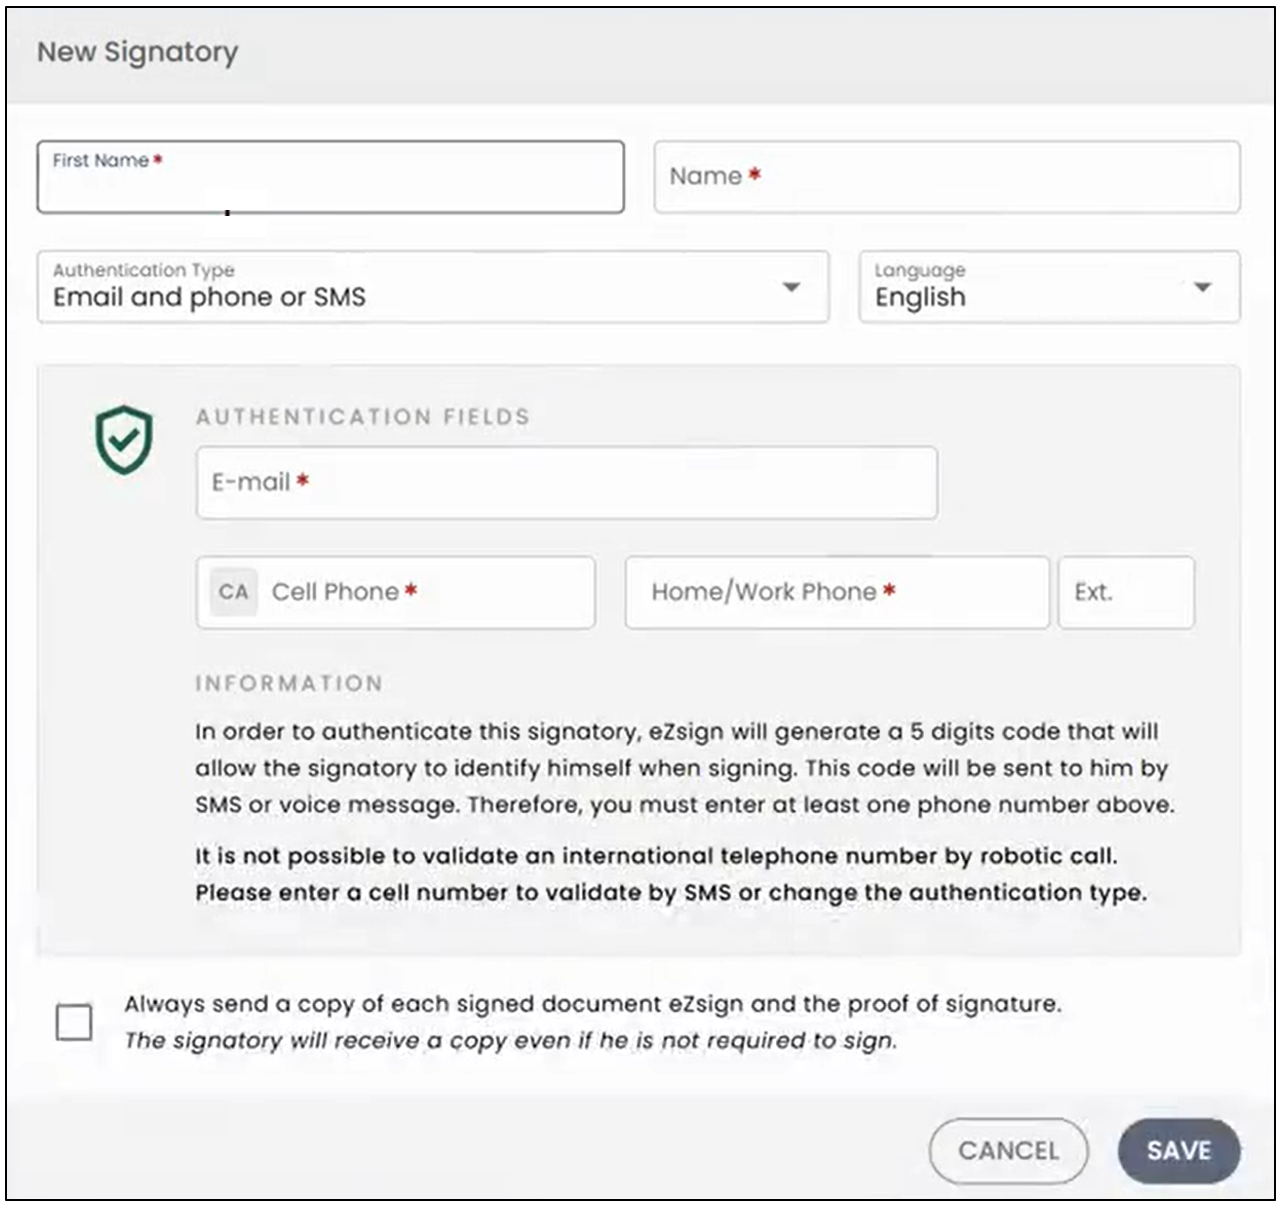
- Fill in all the signatory’s information, then click Save.
- Once the signatory is created or selected from the drop-down list, click Add Selected Signatories.
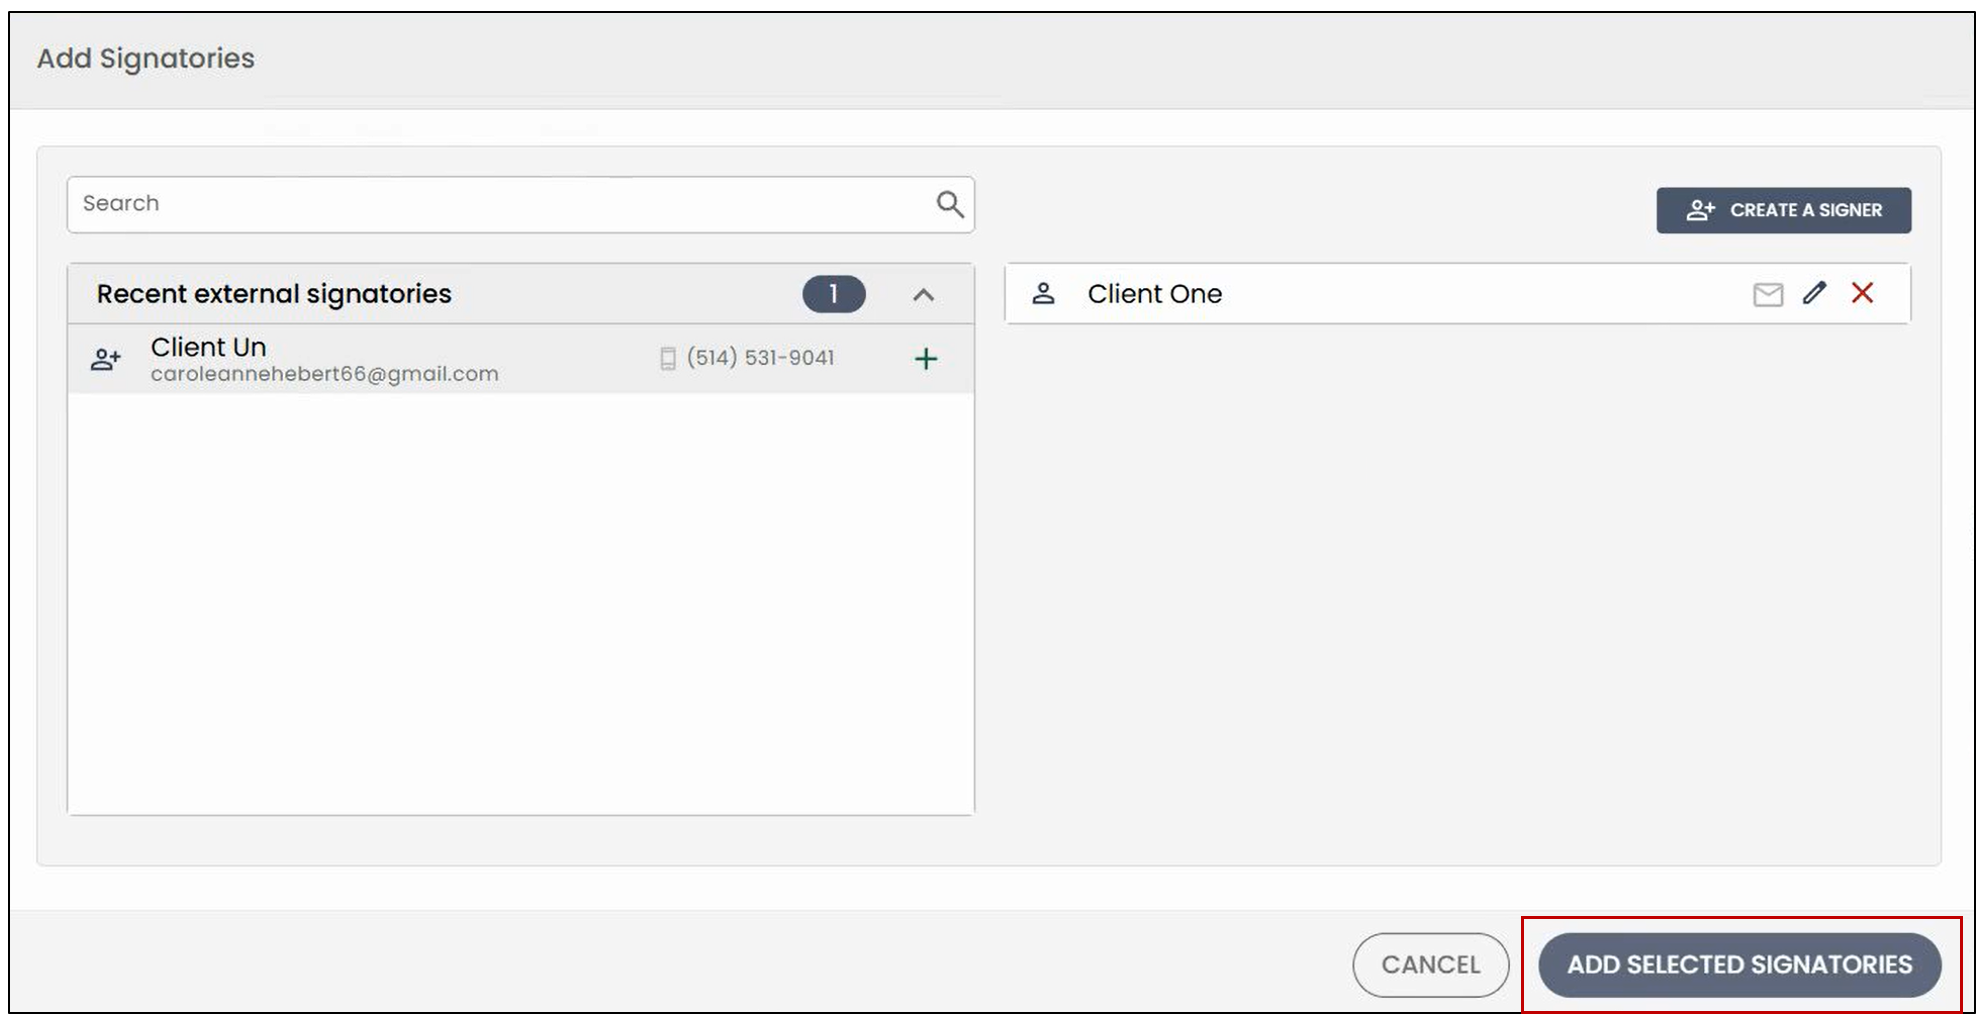
- You will then need to assign all signatories to roles.
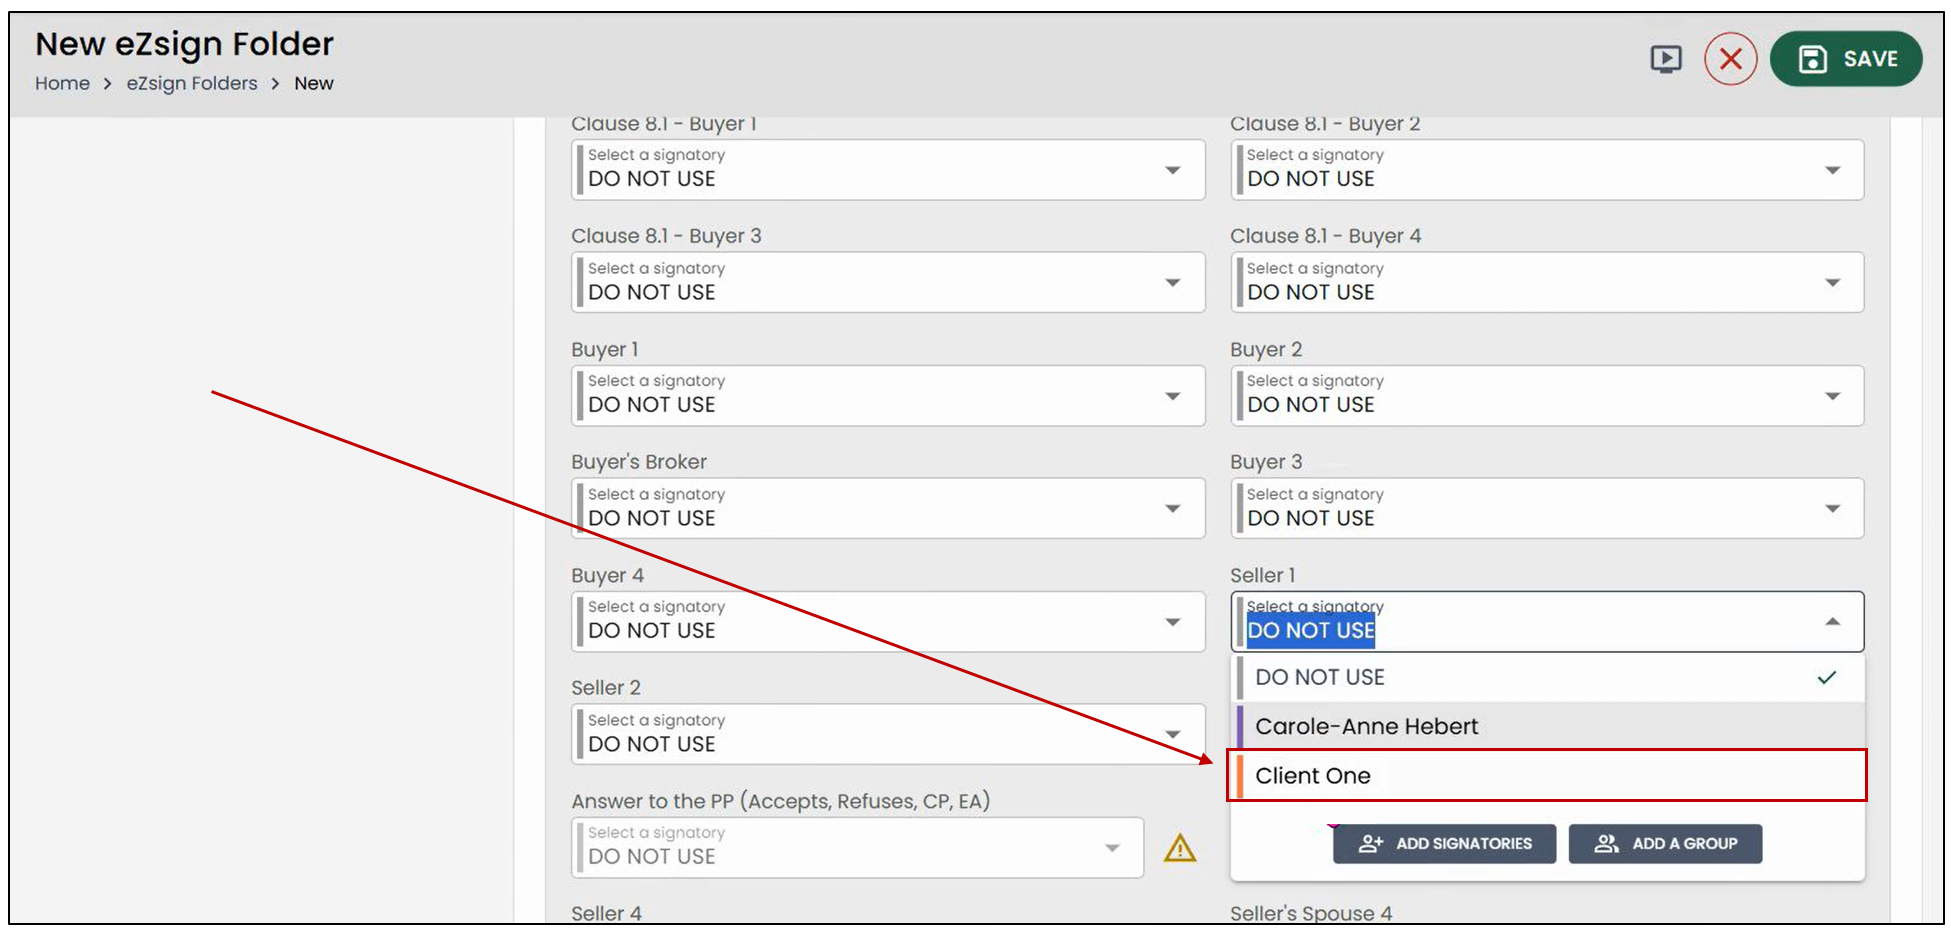
- Once all the desired roles are assigned, click Next Step.
The documents will then be marked as Ready to send.
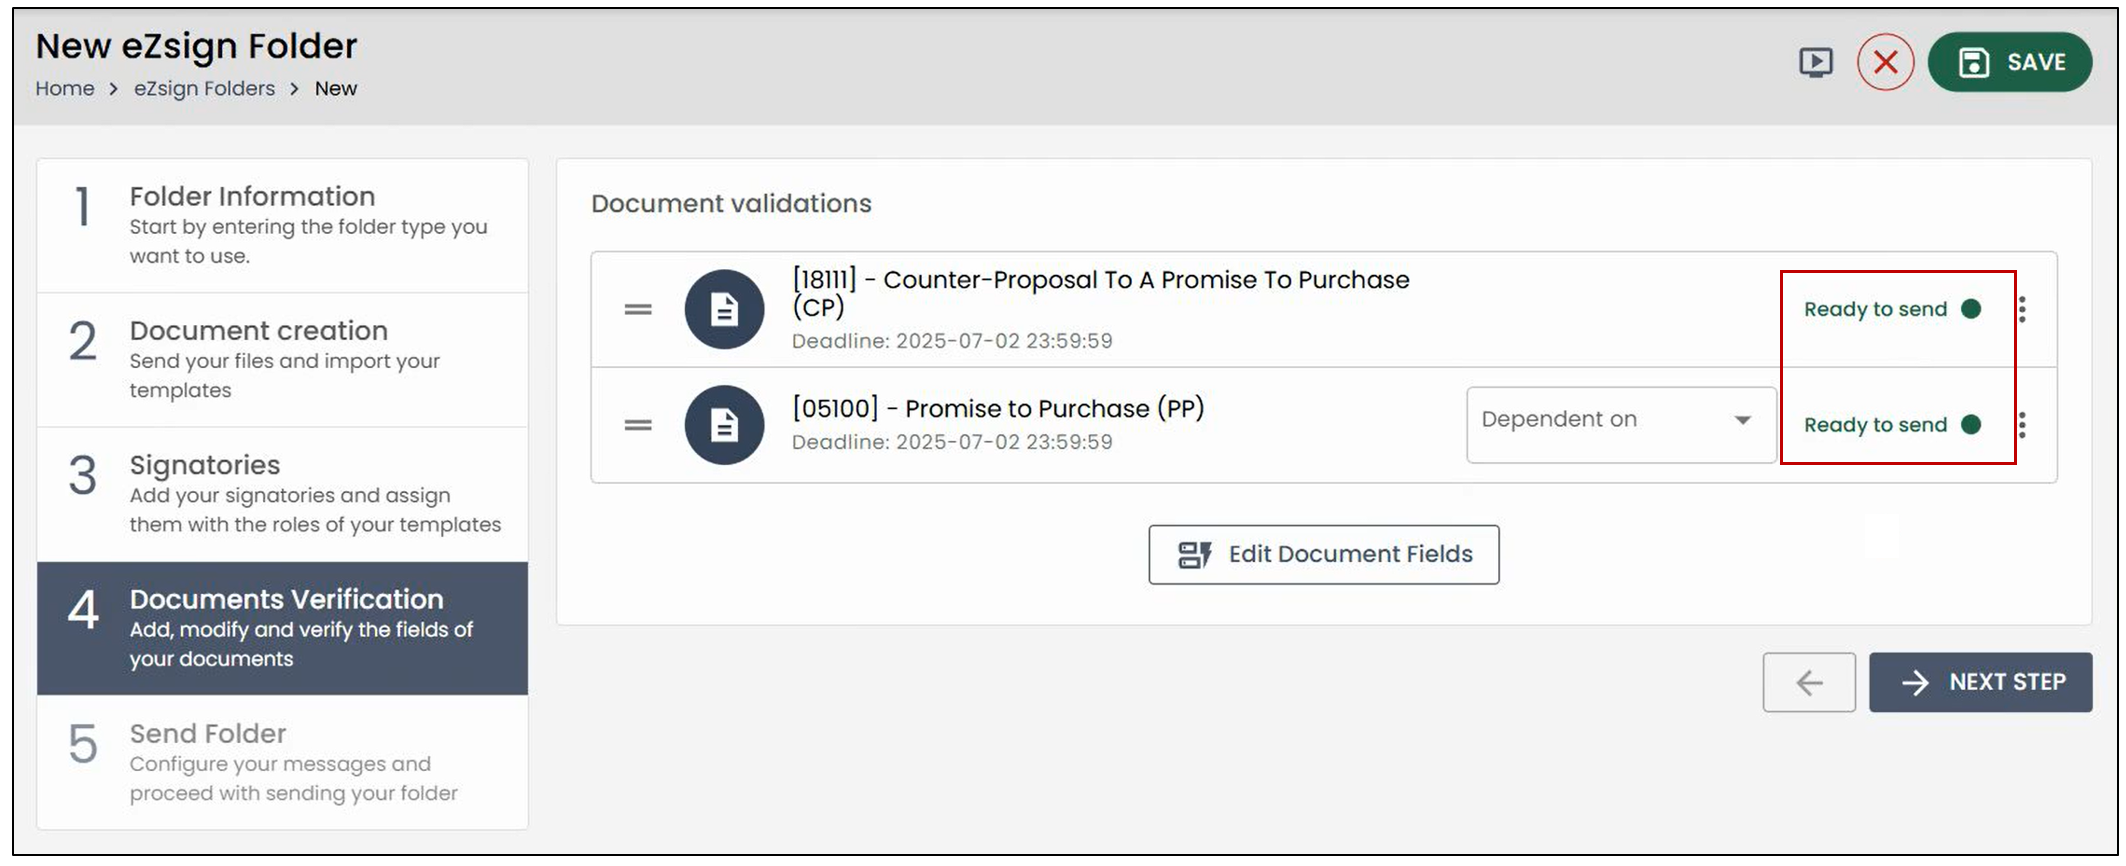
- Click Next Step.
NOTE: Please note that for the PP and the Counteroffer, any response to be entered must now be added by inserting an Annotation field. To make changes, click Edit Document Fields.
- At the Send Folder step, you will be able to modify the folder name, as it also serves as the subject of the message.
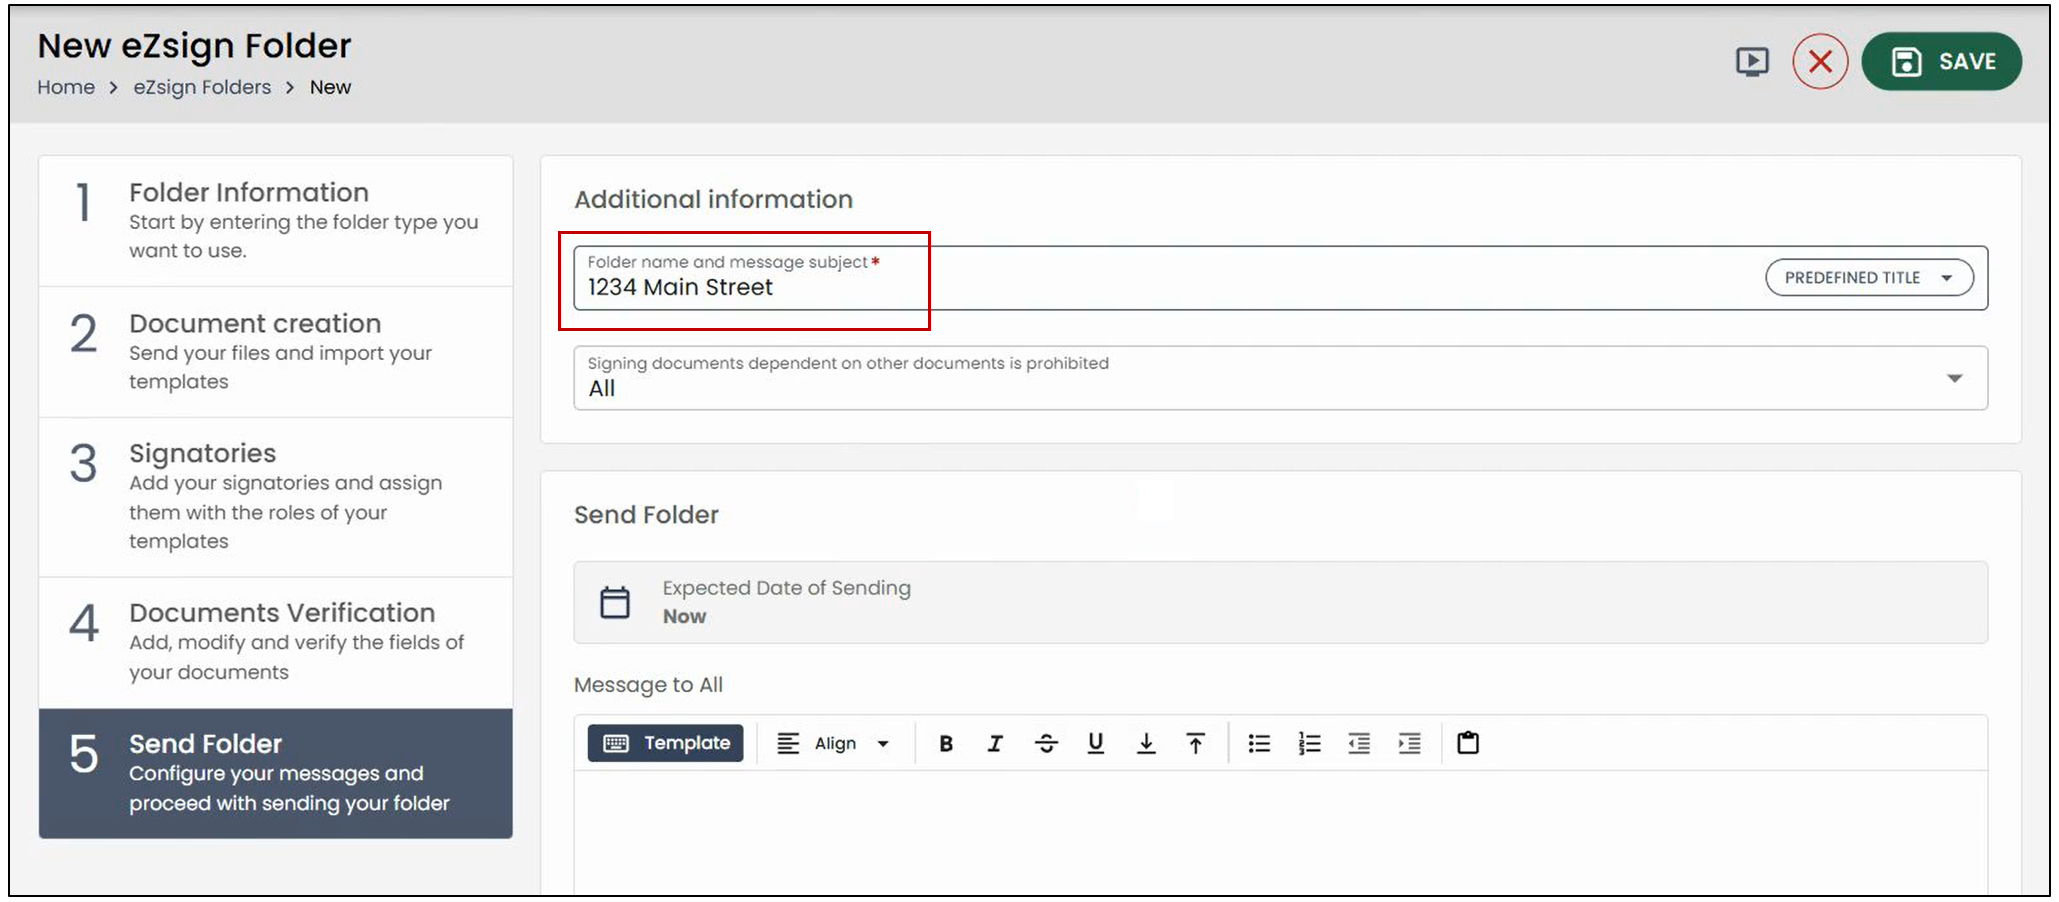
- Next, click Send eZsign Folder to send the folder to the clients for electronic signature.
NOTE: When you access the imported folder again, you will see that the two previously selected documents have been successfully associated with the new folder named "1234 Main Street".
Associating with an existing eZsign folder
To associate a document with an existing eZsign folder, check it, then click Associate with an eZsign folder.
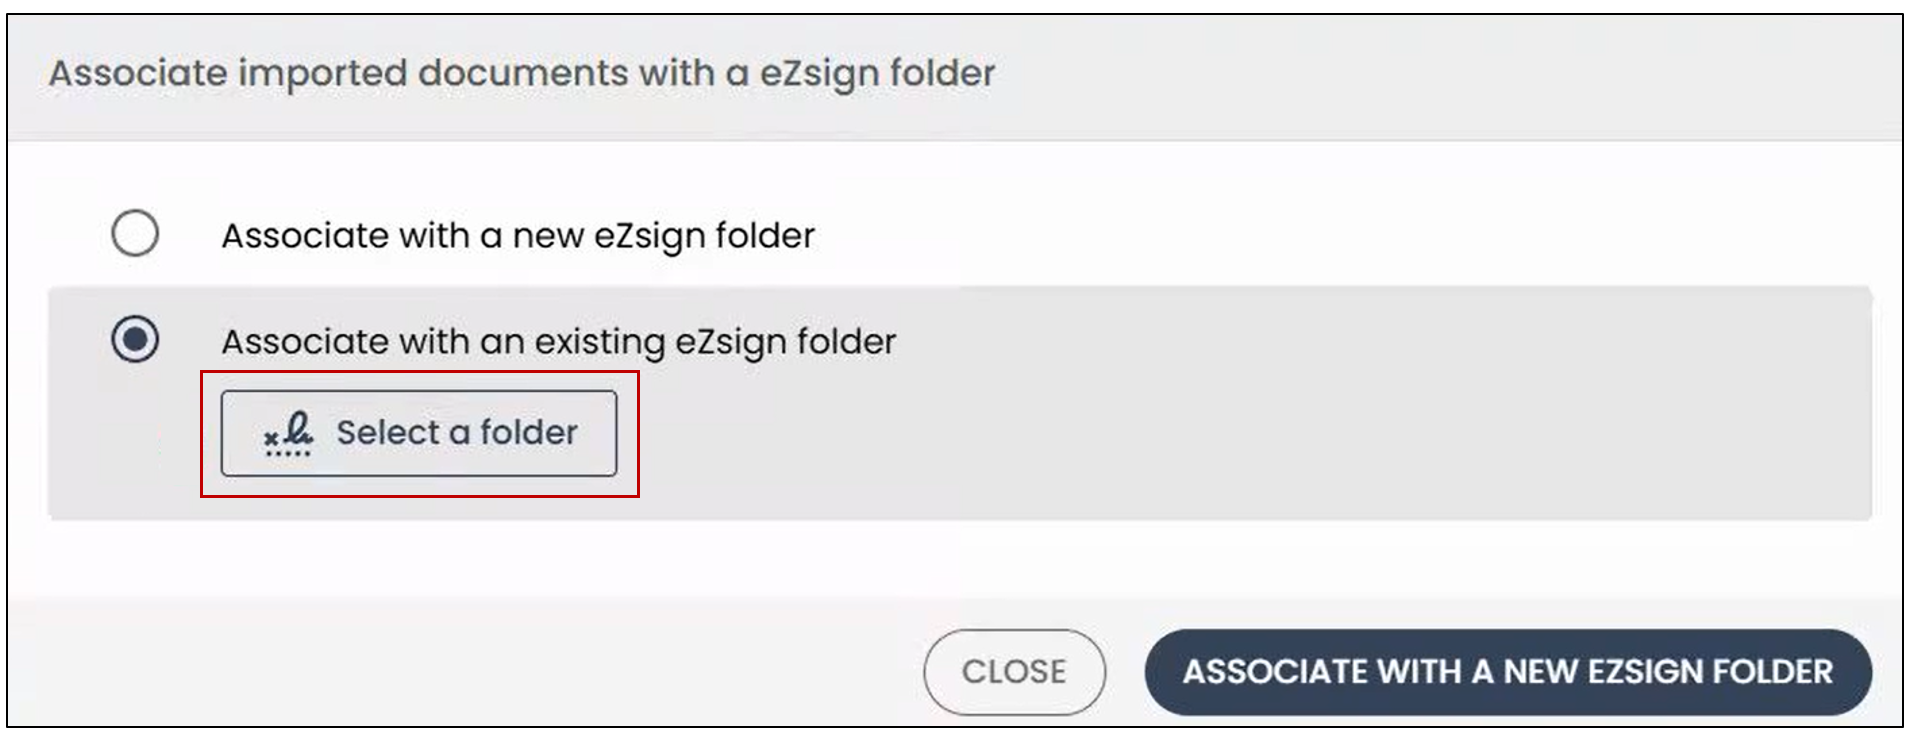
- Click Select a folder , then the list of eZsign folders will appear.
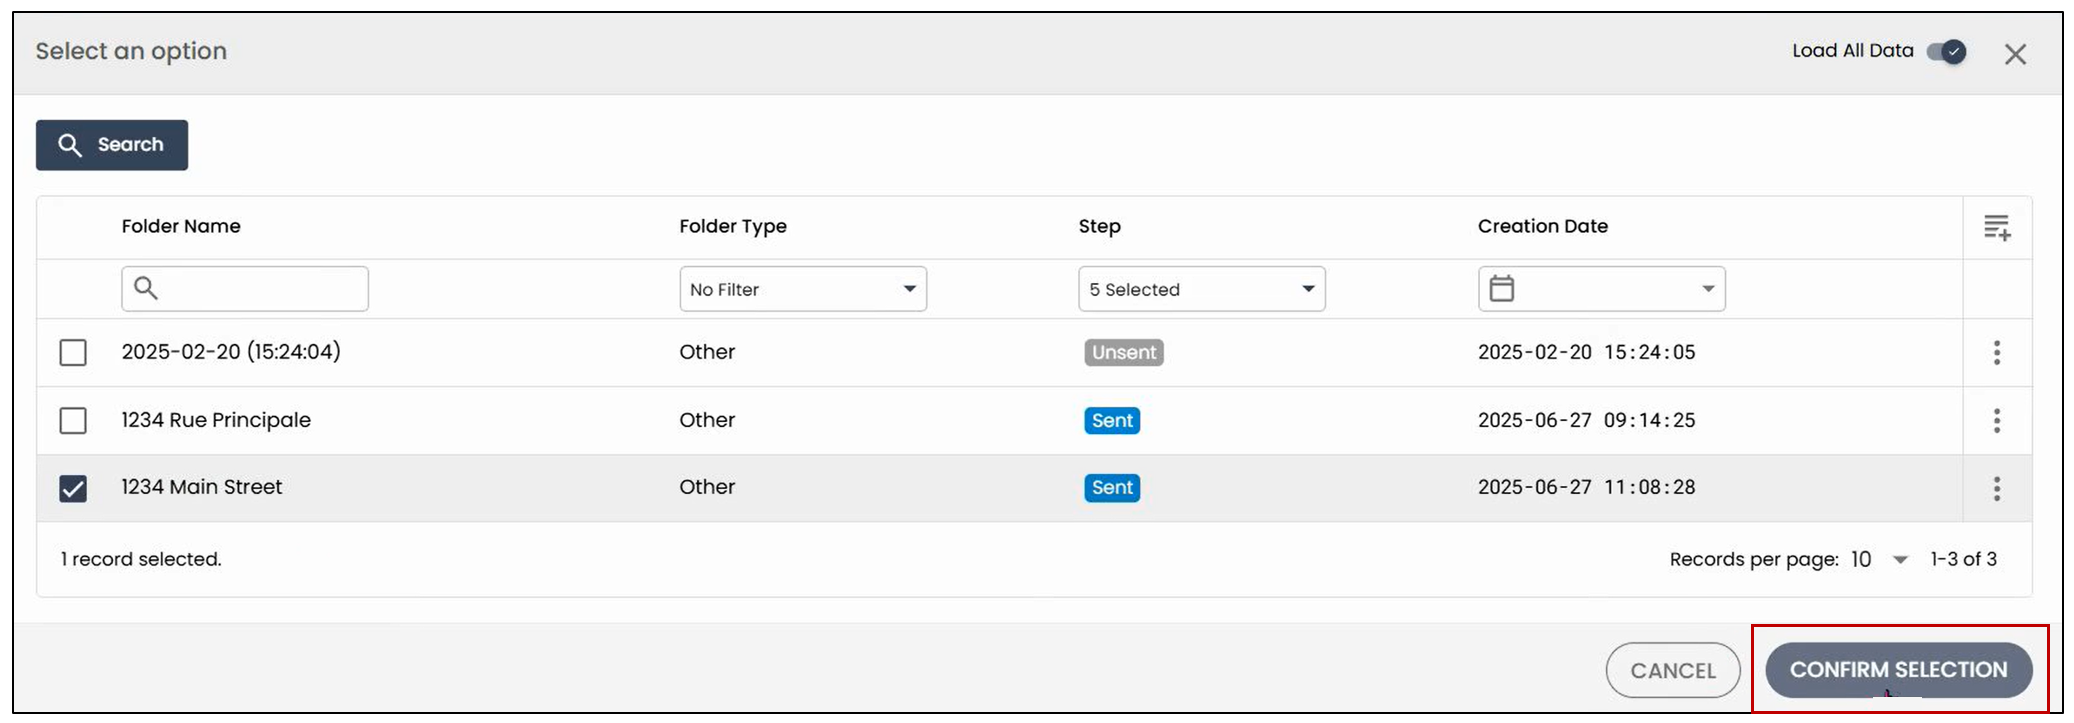
- Select the desired folder, then click Confirm Selection.
- Click Associate with an existing eZsign folder.
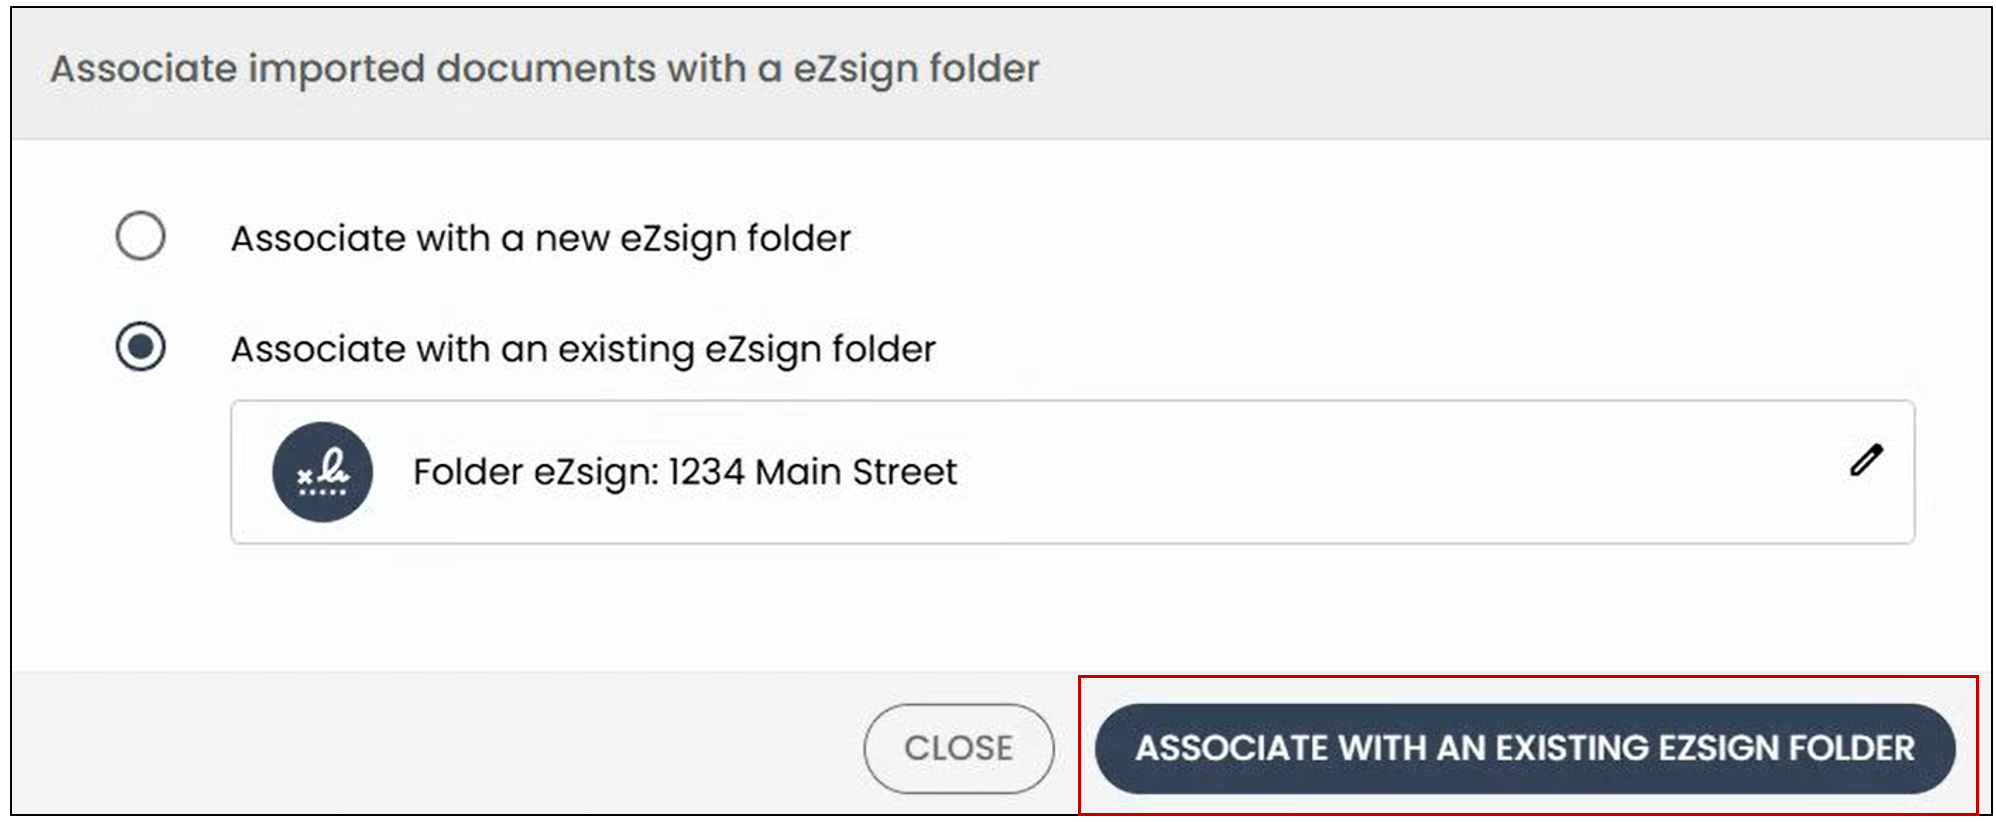
NOTE: You will be redirected to the Document Creation step of the eZsign folder, but all previously entered information will be retained, so you won’t need to re-enter it.
Configuring OACIQ templates for your account
If no template is automatically associated when adding a document, it means the configuration was not set up correctly. To check or adjust your settings, click the profile icon in the top right corner, then go to the Preferences section.
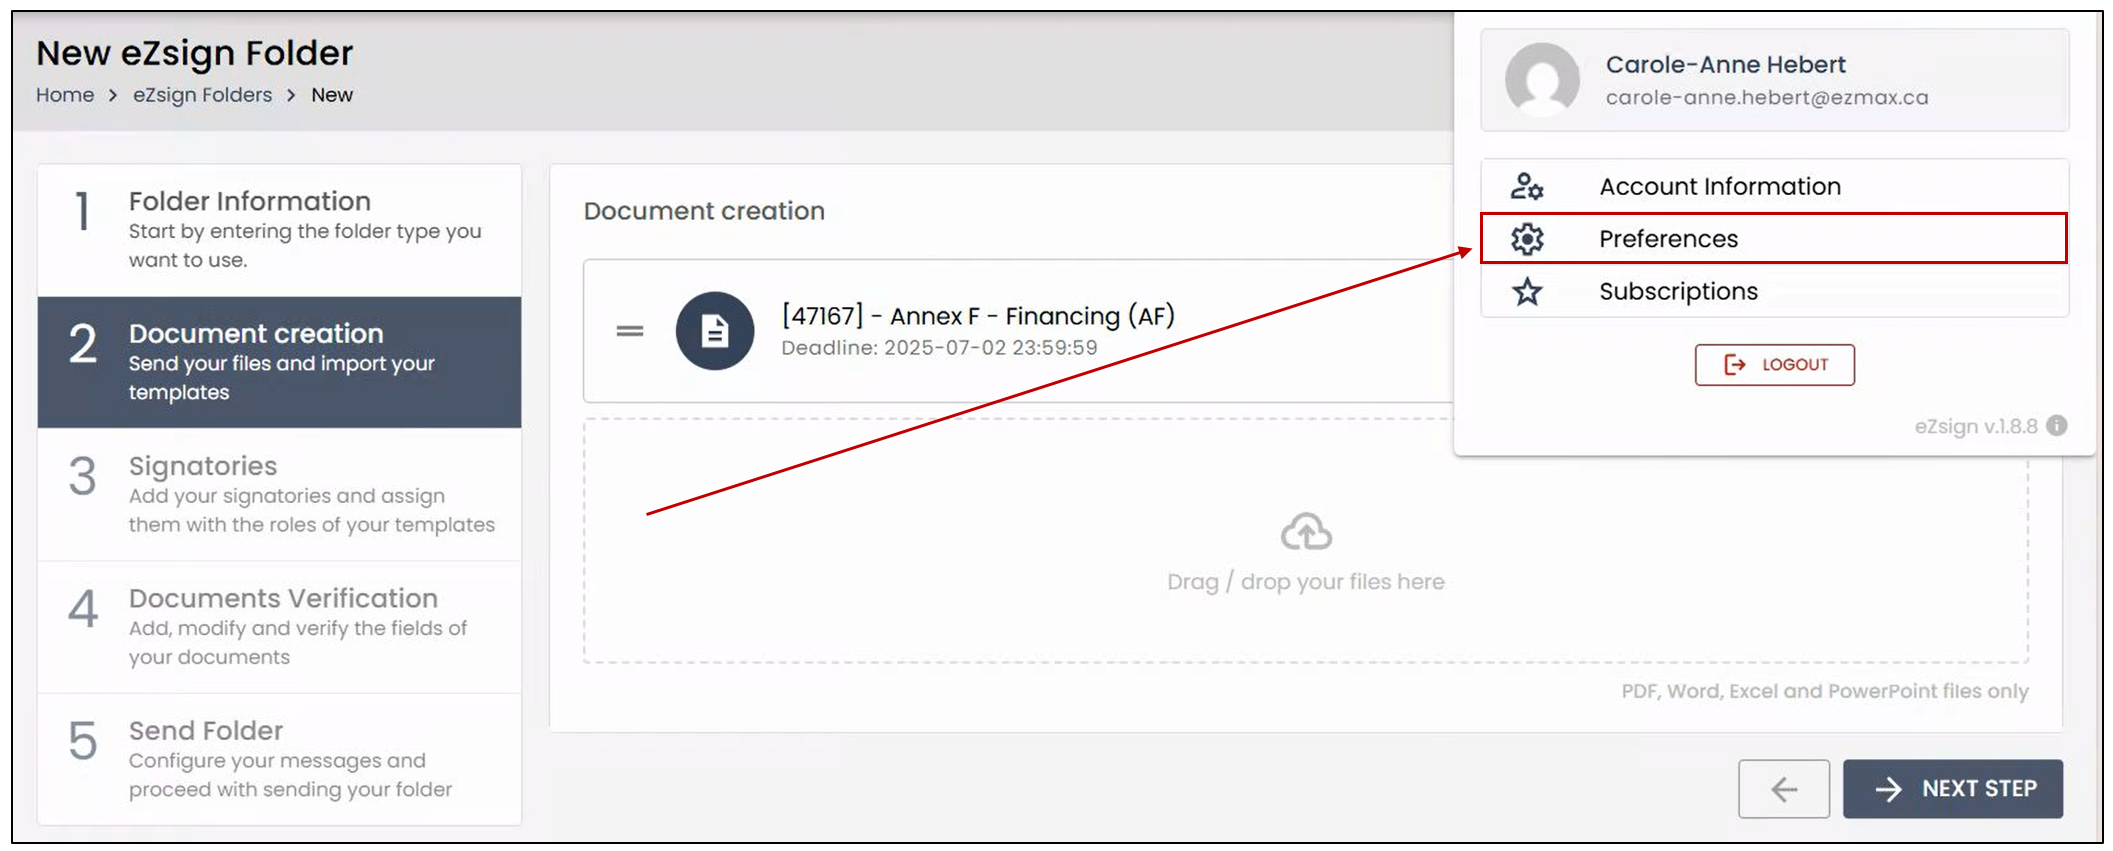
- In the Form Template Type section, you can select the OACIQ templates. This way, each time documents from InstanetForms are added, the corresponding template will be applied automatically.
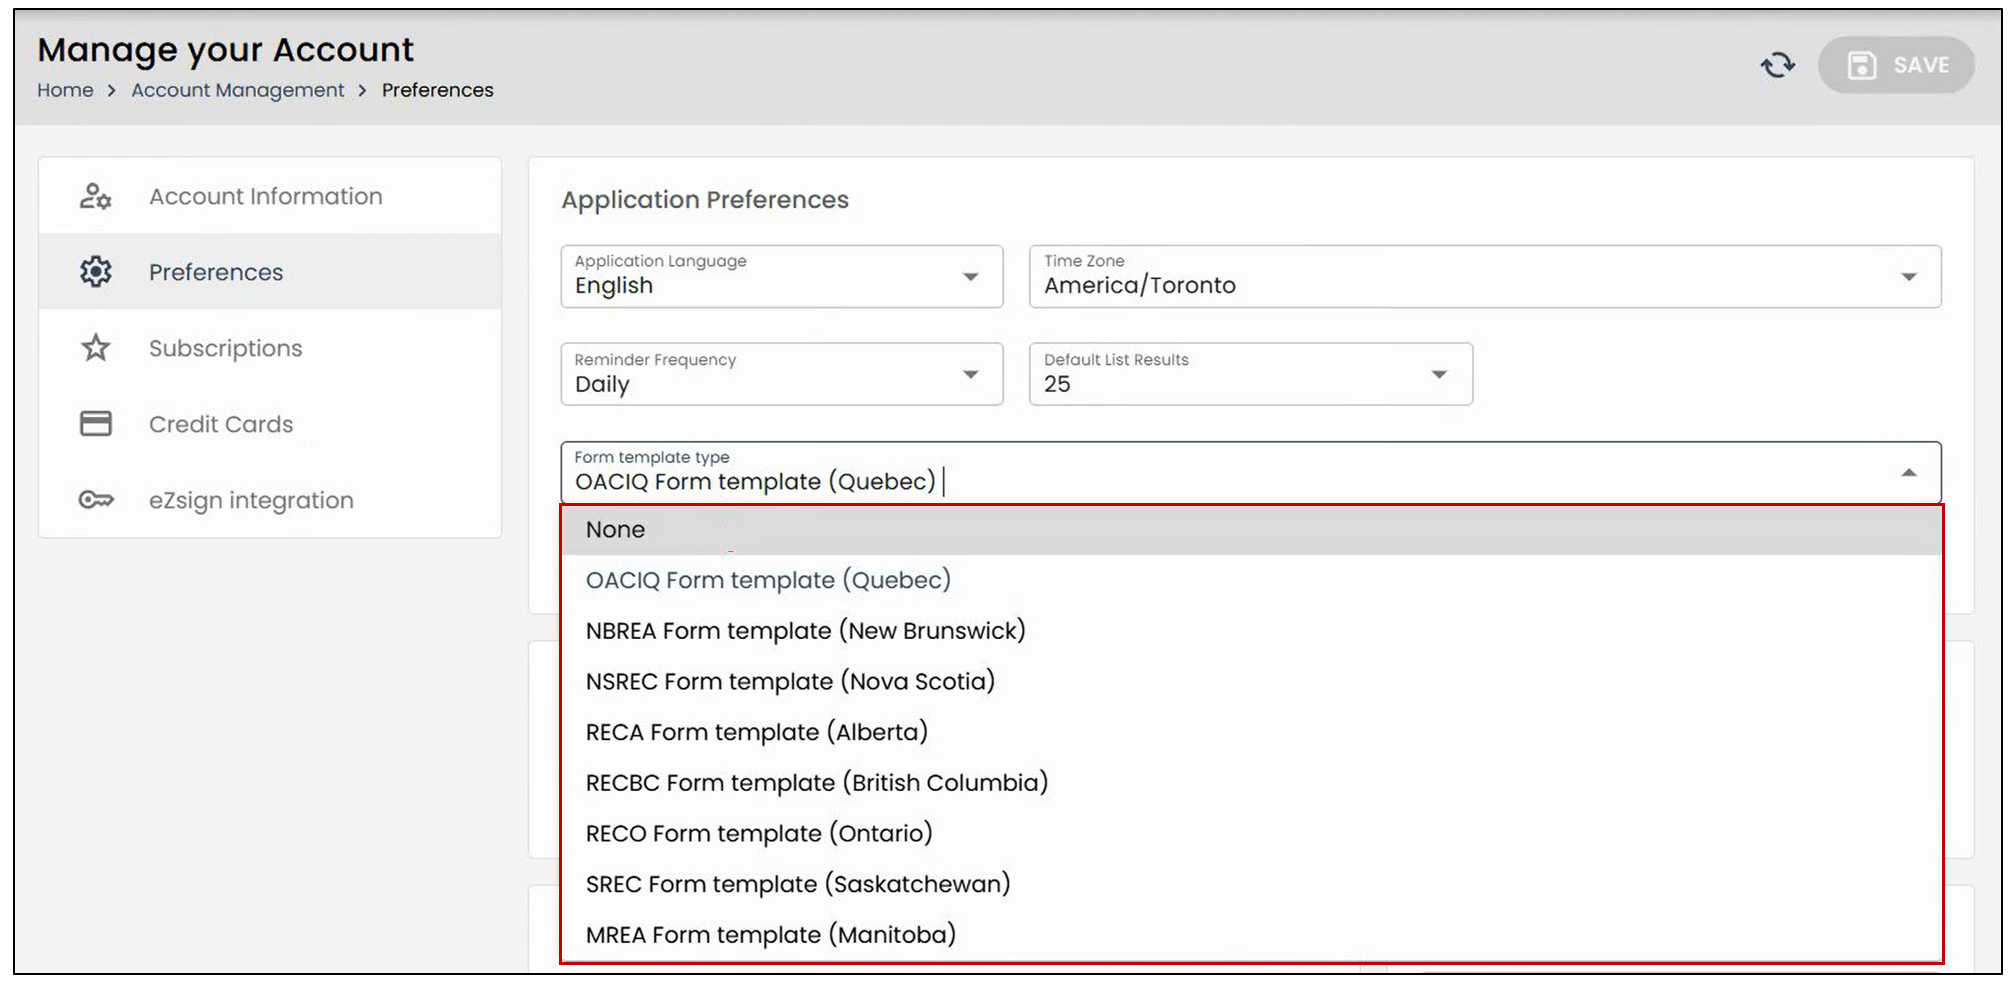
NOTE: If the template is not applied automatically, it is usually because the Form Template Type field is set to None. It is therefore essential to select the OACIQ – Quebec templates to ensure automatic integration.