
English
Adding/Loading/Editing/Duplicating/Deleting a Template
If you frequently create documents where the information changes but the fields stay the same (only the signatories differ), you can create a Template. A template contains only the fields. Add the fields manually the first time, save the template, and reuse it later for similar documents. This is especially useful for contracts or forms that require consistent field placement but vary in content for each client.
Adding a Template
- In the menu on the left, click on eZsign Templates and then on New eZsign Template.
Basic Information of the Template
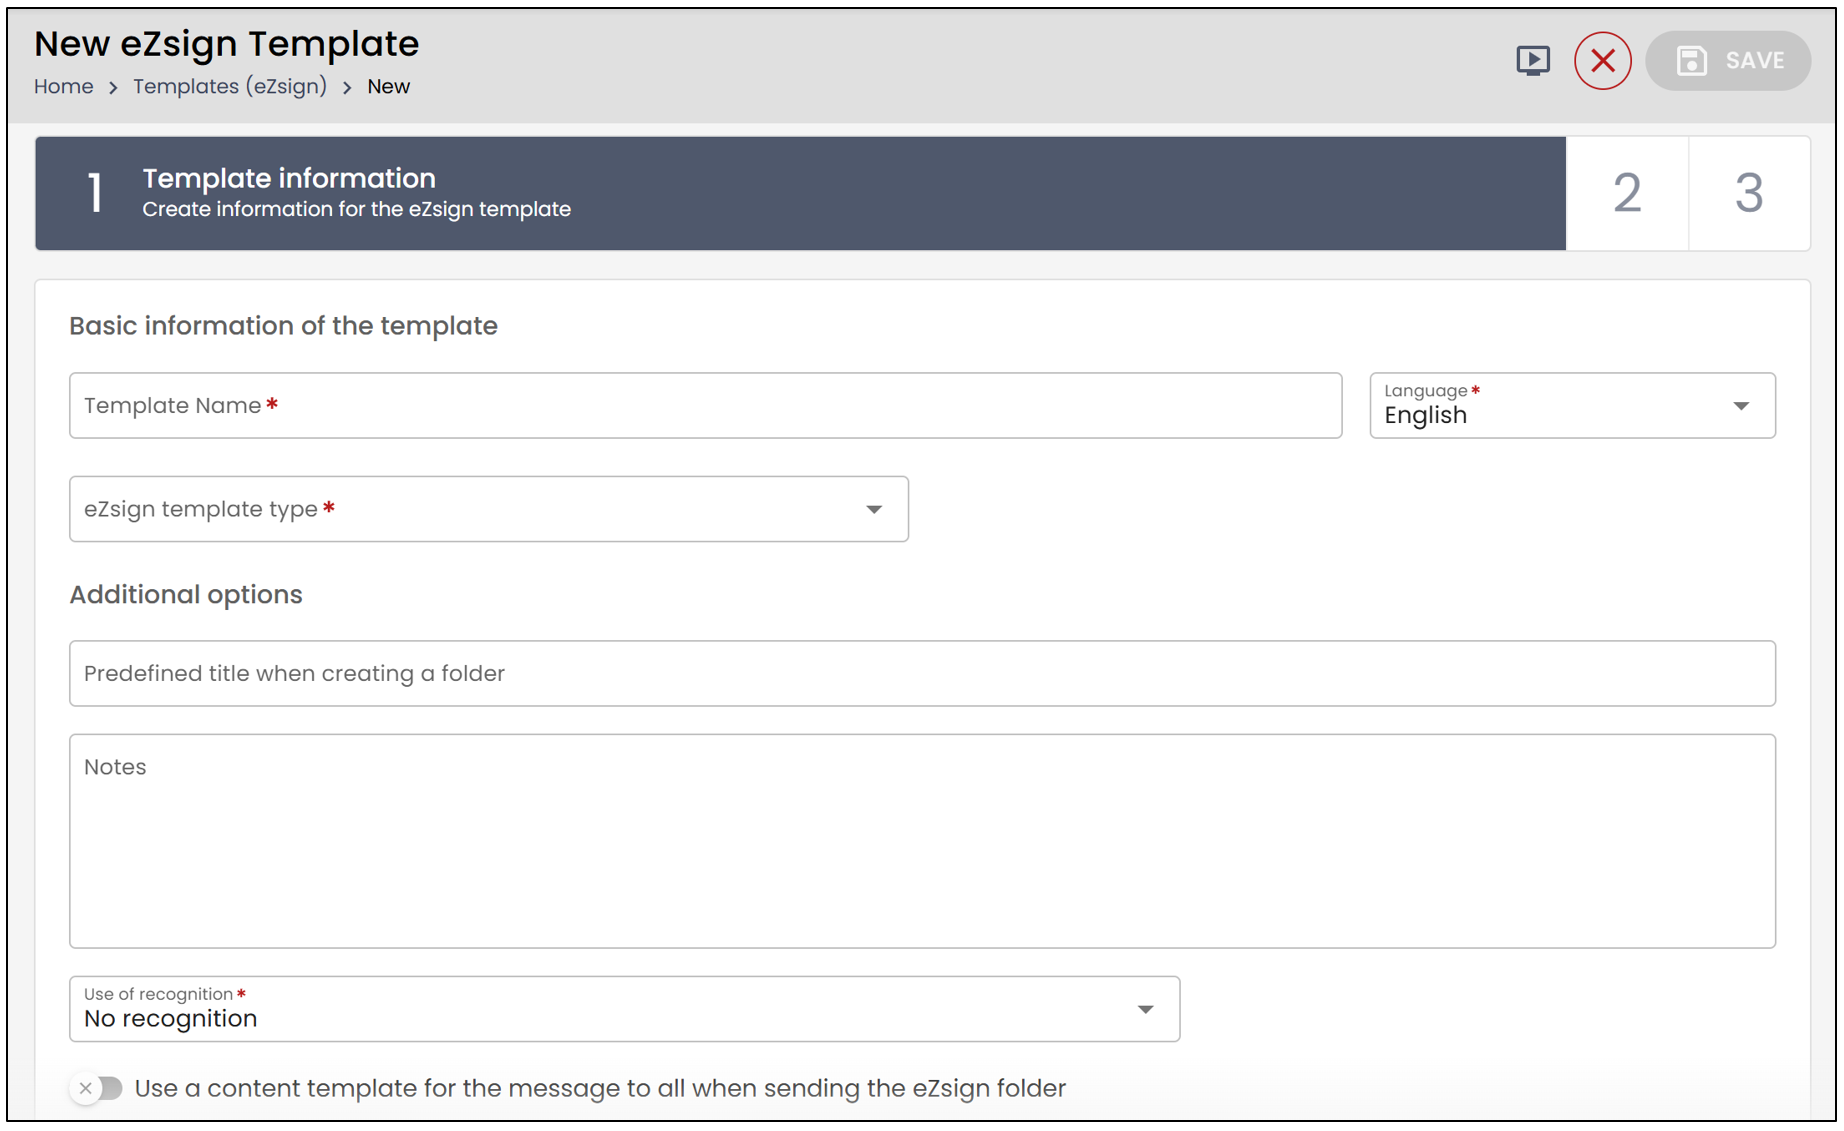
- Enter the Template Name.
- Select the Language.
- Select the eZsign Template Type. The options available in this drop-down list will depend on your plan.
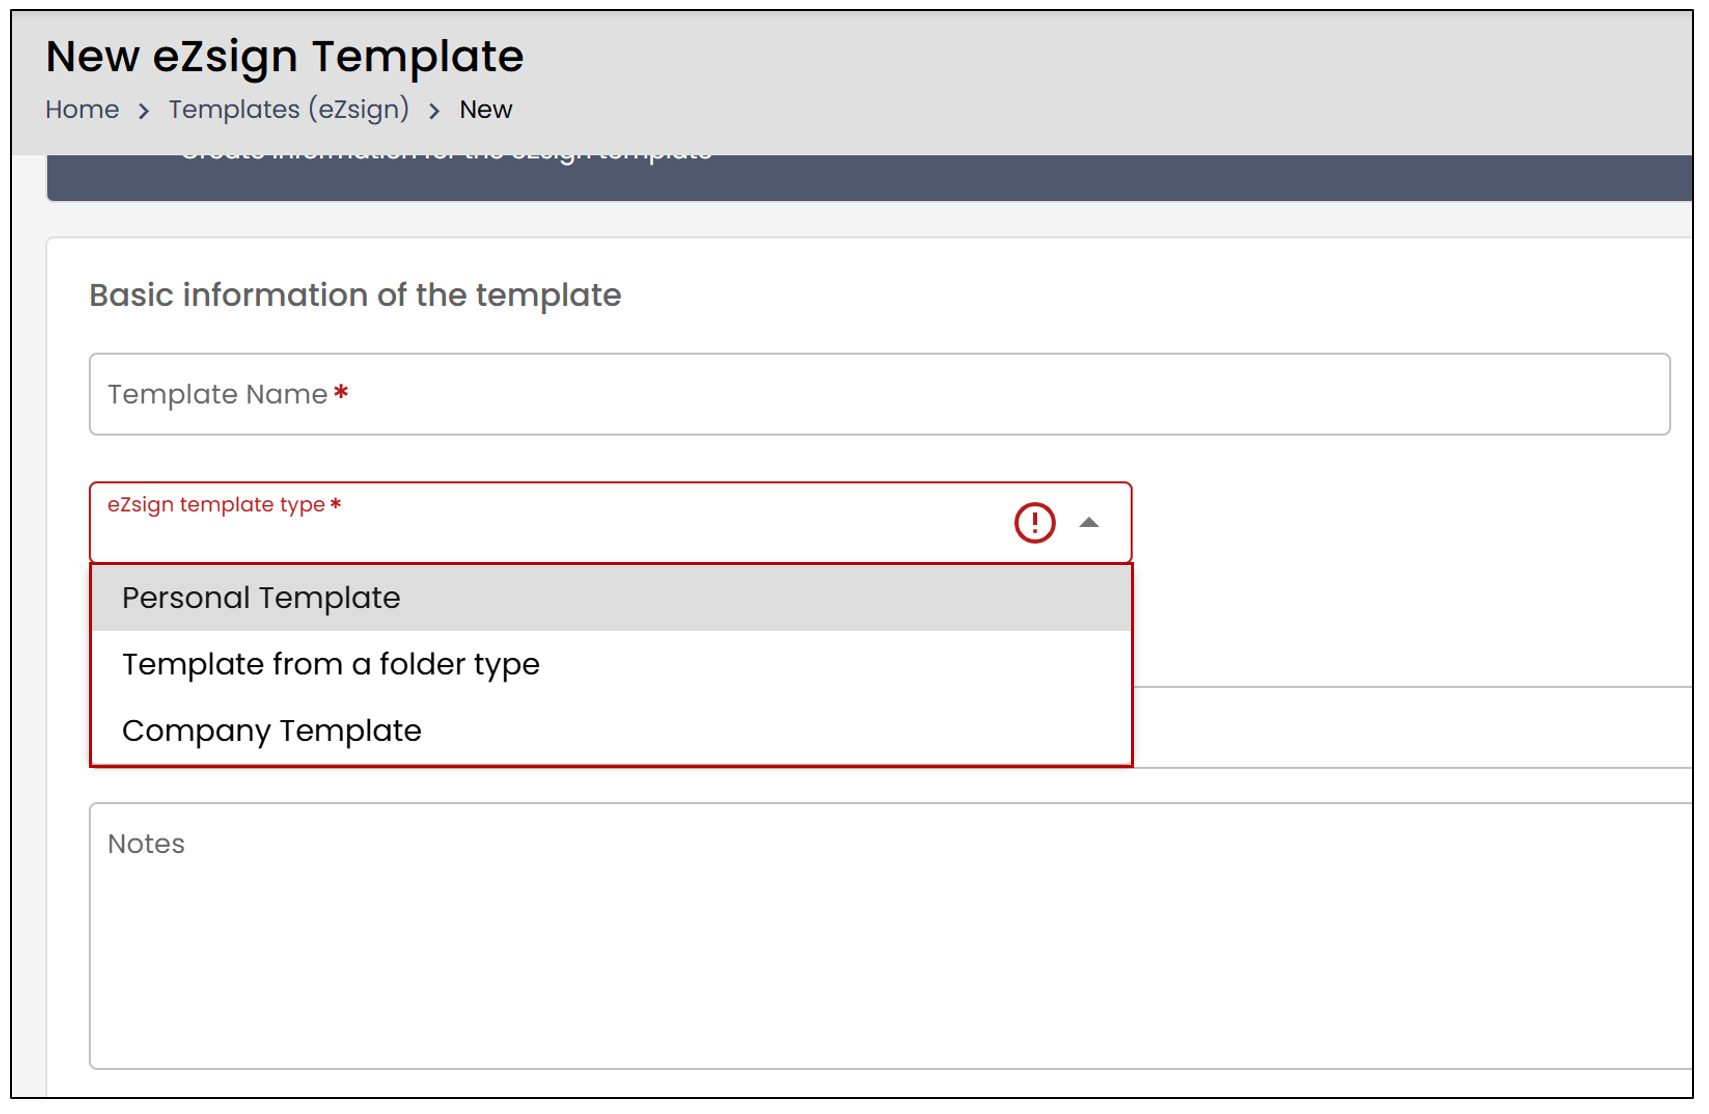
* **Personal Template** : This template will only be visible to the creator. It will be accessible regardless of the folder type.Template from a folder type : This template will only be visible within the selected folder type. For example, if you select "Accounting " as the folder type, the template will only appear for that category.
Company Template : This template will be visible to everyone at all times.
Additional options (these will be available depending on your account type):
Enter a Predefined title when creating a folder. This title will automatically appear when a new folder is created.
You have the option to add aNotes to the folder. This note will appear in the template description.
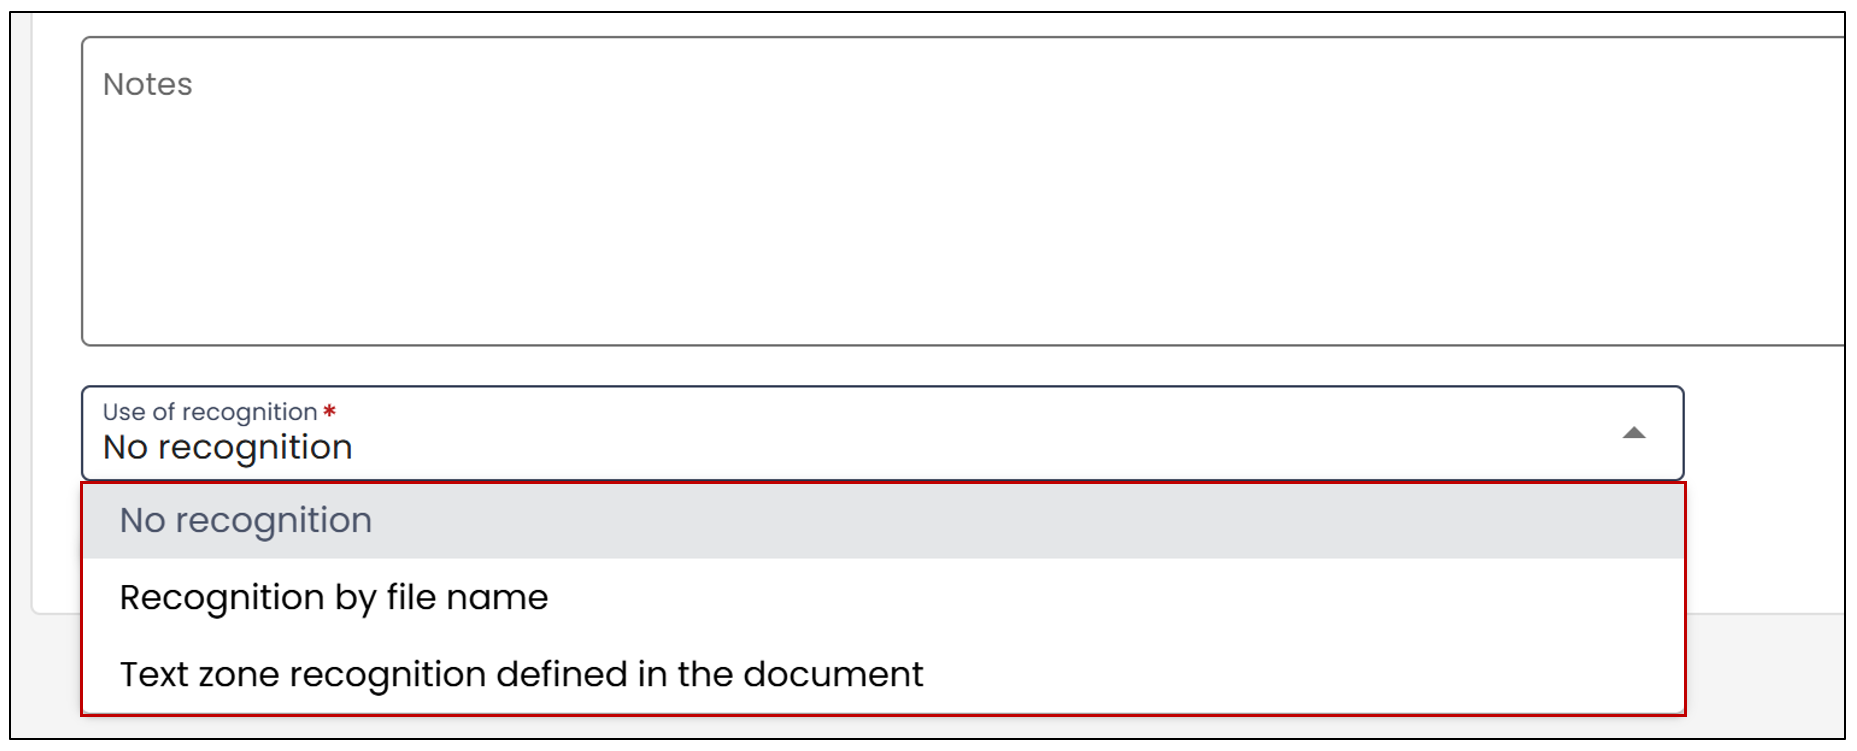
By enabling the Use of recognition , you can enter a file name. Any document added later with this name will automatically be associated with the template.
- To use a content template, please refer to the article Content Templates.
- When finished, select Next Step at the bottom right.
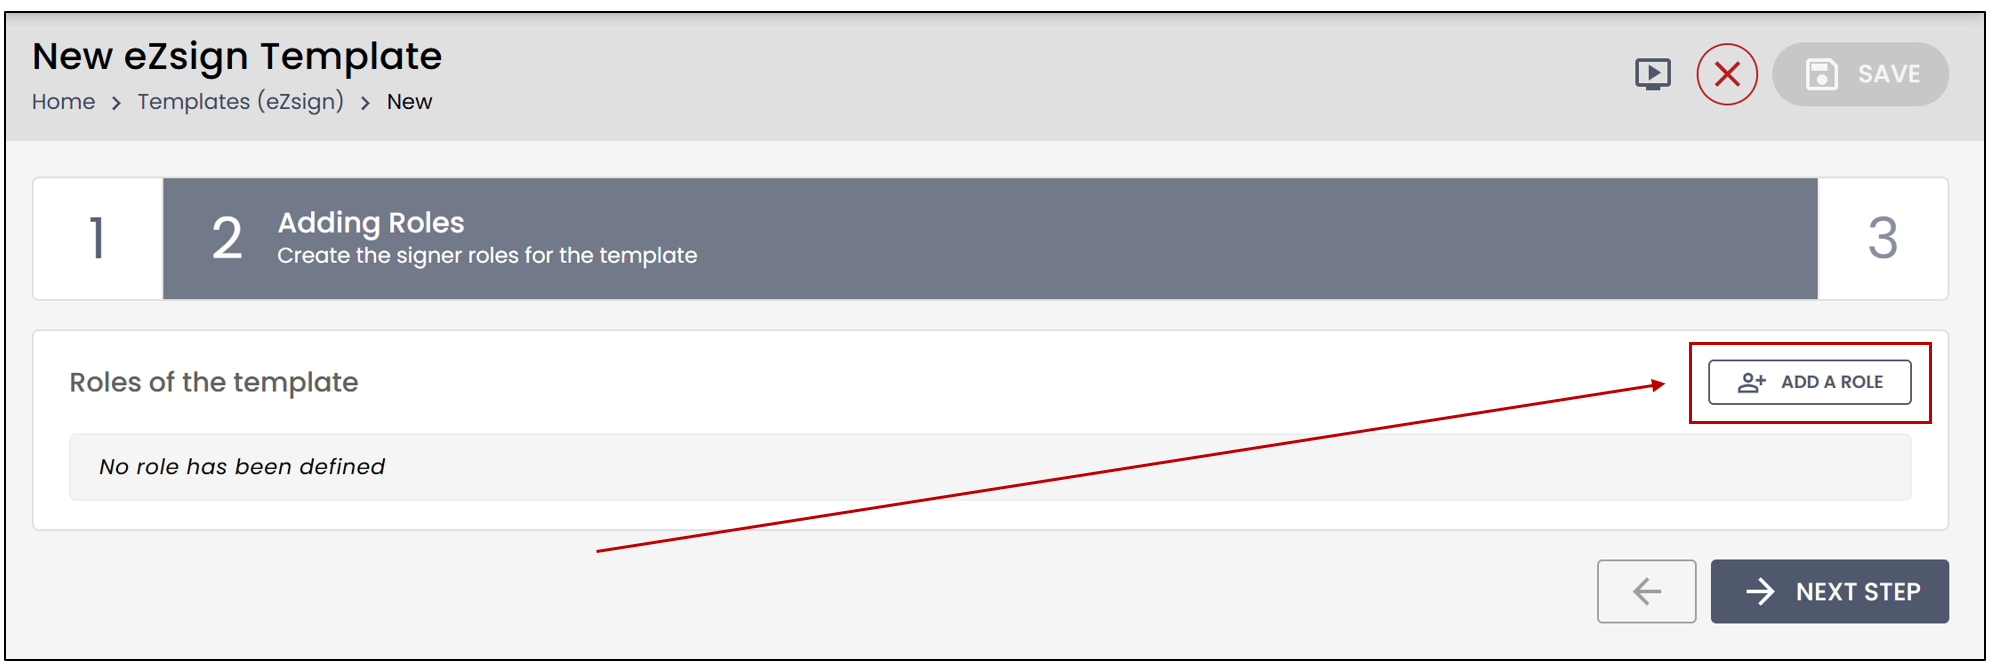
Adding Roles
Roles are the people who will need to sign, complete, or take action on the document.
- Click on Add a Role.
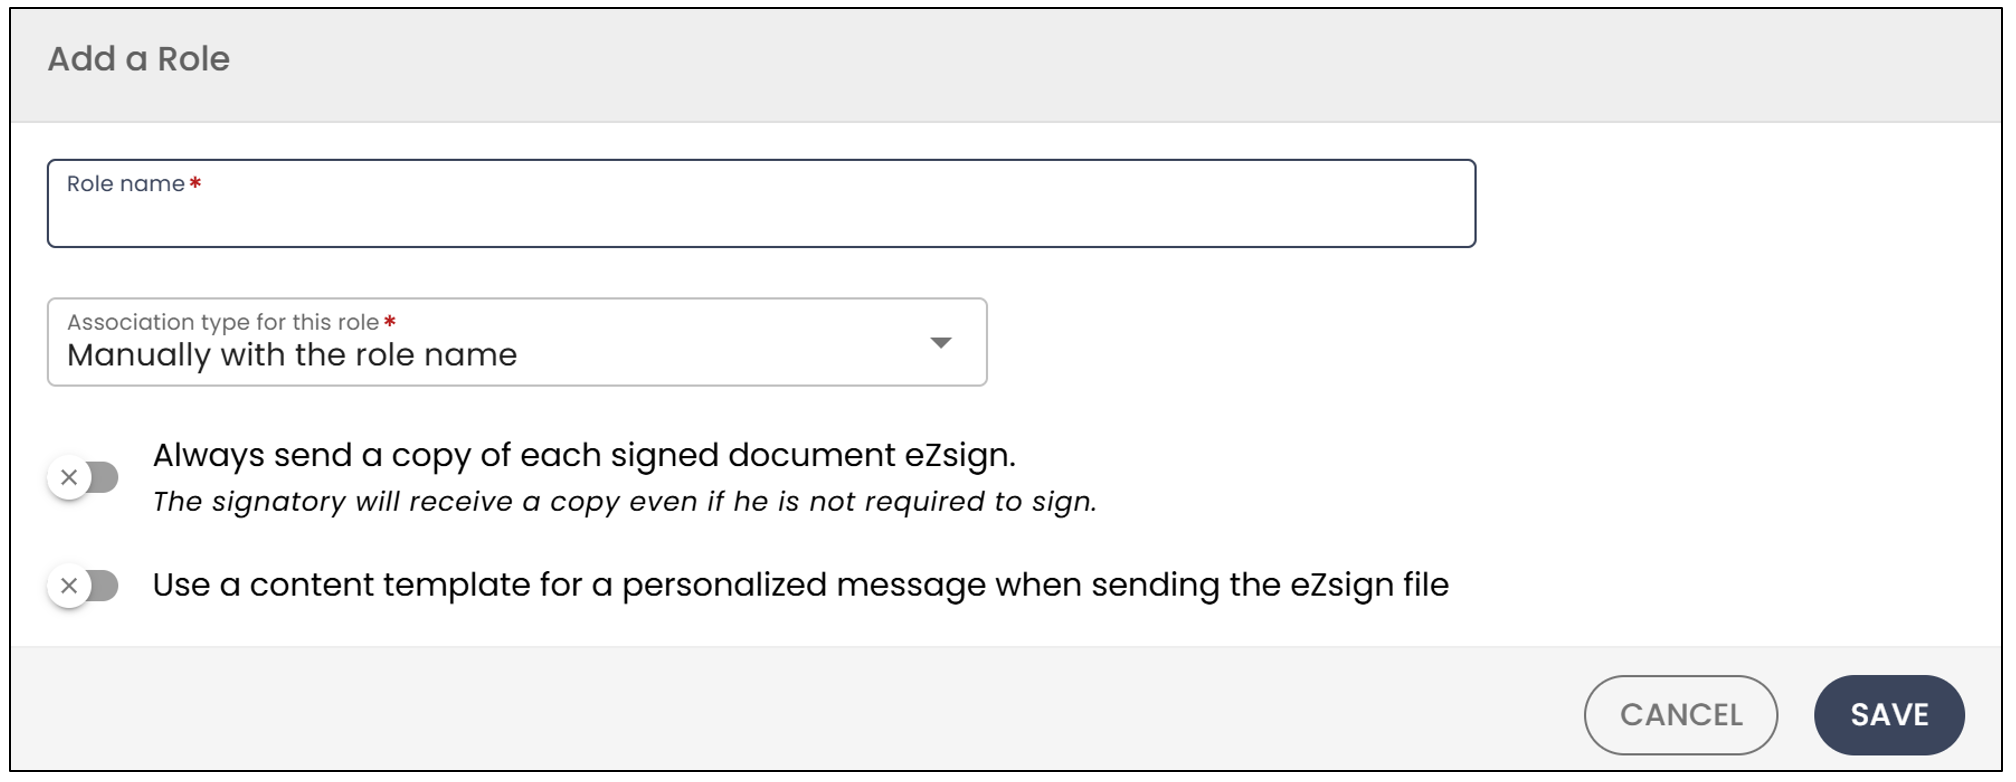
- Enter the Role Name. In this example: "Company Representative".
You have the option to directly add a person to this role by selecting an Association type for this role.
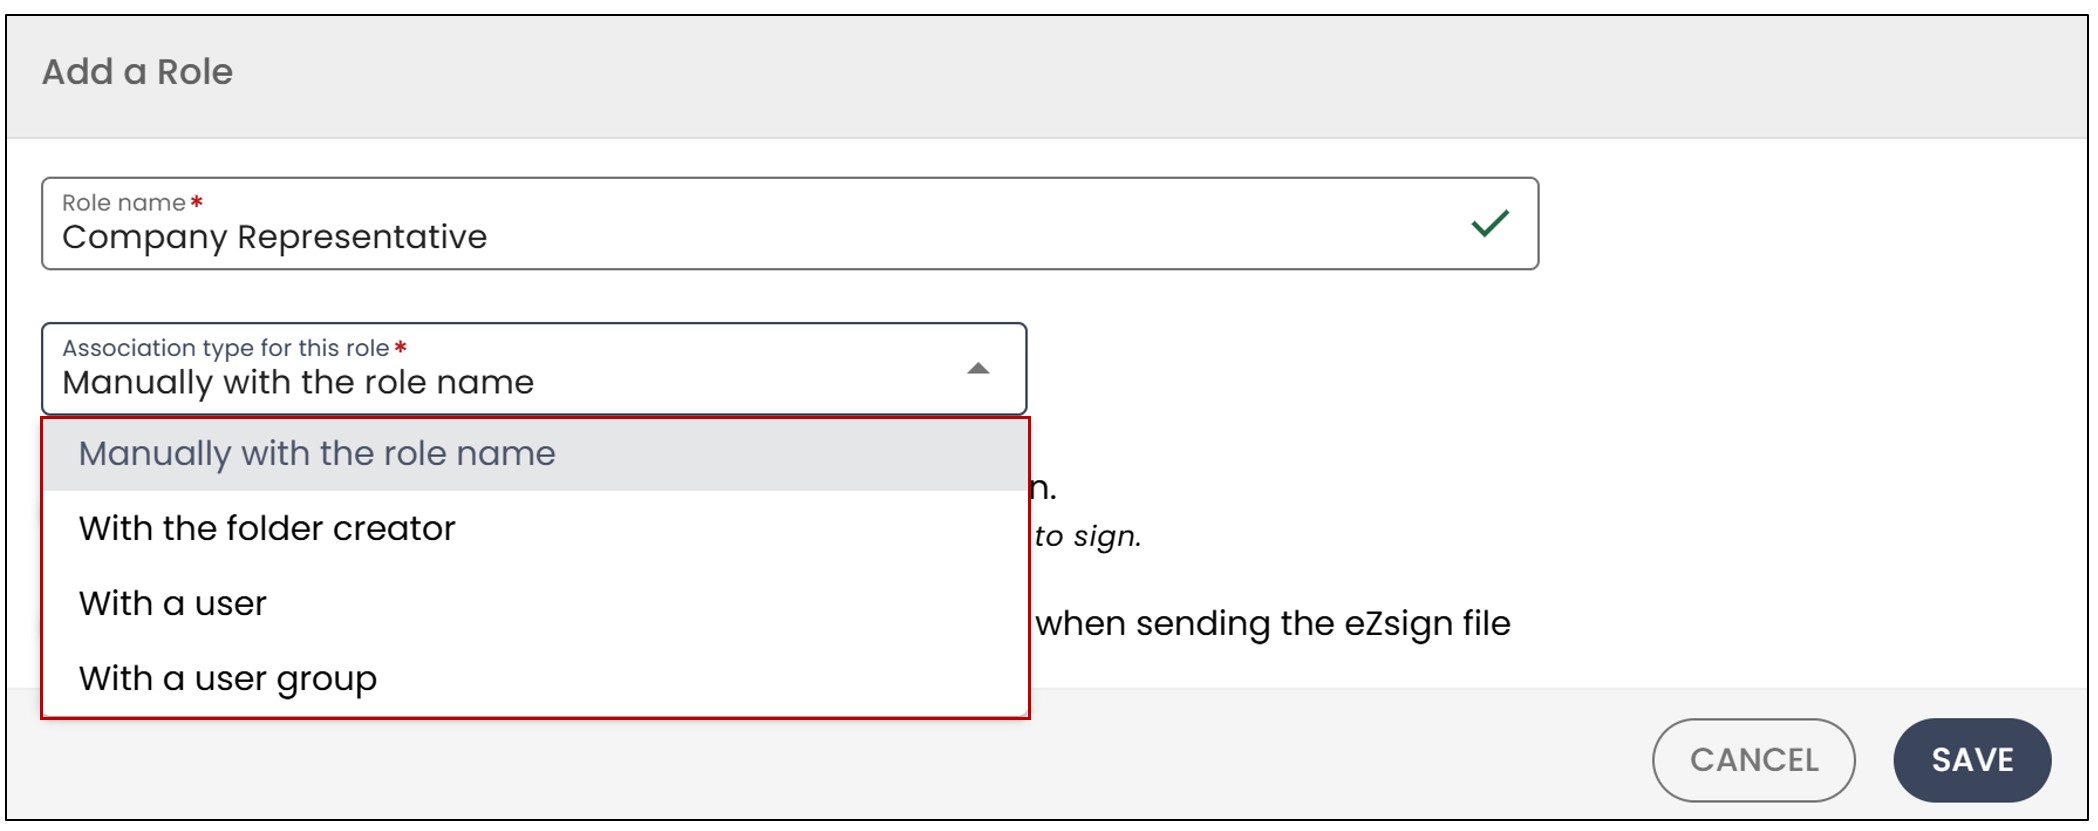
* **Manually with the role name** : The association to this role will be done manually.With the folder creator : The folder creator will always be associated with this role.
With a user : You can select a user from the drop-down list to be associated with this role.
With a user group : You can select a user group to be associated with this role
If you would like to use a content template, enable this option, and select it from the drop-down list.
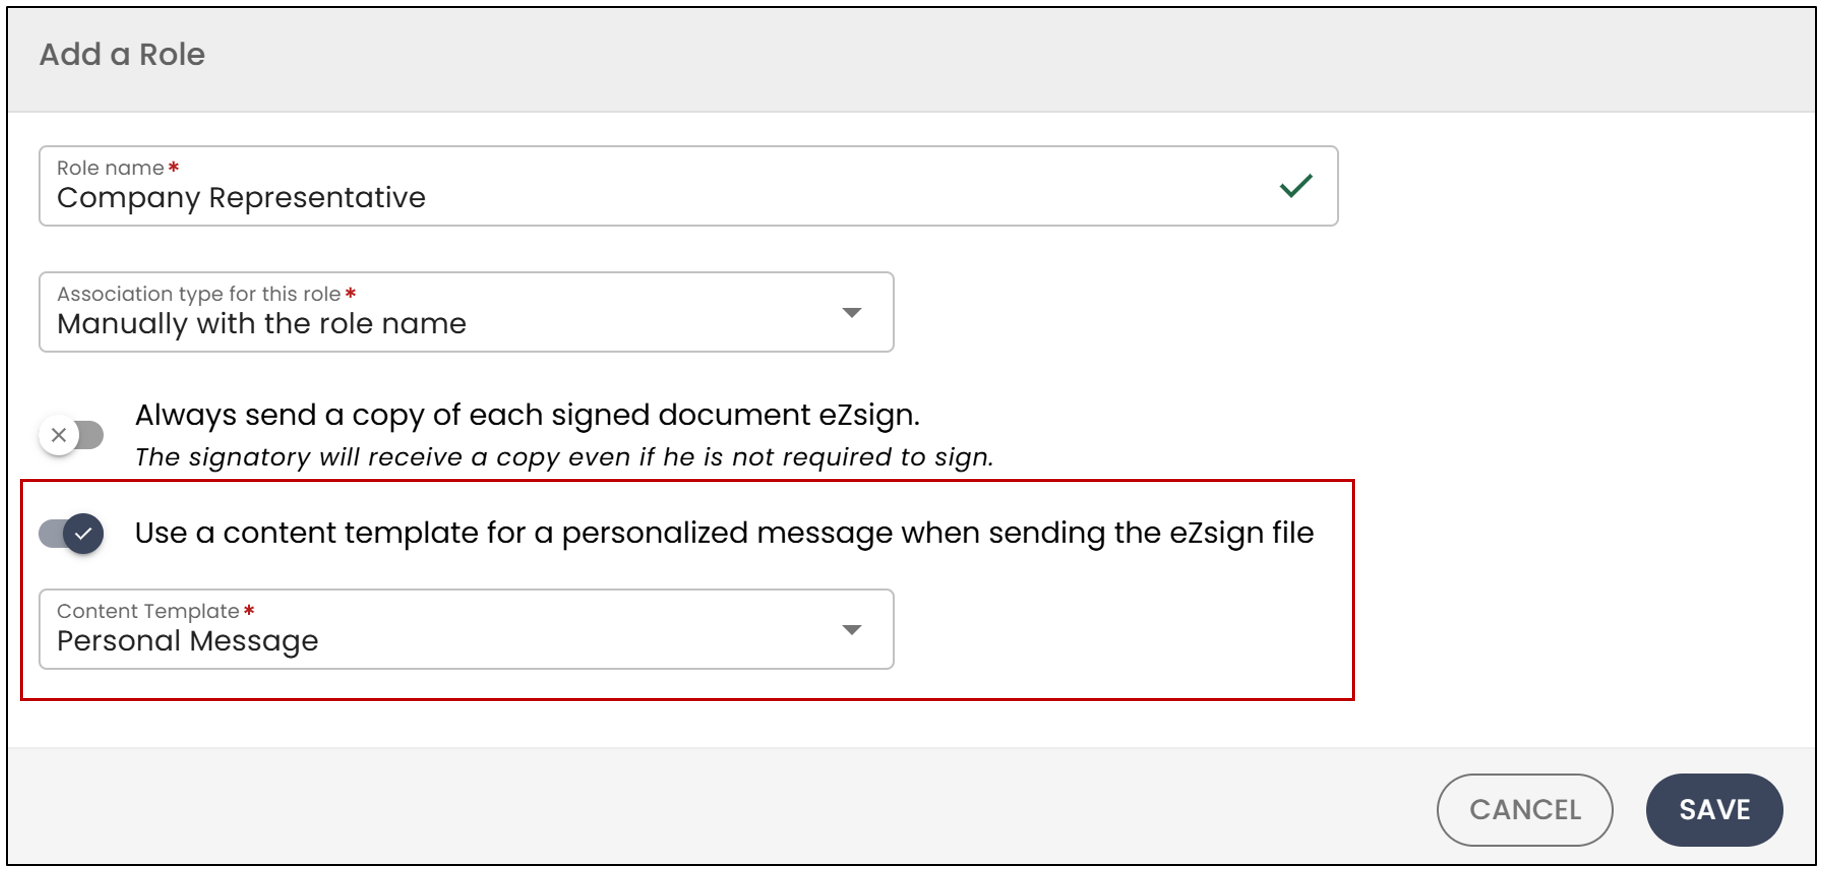
Click on Save.
Add all desired roles. You should see them appear under Roles of the Template.
When finished, select Next Step at the bottom right.
Adding and Editing Template Fields
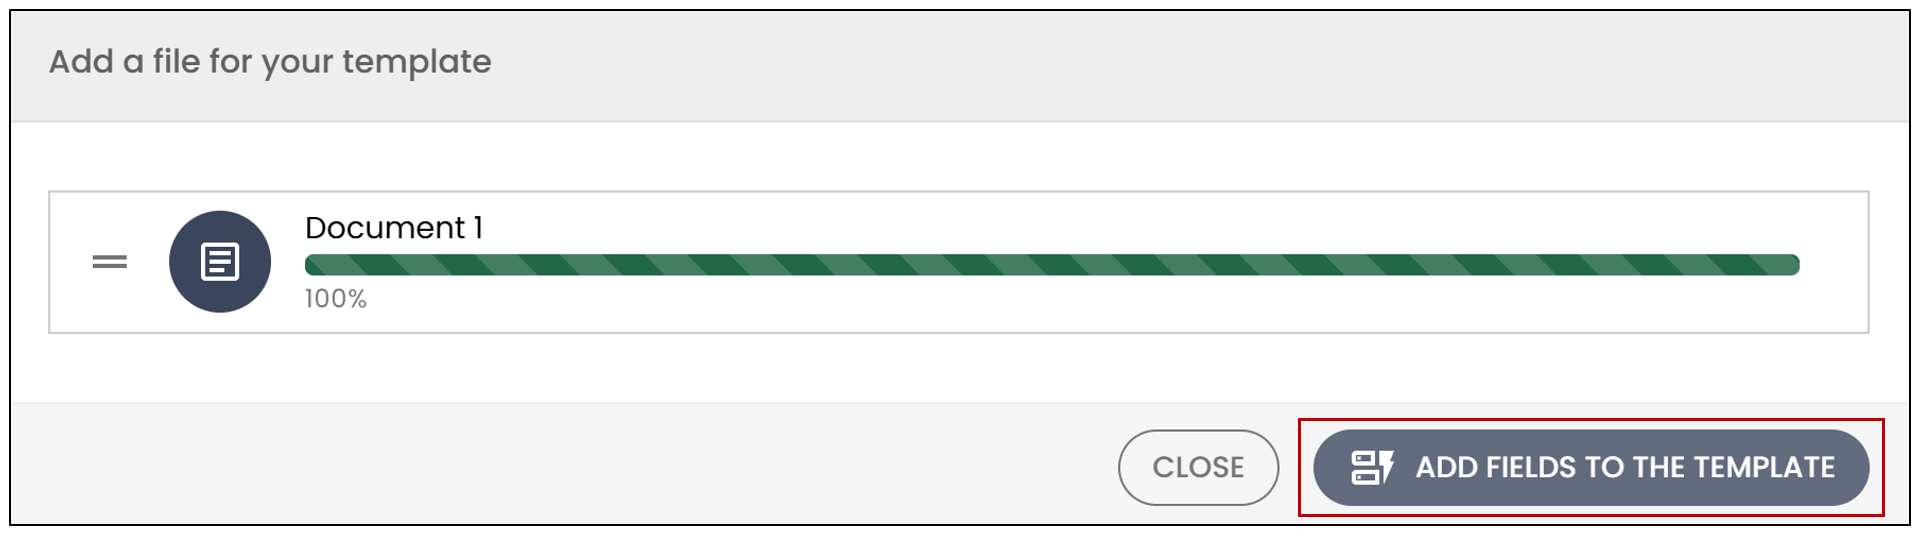
You can drag and drop a file for your template into the upload area directly from your computer or click on the Add a File button. Then, select Add Fields to the Template.
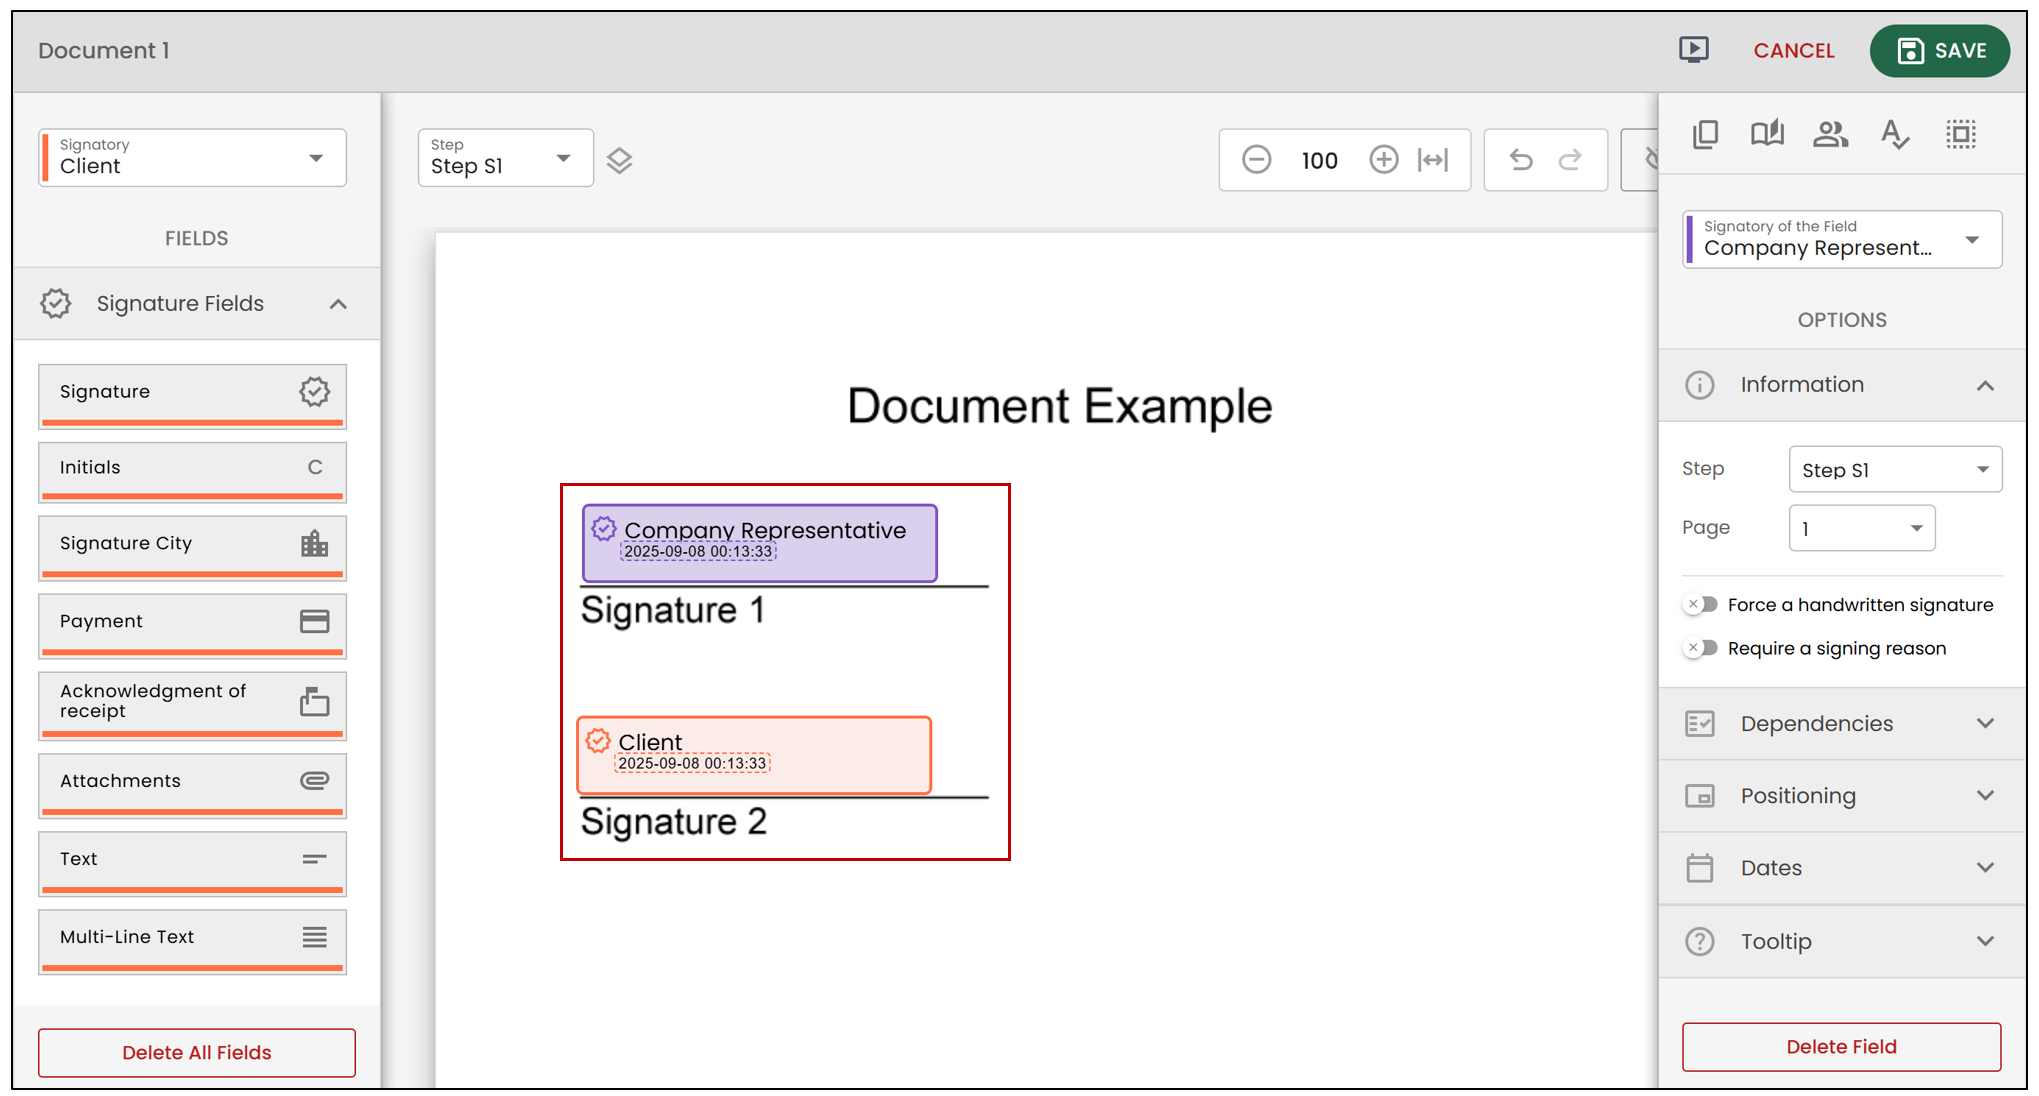
Add the desired fields to the document. For more information, see the article Adding/Editing/Deleting a Field in a Document.
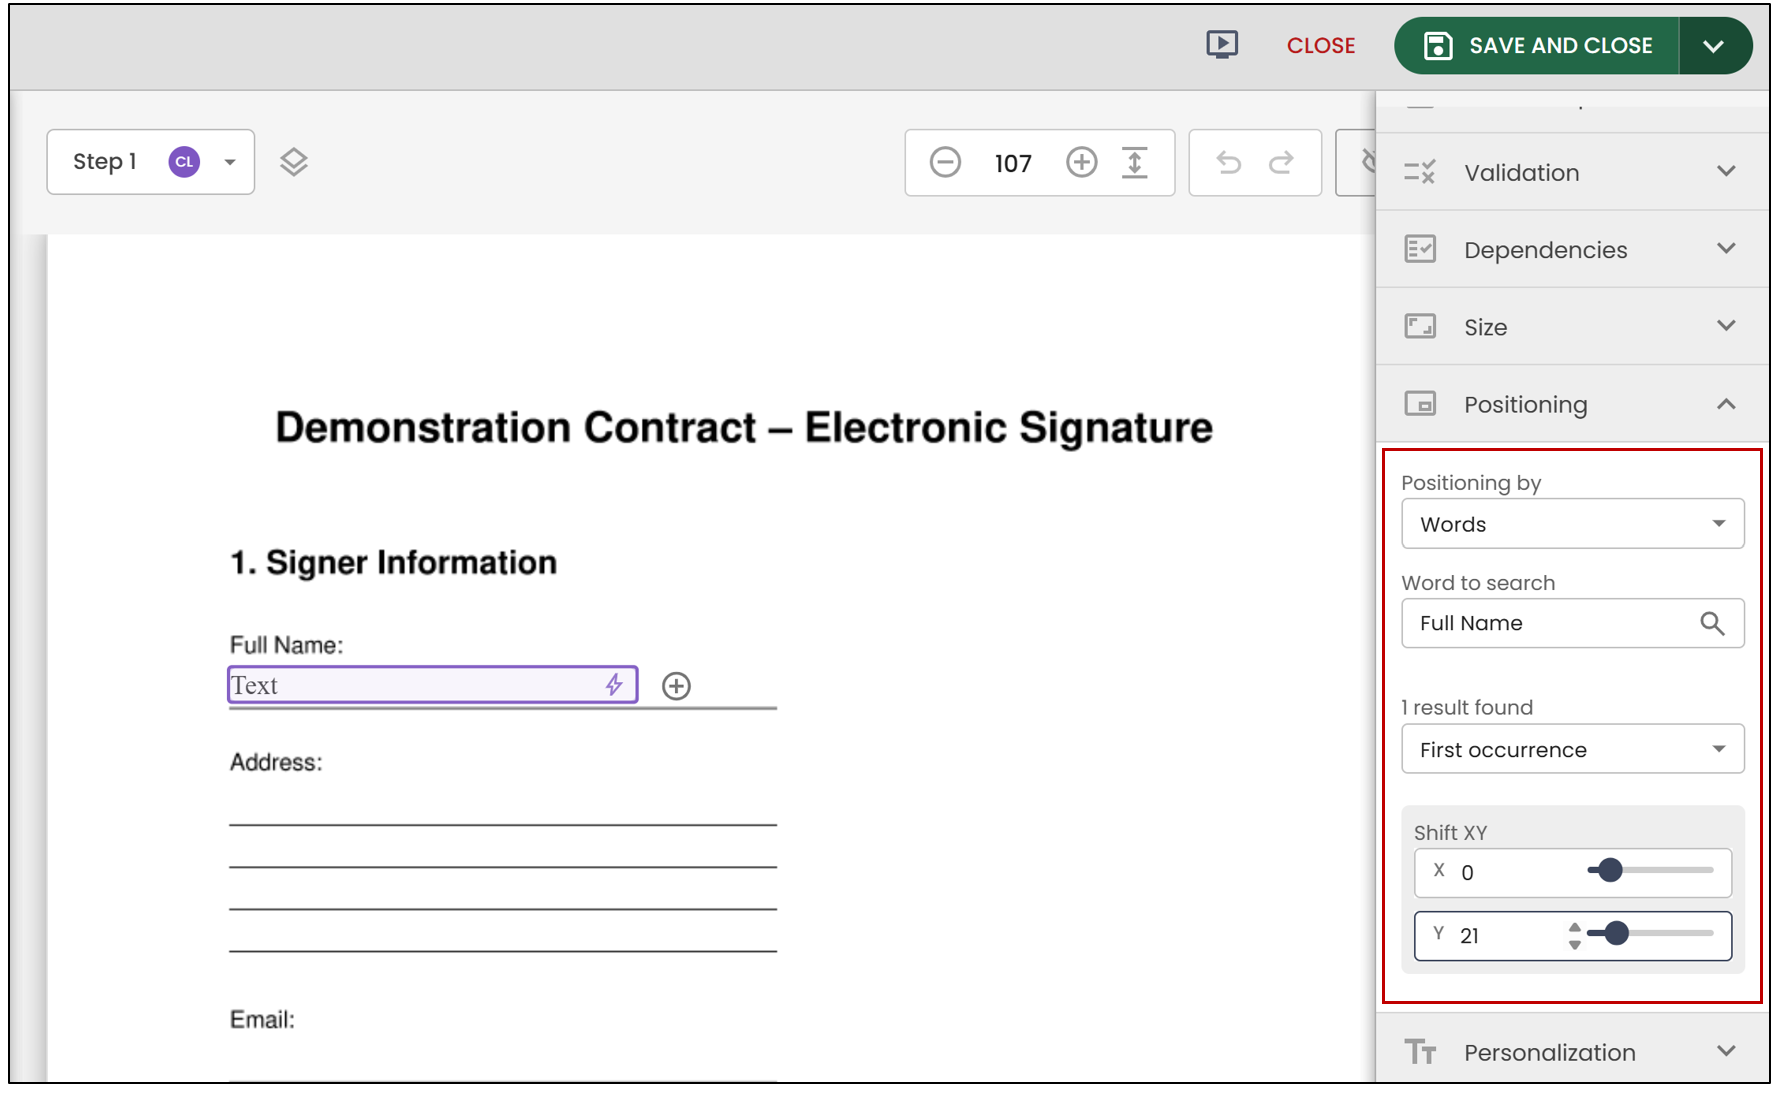
Positioning Fields Using a Word
When creating a template, signature fields and form fields can be positioned automatically based on the location of a word in the document. This option is available in the Positioning section.
- Enter the Word to search , then select the desired occurrence. You can then adjust the X and Y values to edit the field’s position within the document.
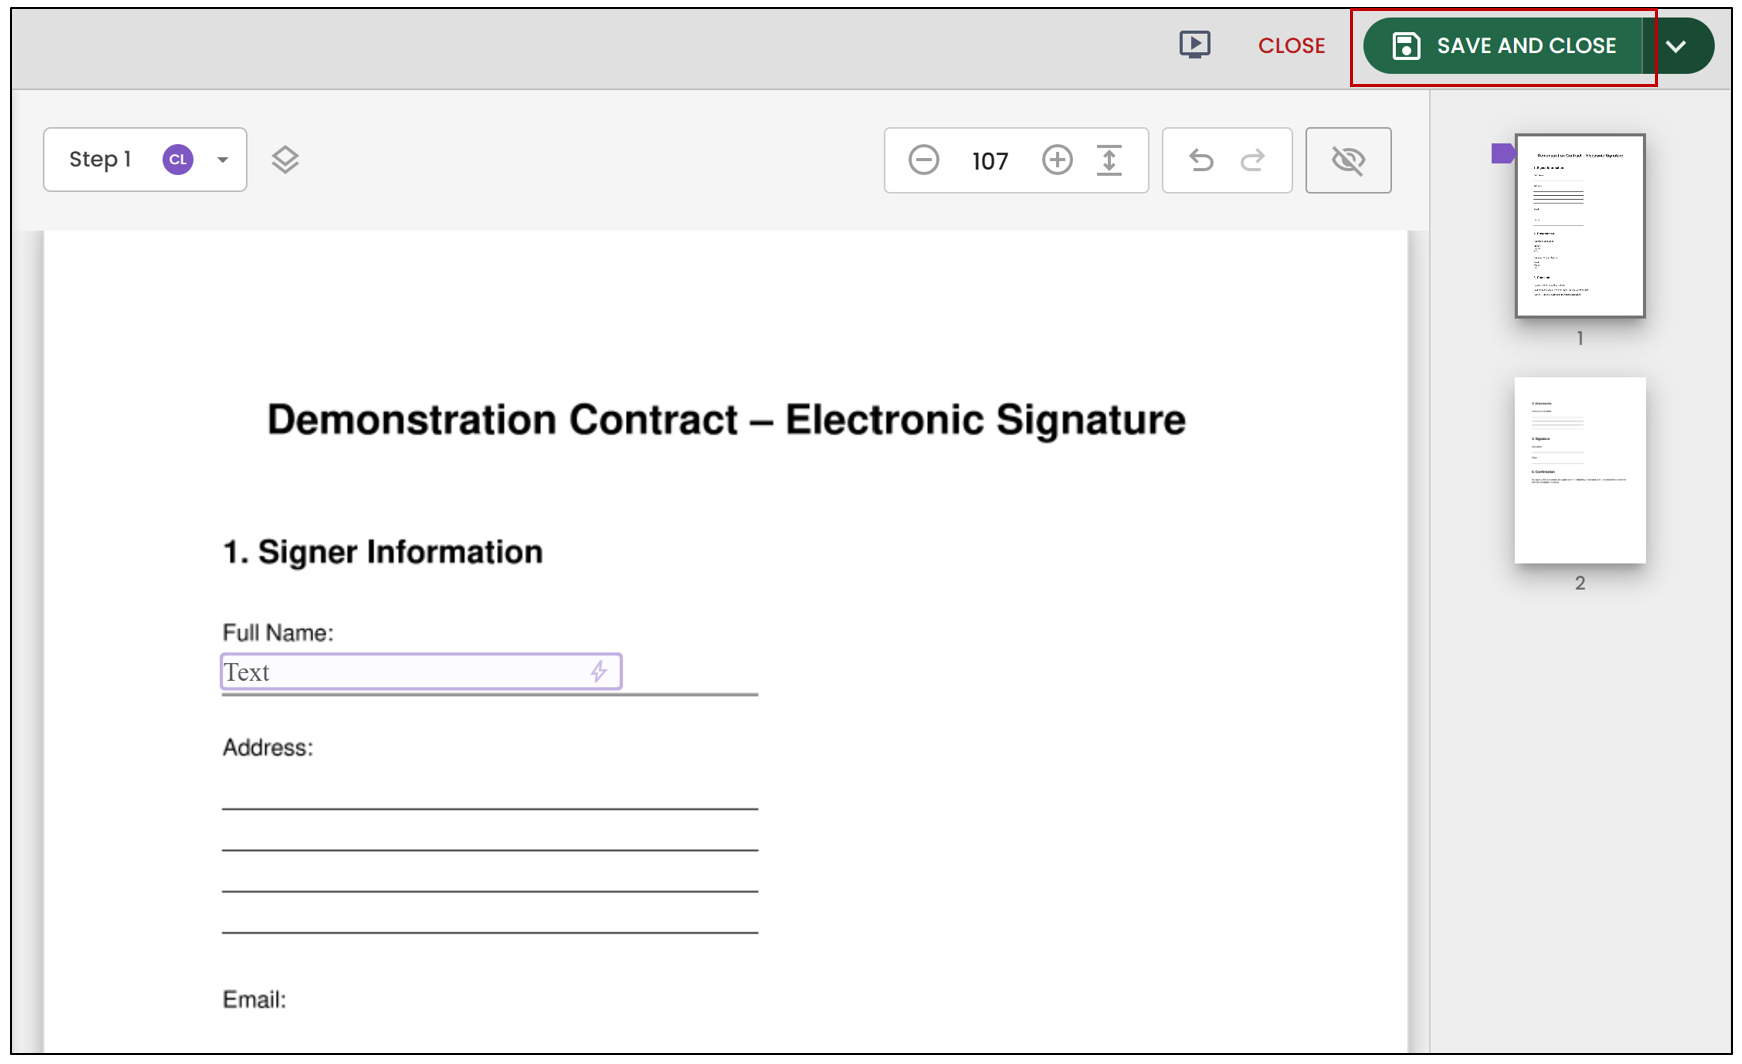
- Once finished, click Save and Close.
- Once all fields have been added to the documents, click on Save to add the template to the template list. Then, click on Finalize Template.
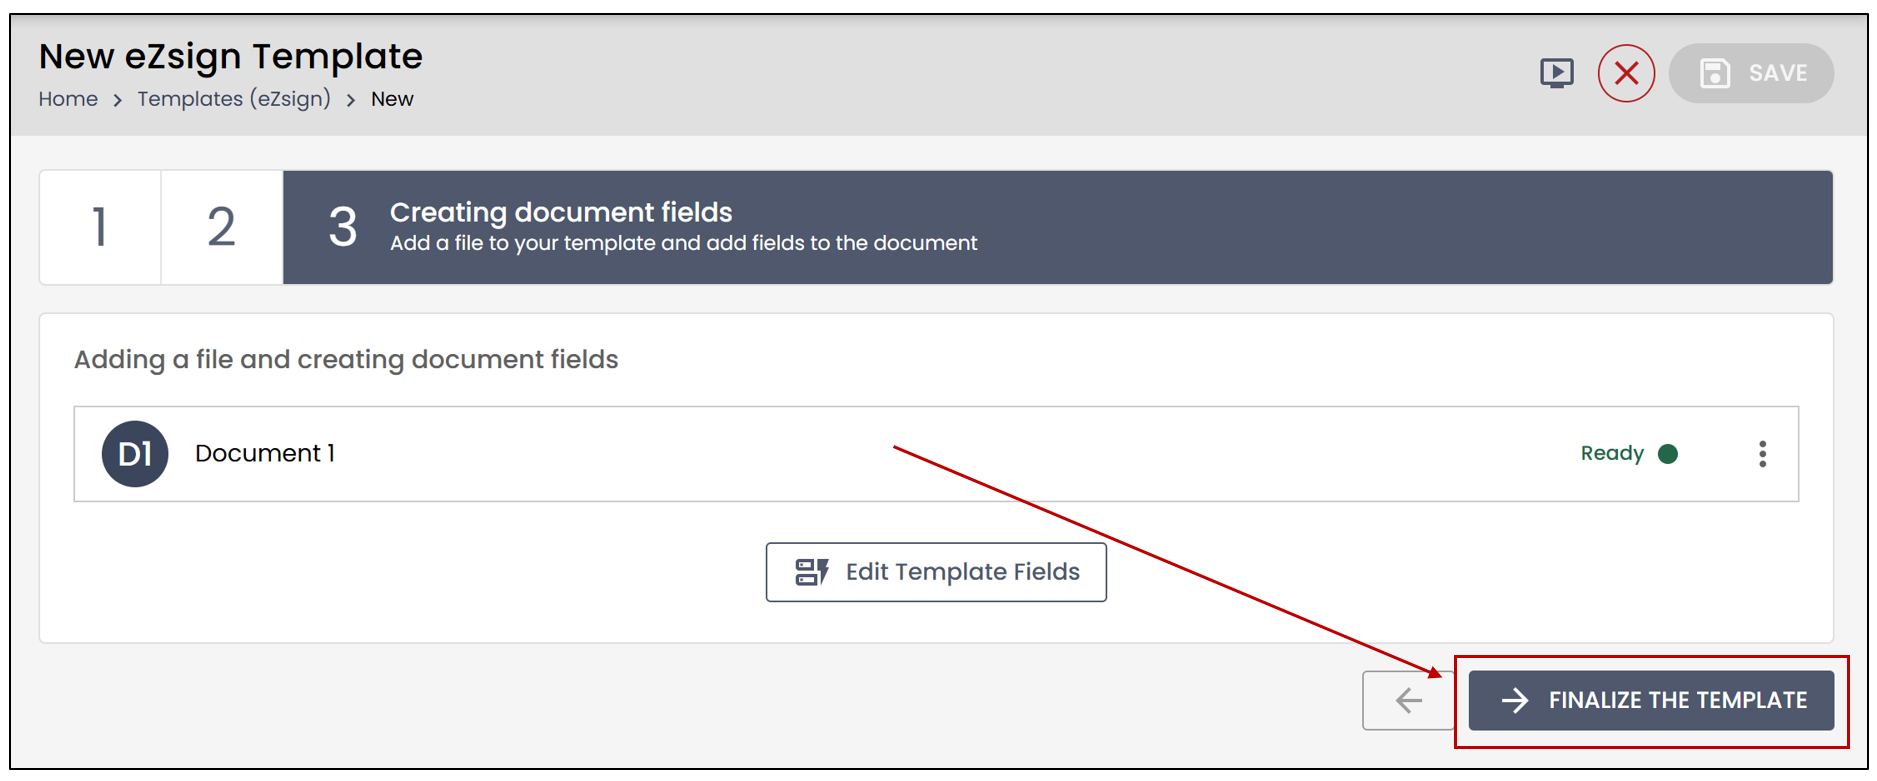
- You will be able to edit the document as needed by clicking on the downward arrow or on Edit Fields.
Upload a Template into an eZsign Folder
Once a template has been added to the template list, it can be loaded to quickly add fields to a document of the same type instead of adding them manually.
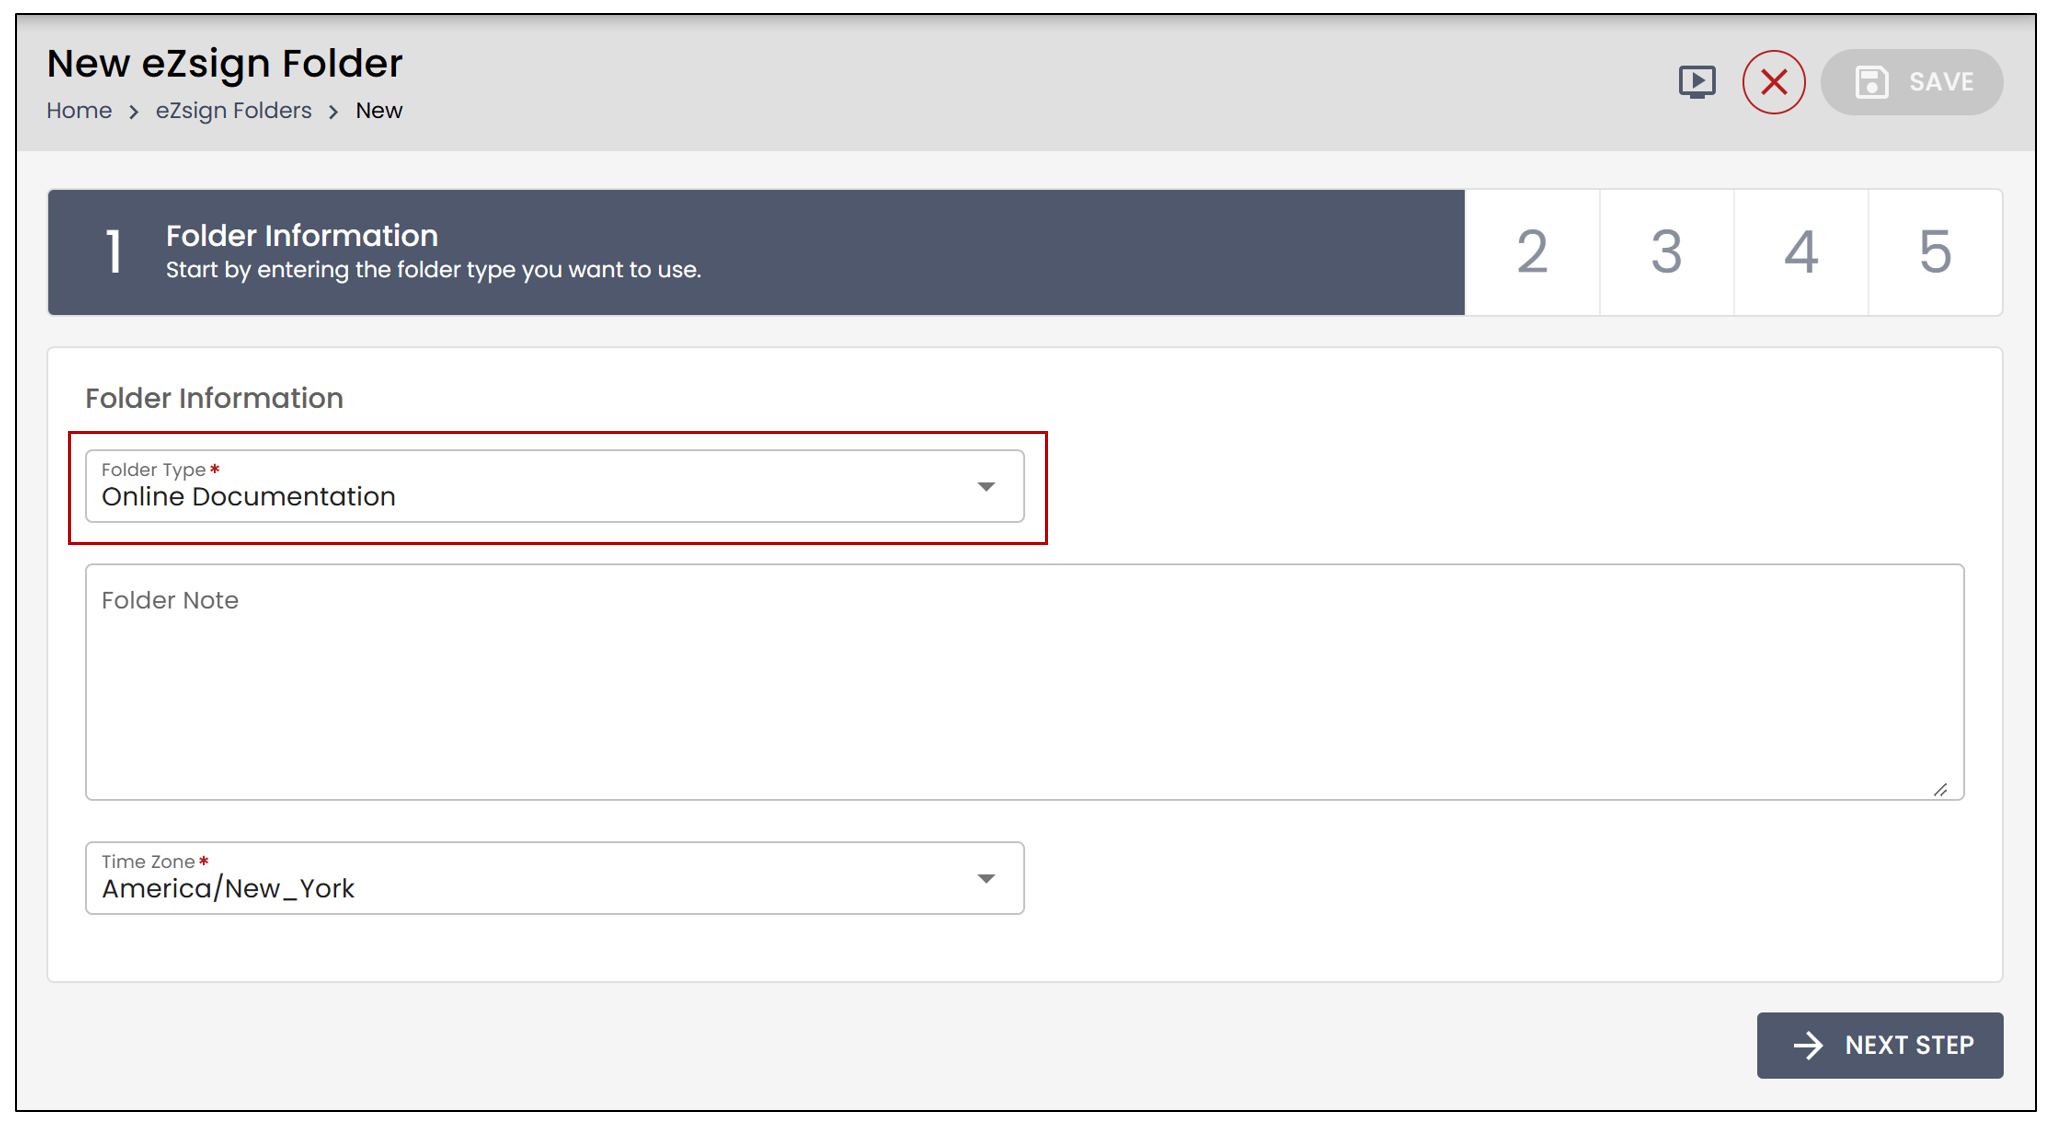
- When creating a new folder, ensure that the Folder Type matches the category of your previously created template if applicable.
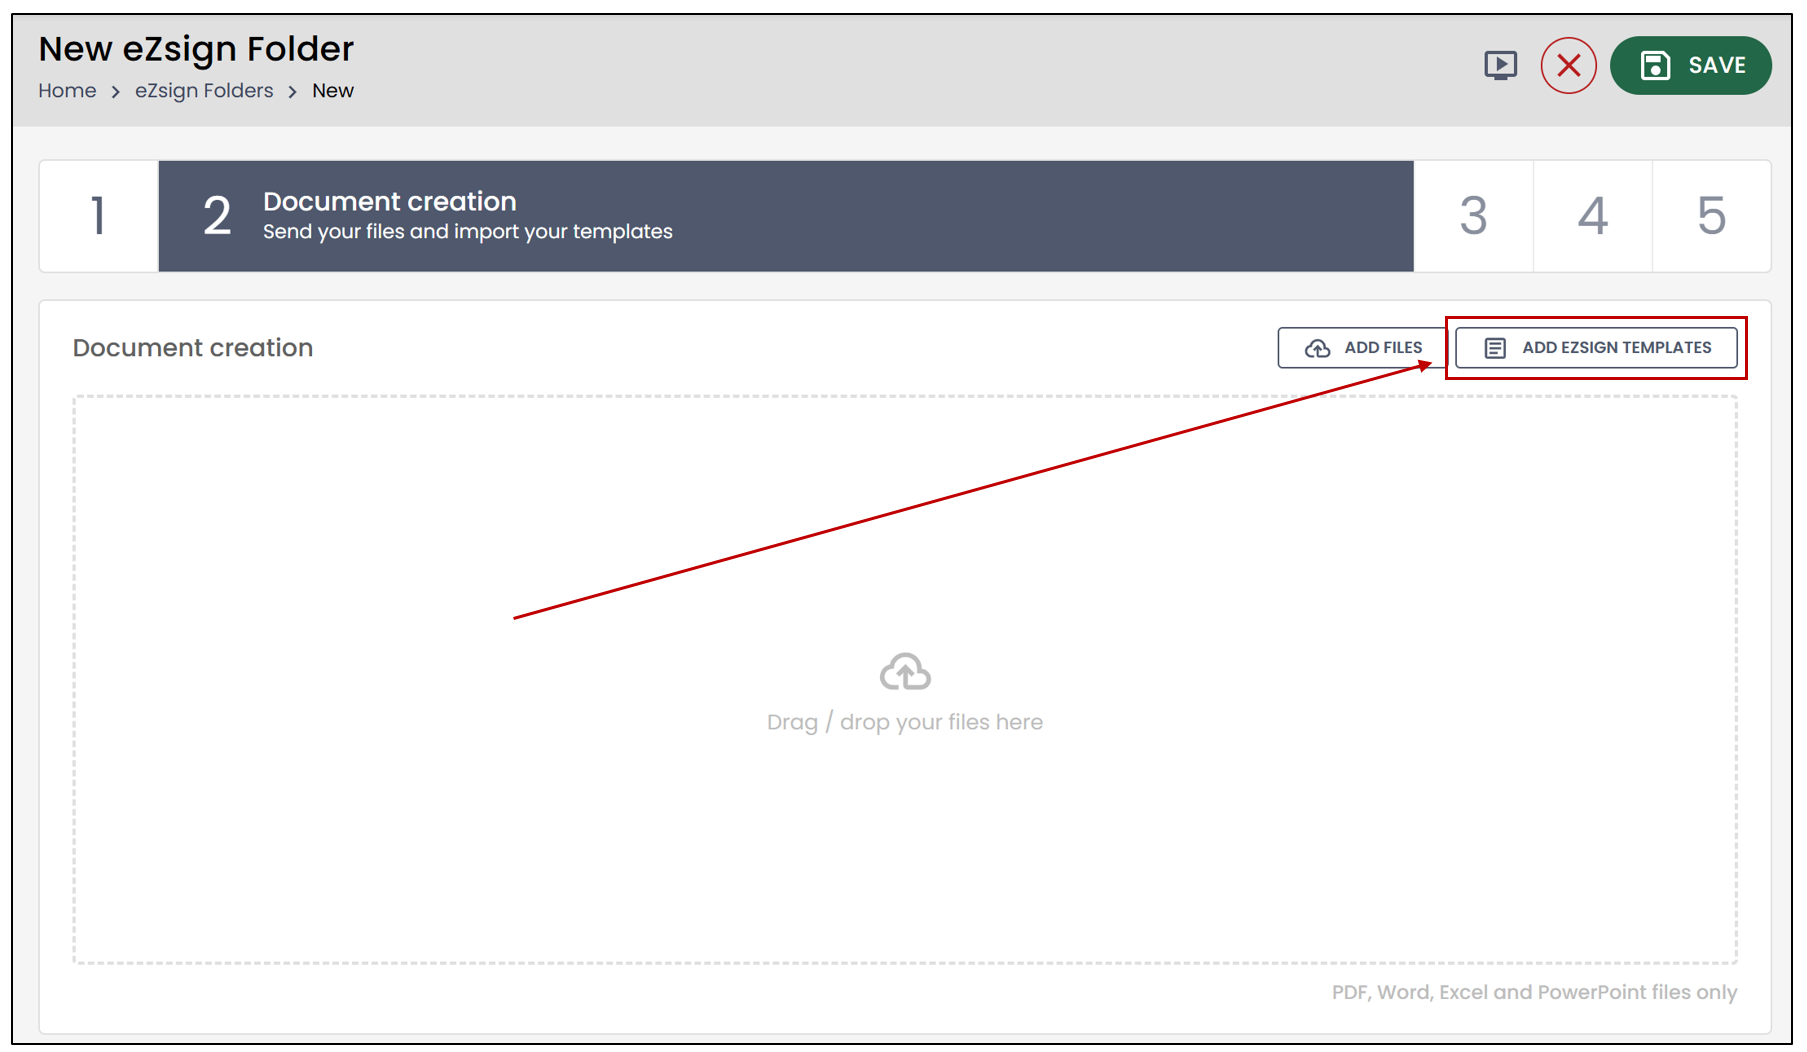
- At the Document Creation step, click on Add eZsign Templates.
- Using the search bar or drop-down lists, select the desired eZsign template.
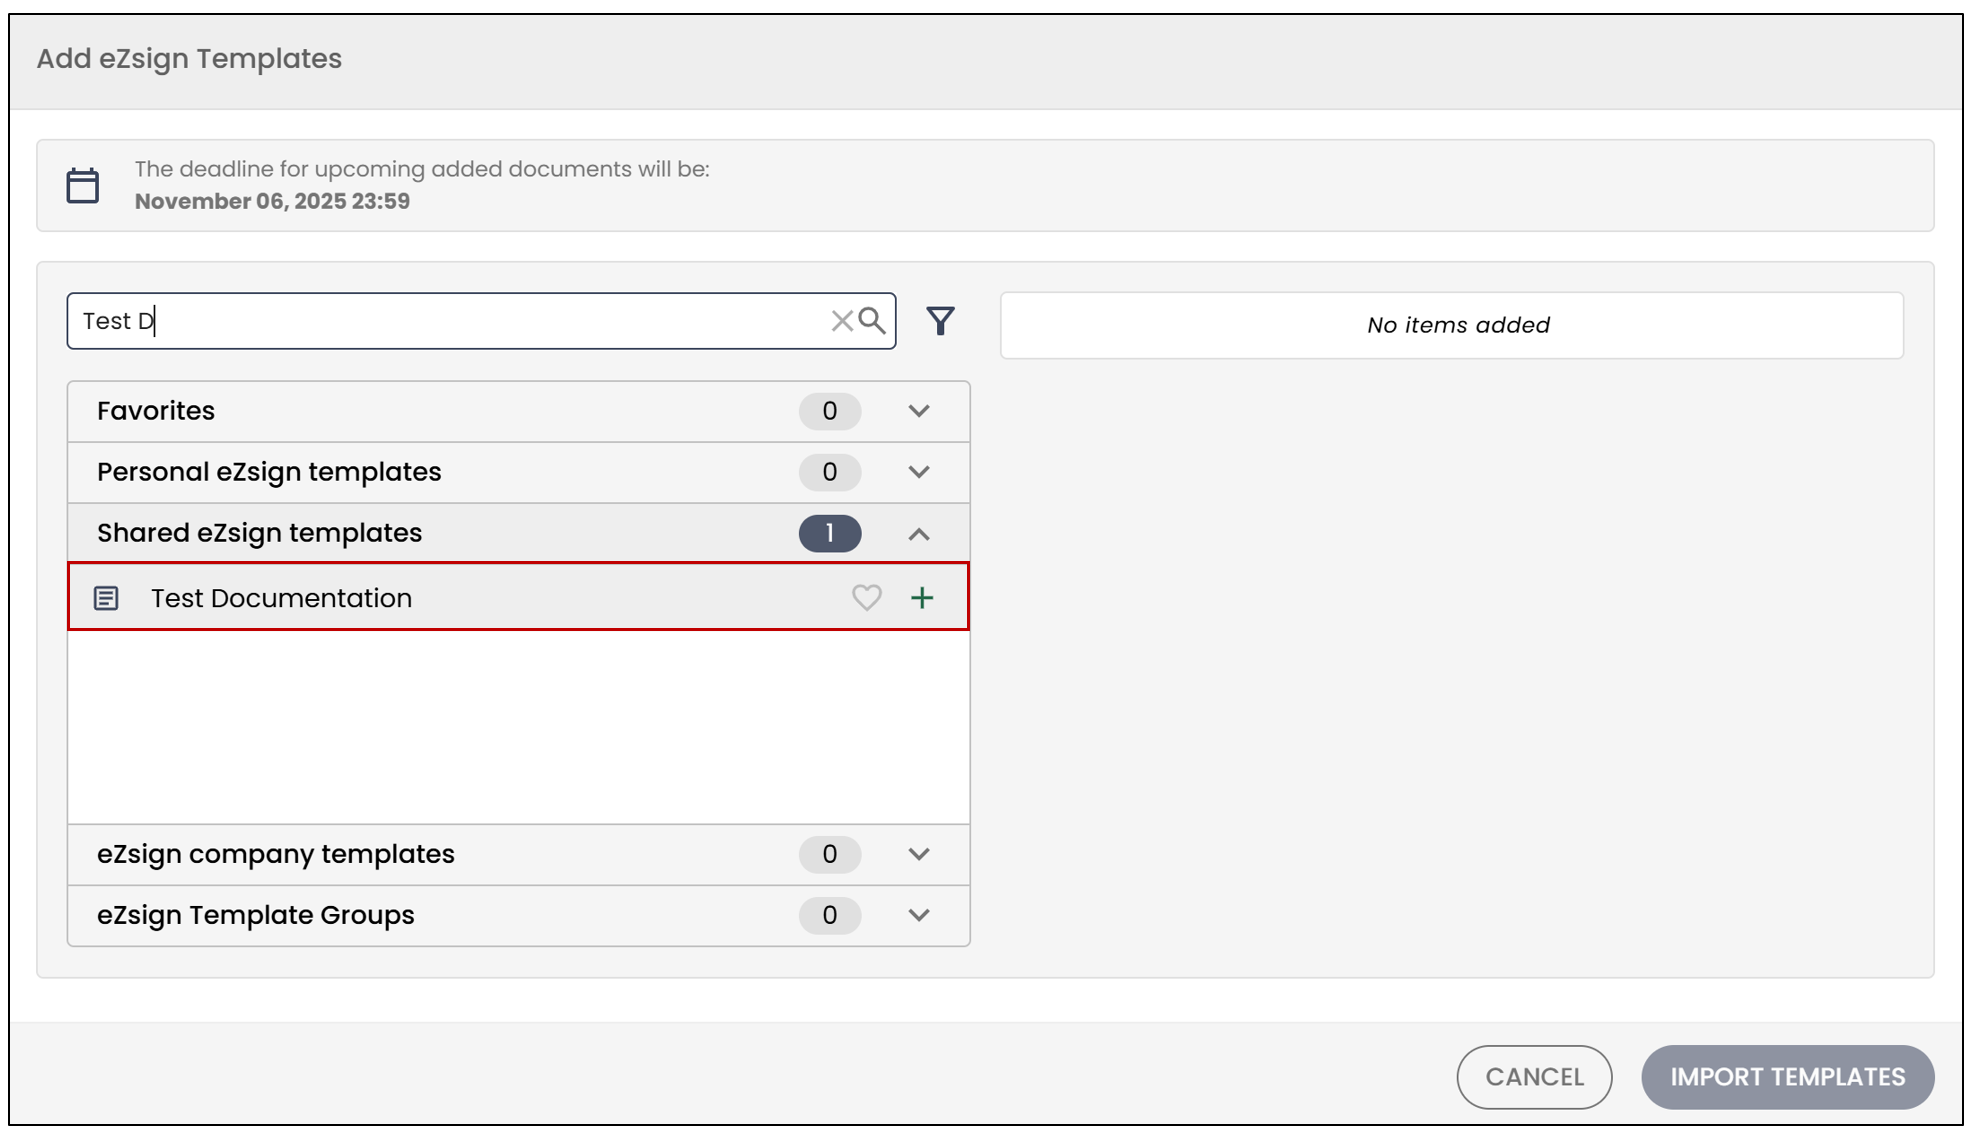
Click on Import Templates.
At the signatories step, click on Add Signatories.
When all desired signatories are added, you will be able to assign a role to each signer. For more information, please refer to the article Adding/Editing/Deleting a Signatory in an eZsign Folder.
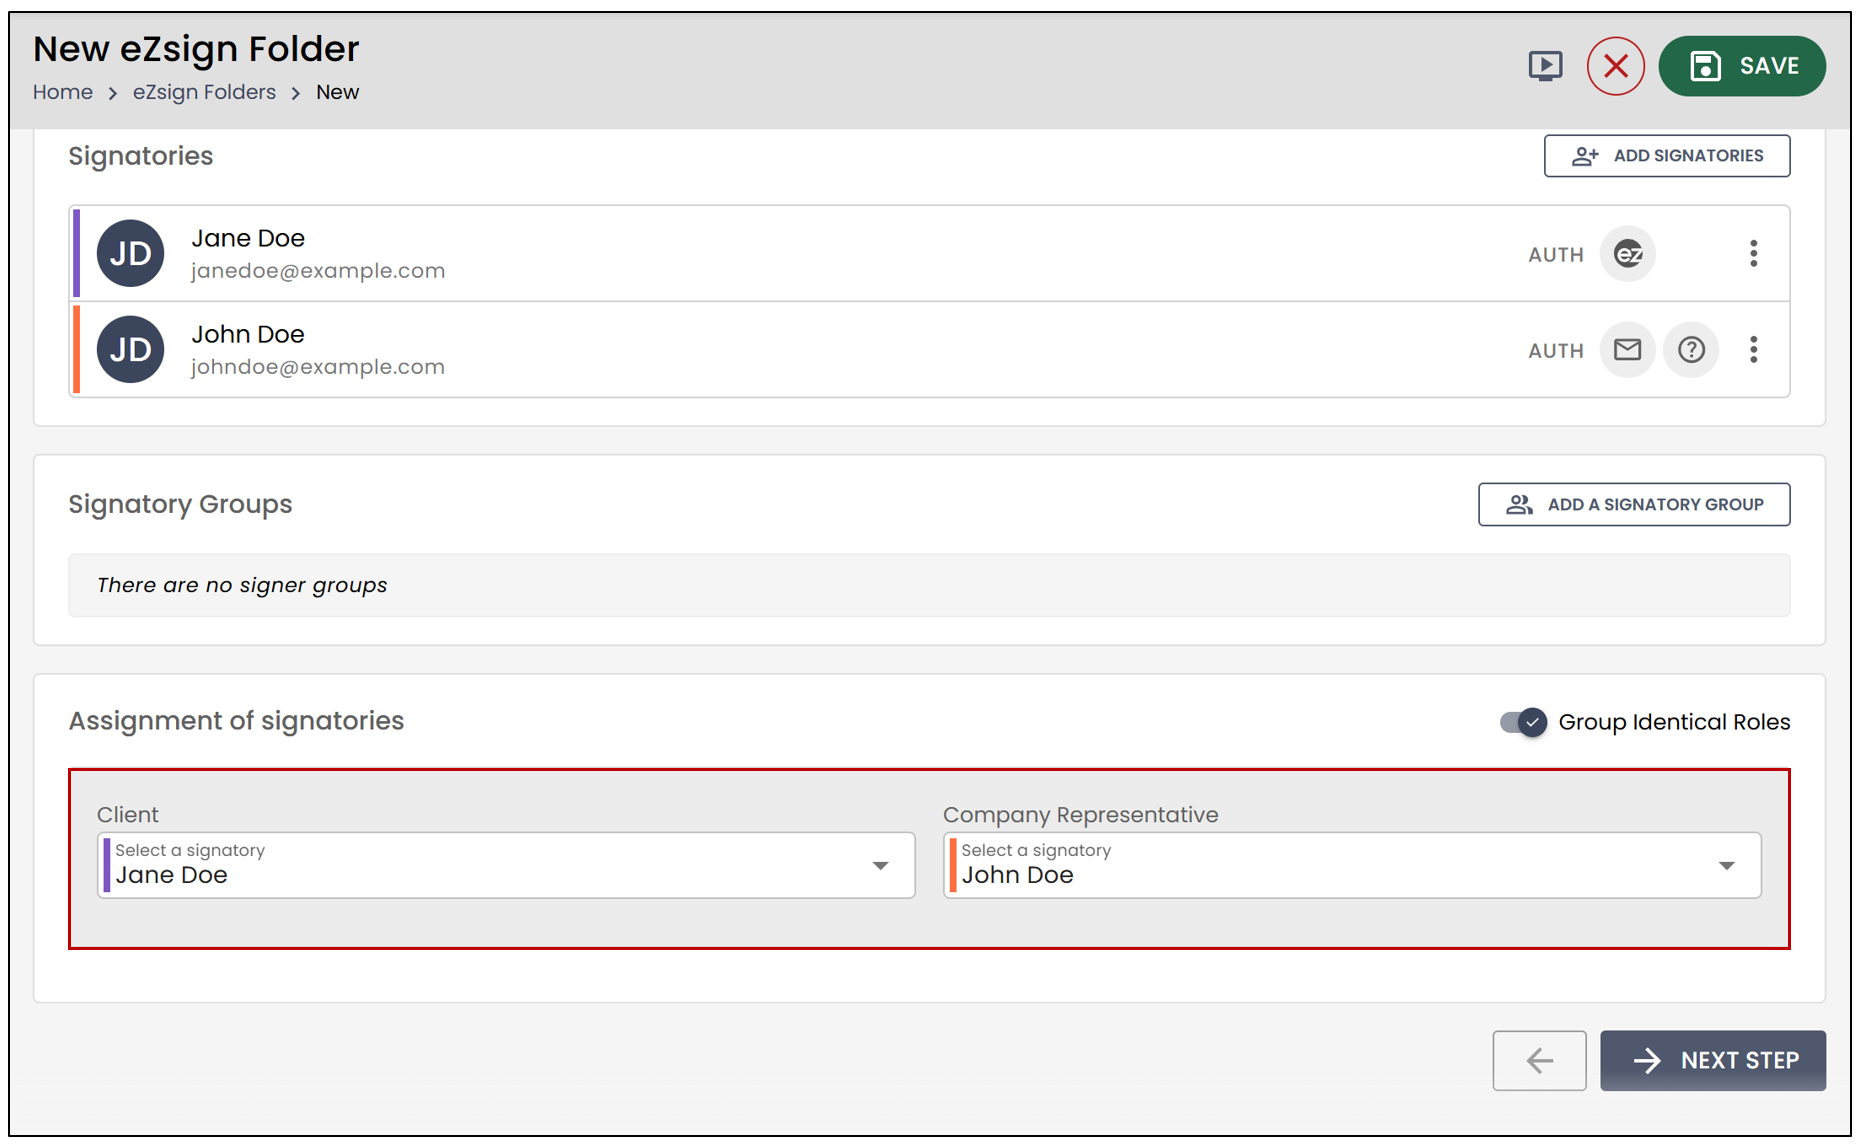
- Once all signers have been added and assigned, click on Next Step.
NOTE: The fields will automatically appear in the document in the same locations as in the template you saved.
Edit/Duplicate/Export/Delete a Template
From the main menu >> eZsign Templates >> select the desired template.
- Click on Edit Fields at the top right. For more information, see the article Adding/Editing/Deleting a Field in a Document.
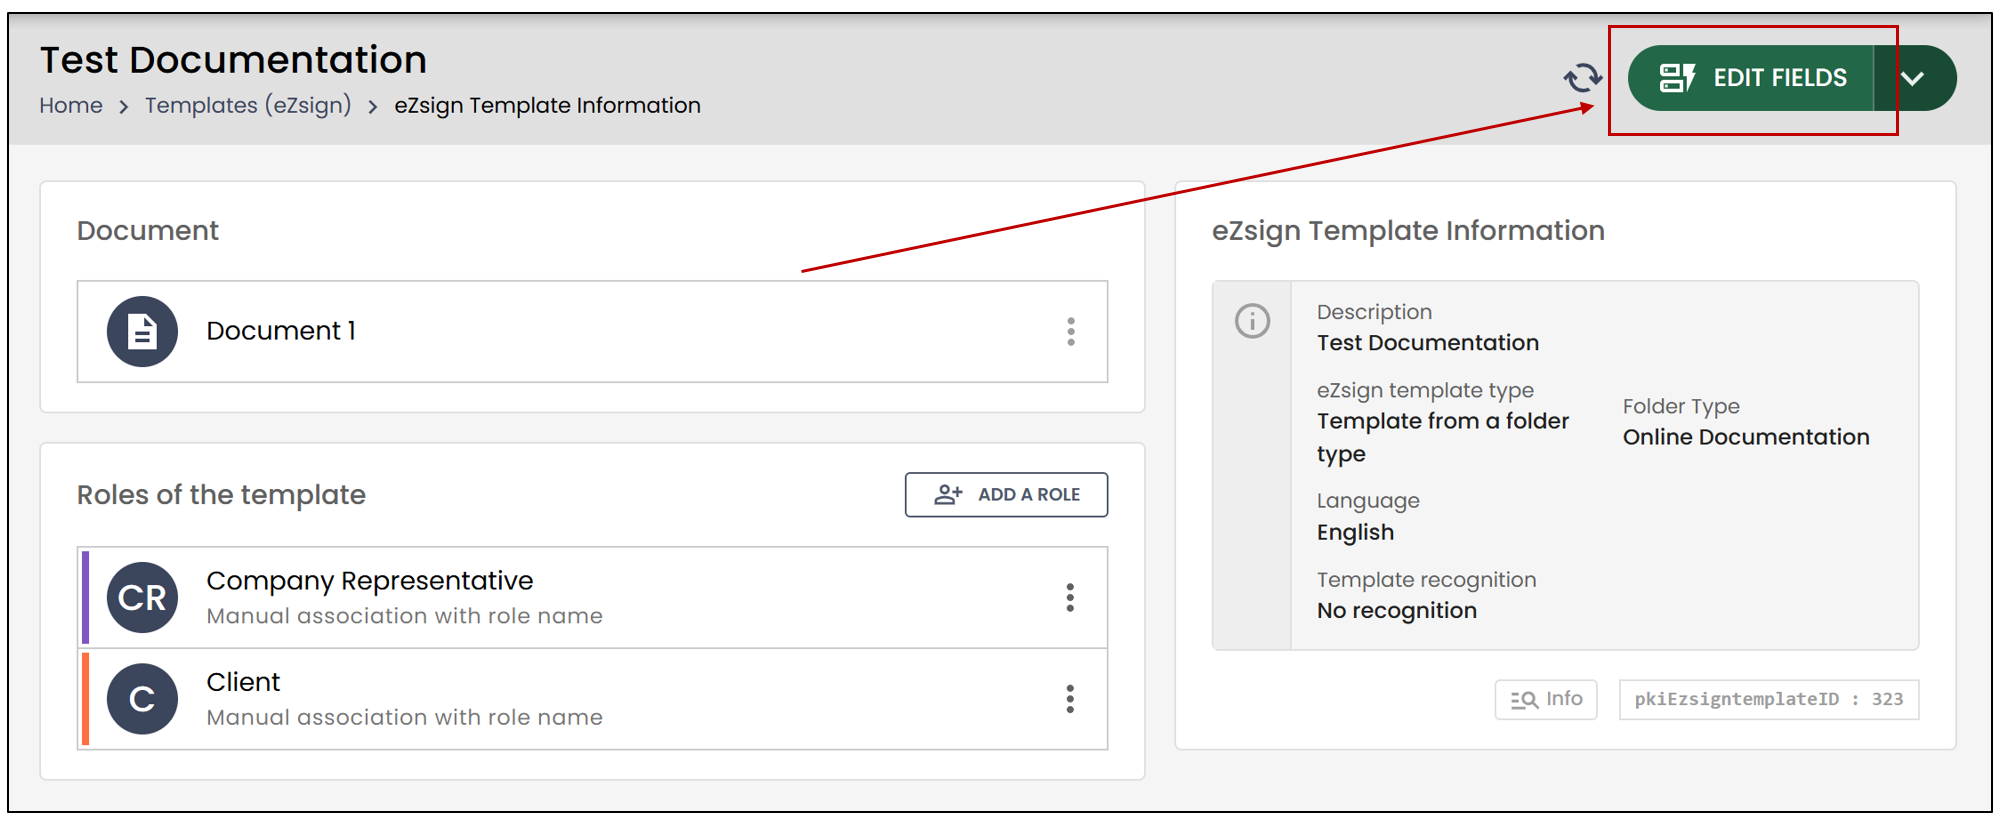
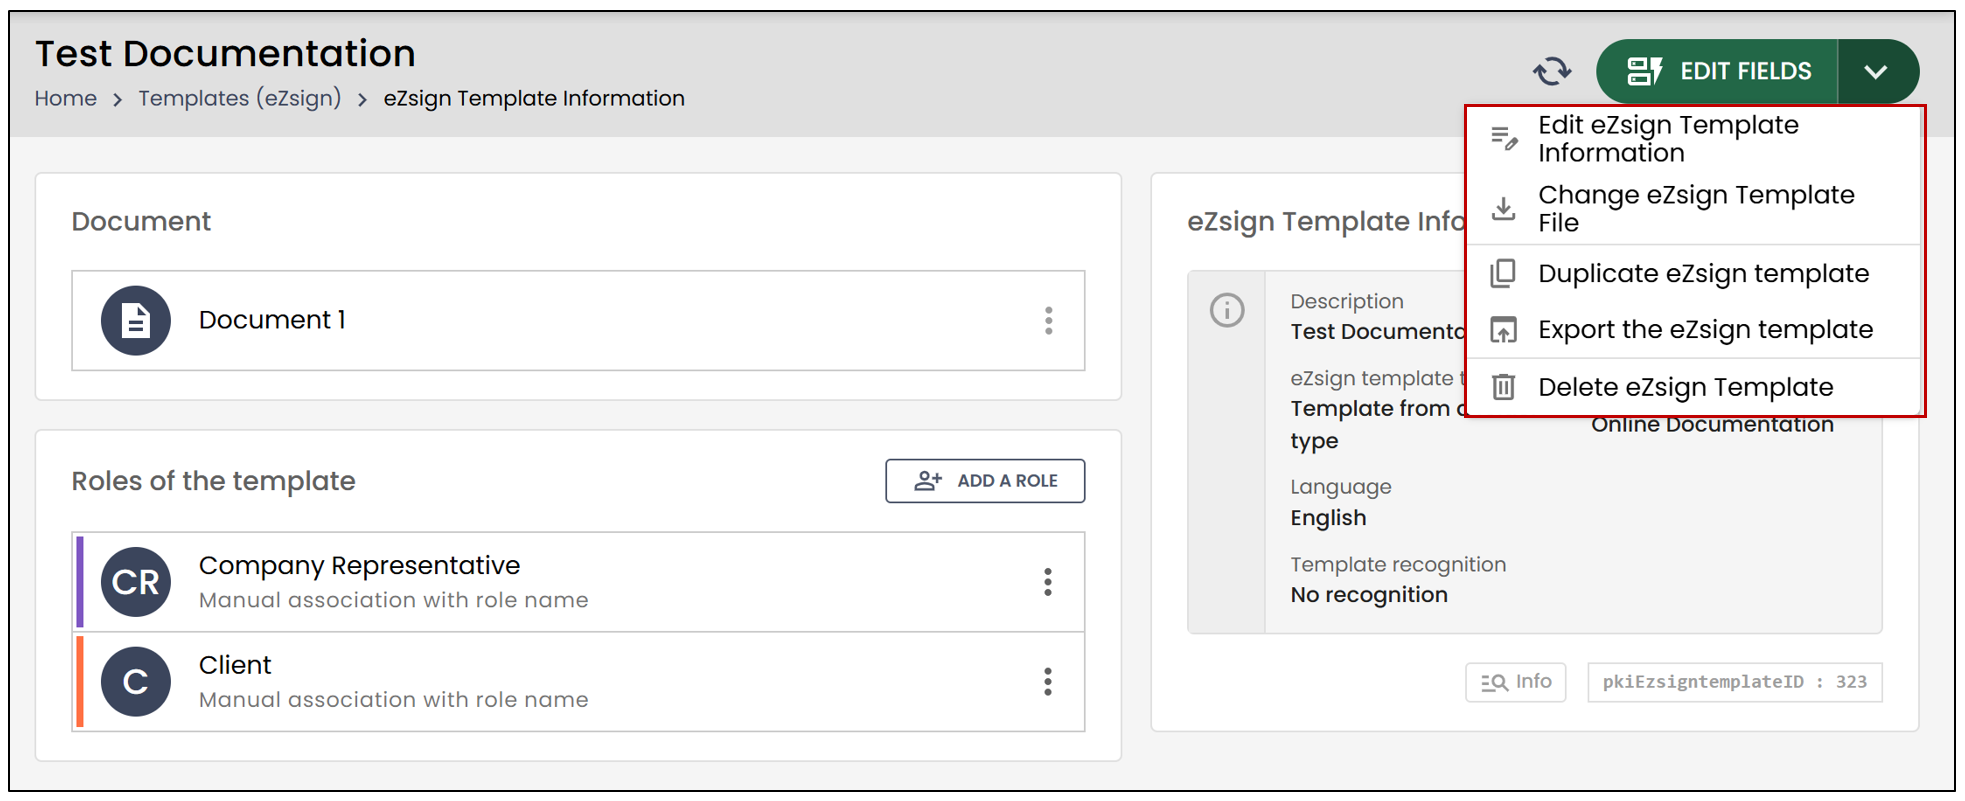
By clicking on the downward arrow, you can also:
Edit eZsign Template Information : You will be able to modify the template name, add a predefined title or notes, use recognition, and add a content template.
Change eZsign Template File : Replace the document used when creating the template.
Duplicate eZsign Template : Create a copy of the template.
Export eZsign Template
Delete eZsign Template
- After making changes, click on Save.
Template Detection When Creating a Folder
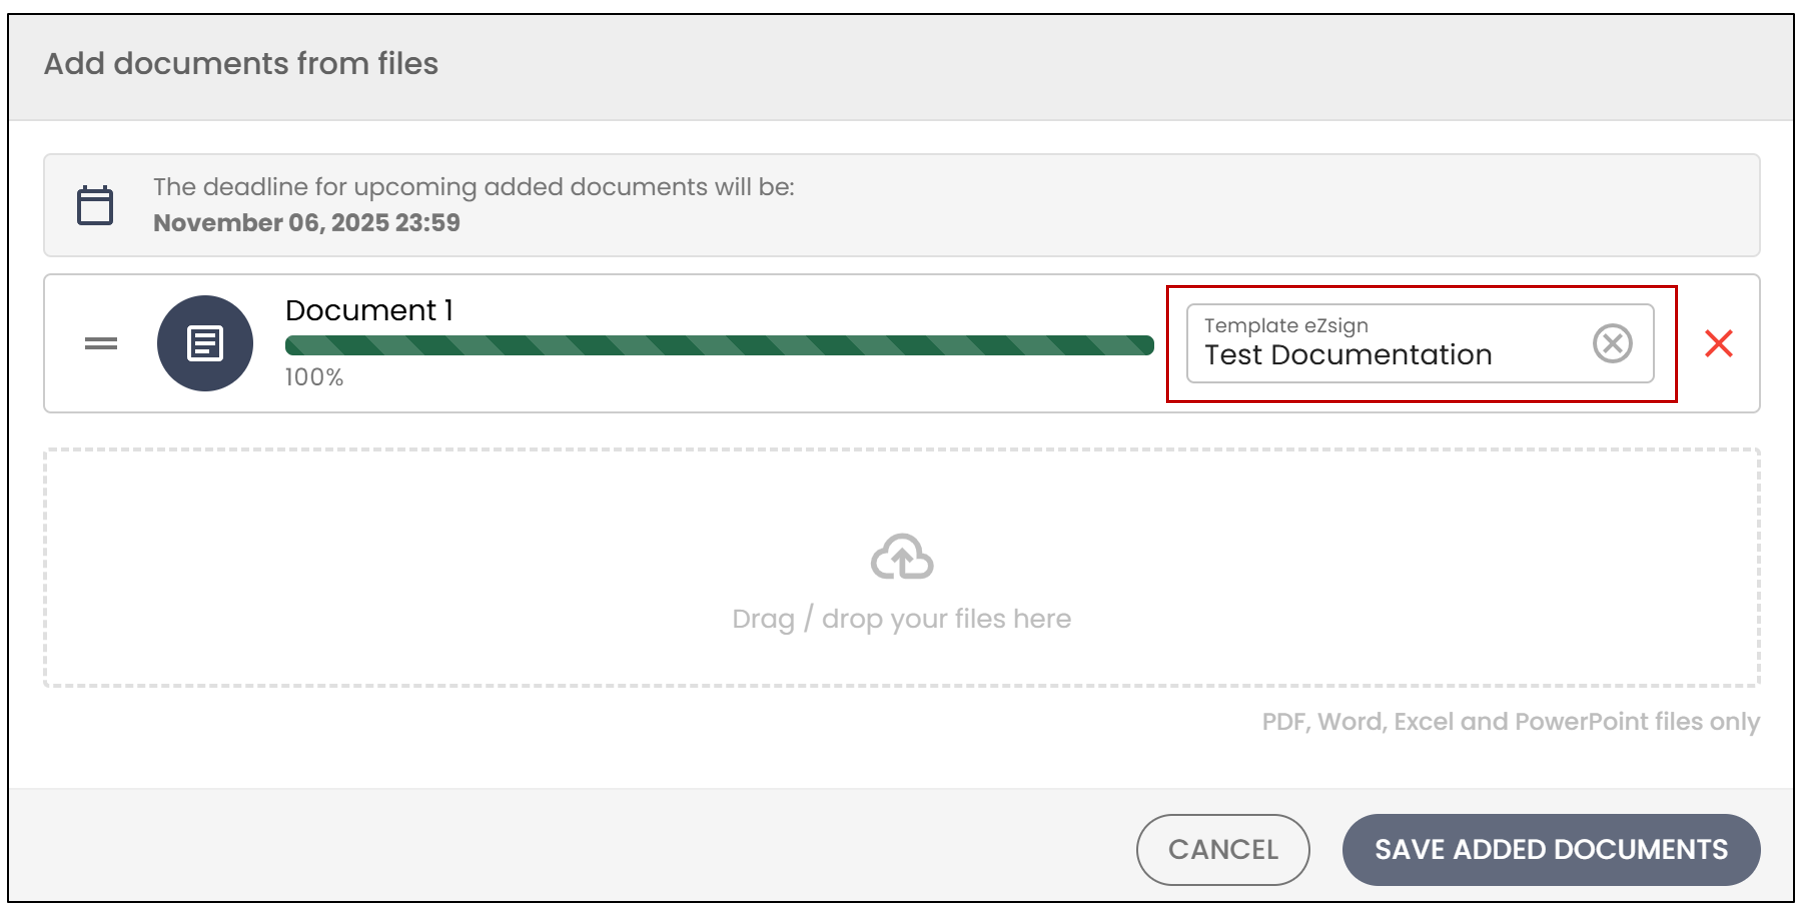
NOTE: In the template’s basic information, you can enable the Use of Recognition and enter a file name. Any document added later with this exact name will automatically be associated with the template. When creating an eZsign folder, you can simply Add Files without selecting Add Templates , and the document will be automatically linked to the template through detection.
For example, the template "Test Documentation" had Use of Recognition enabled. The filename or regular expression was set to "Document 1" , so when a file with the exact same name was added, the template was automatically applied.