
English
Microsoft Entra Integration Guide
Microsoft Entra Integration Guide
Create a new application
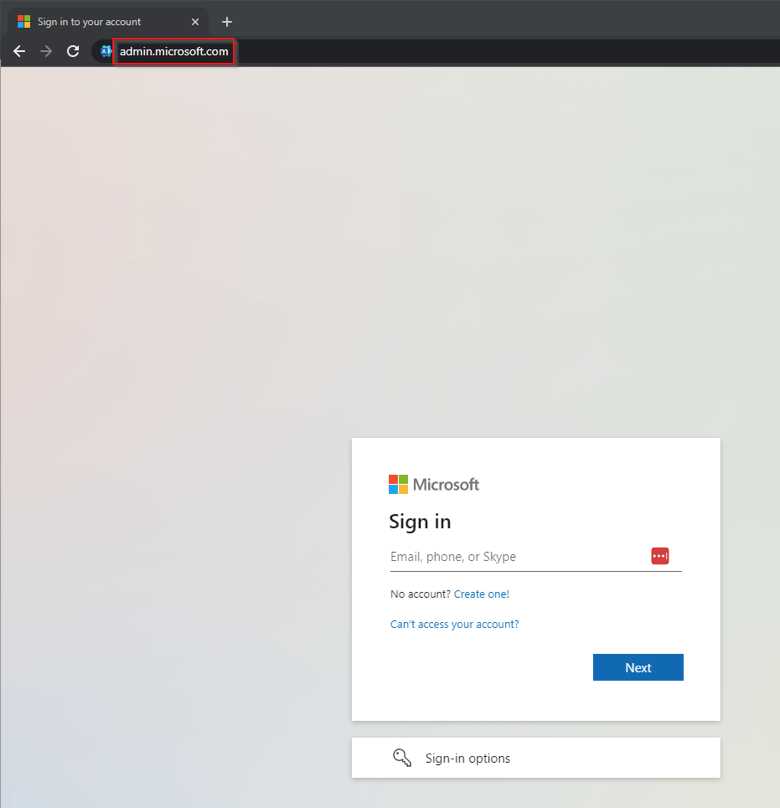
- Navigate to the Microsoft 365 Admin Center (https://admin.microsoft.com).
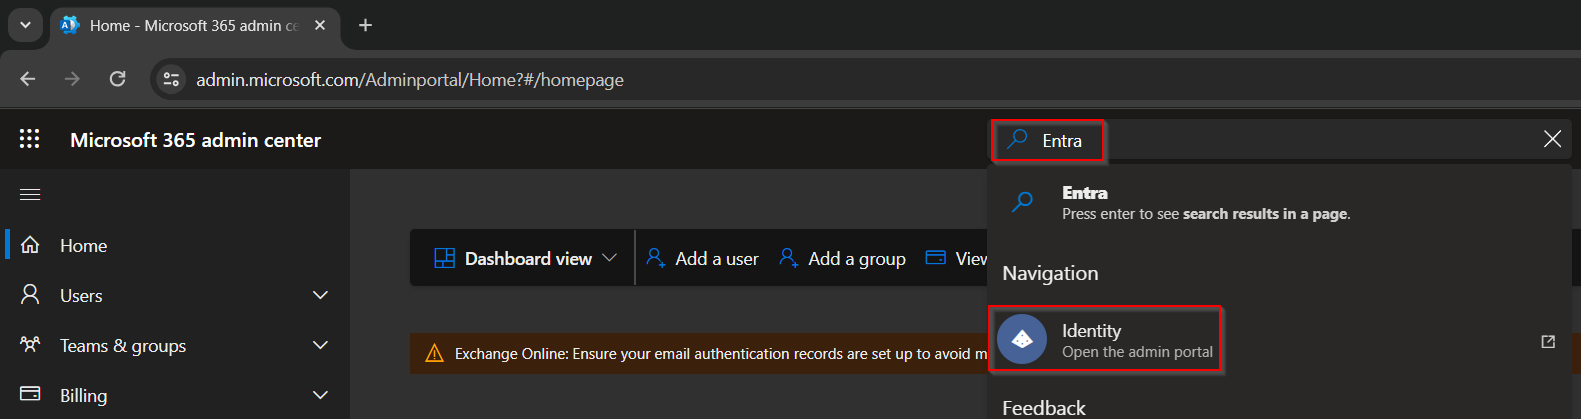
- Search for “Entra” or "Identity" in the search bar at the top and select the "Identity" option.
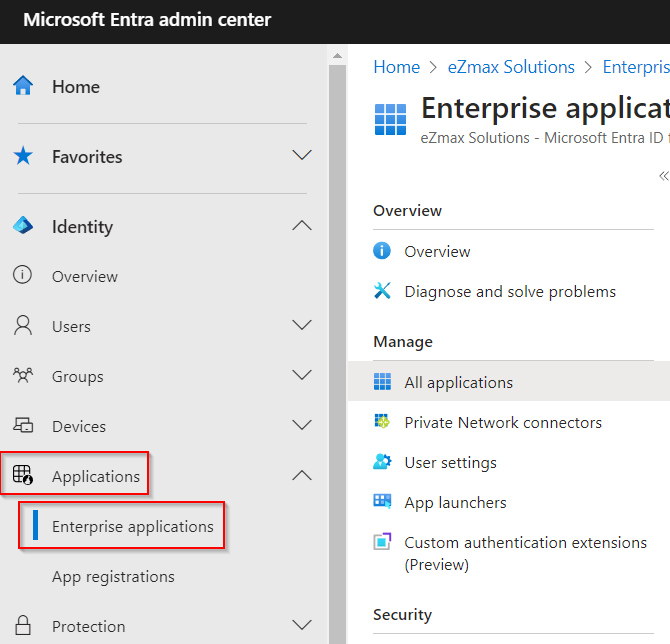
- Go to the "Applications" section then click on Enterprise applications.
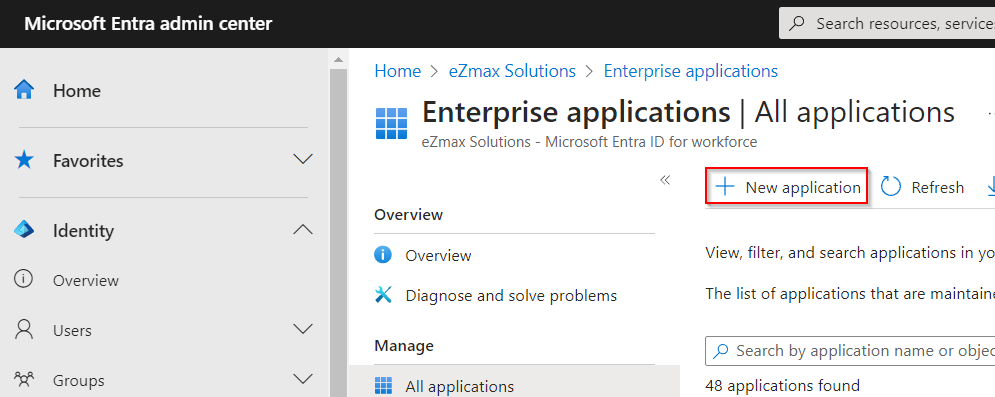
- Click on New application.
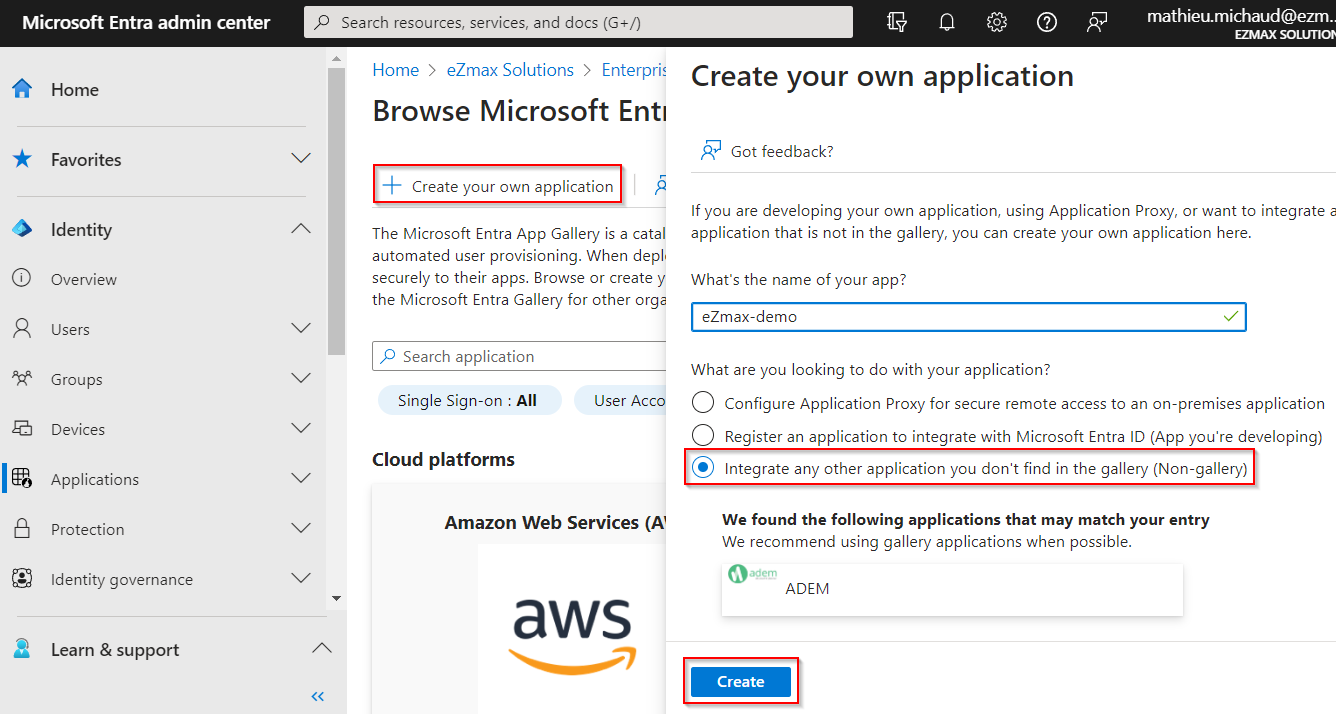
Next, click on Create your own application , give it any name such as "eZmax" or "eZsign" and select I****ntegrate any other application you don’t find in the gallery (Non-gallery).
Click on the Create button.
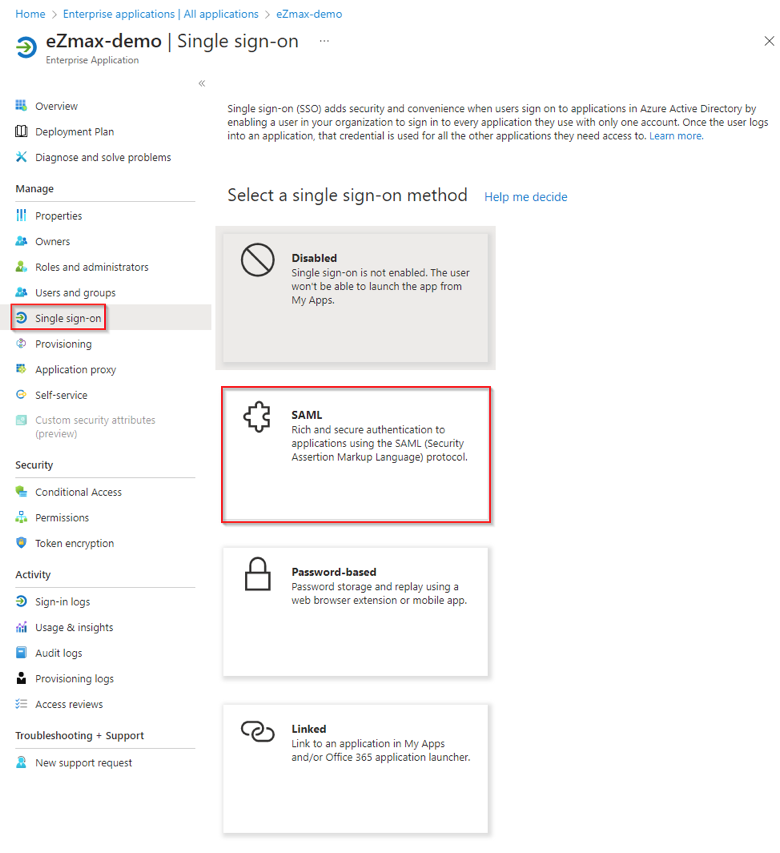
- Click on Single sign-on then select SAML option.
Configure Basic SAML Settings
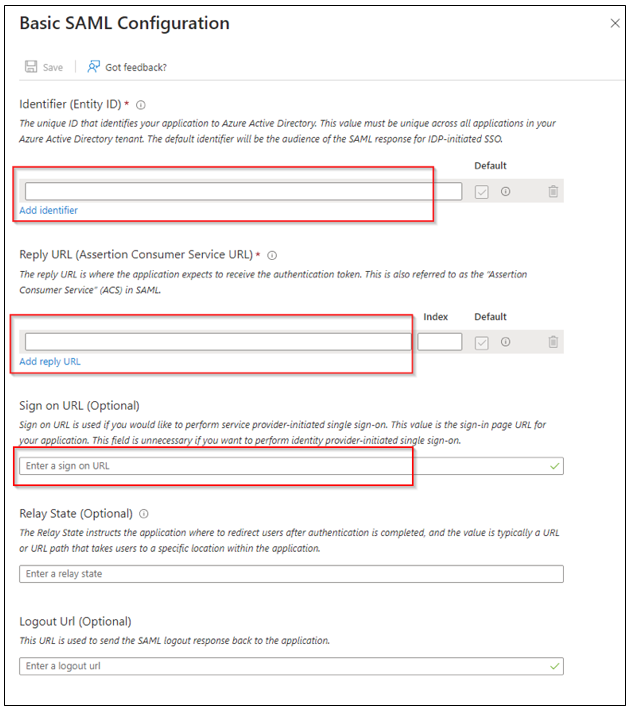
- Click on Edit in the "Basic SAML Configuration" section.
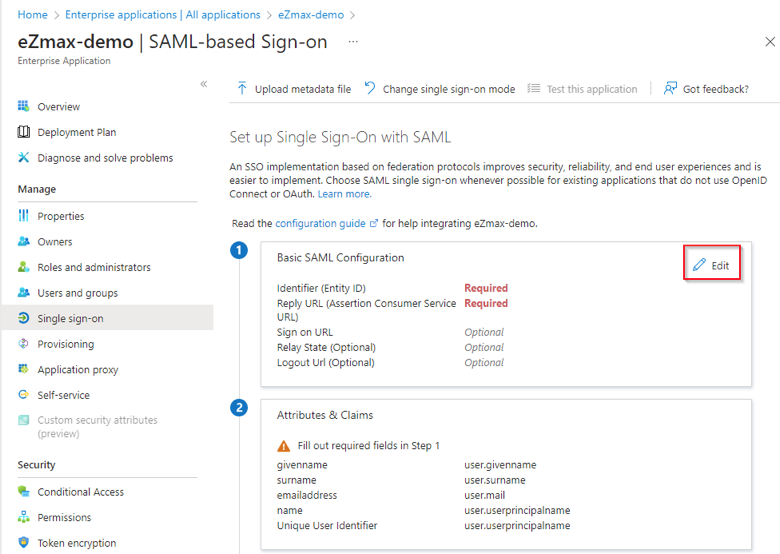
In the Add Identifier field in the "Identifier (Entity ID)" section, add the identifier that was provided to you.
In the Add Reply URL field in the section below named "Reply URL (Assertion Consumer Service URL)", add the reply URL that we also provided to you.
In the Enter a sign on URL field in the section below names "Sign on URL (Optional)", add the sign on URL that we also provided to you.
NOTE: The identifier is unique (urn:amazon:cognito:sp:region_<code_unique>) but the reply URL should always look like this:
https://prod.ezsignlogin.global.ezmax.com/en/login/<client_code>
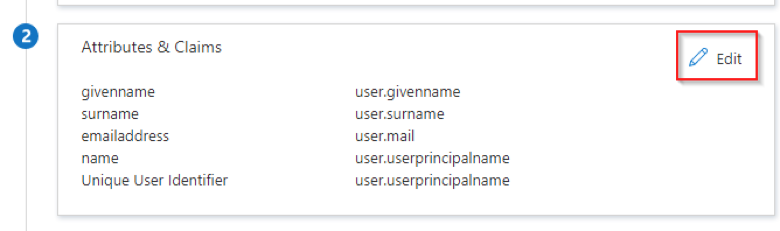
- Click on Edit in the 2nd section named "Attributes & Claims".
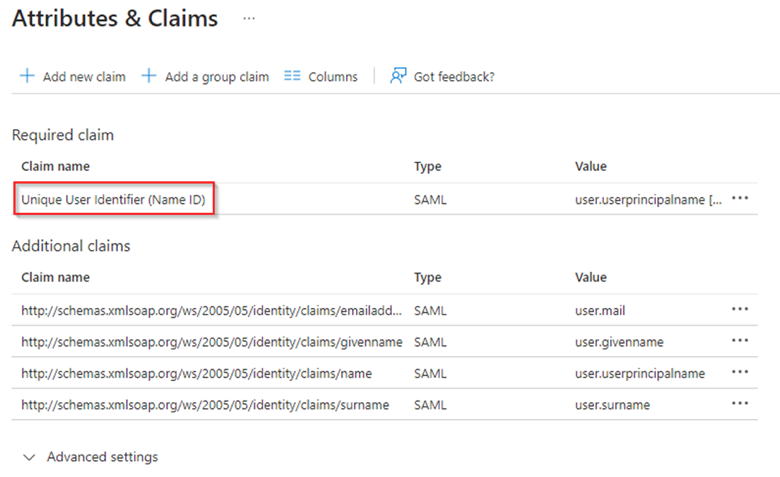
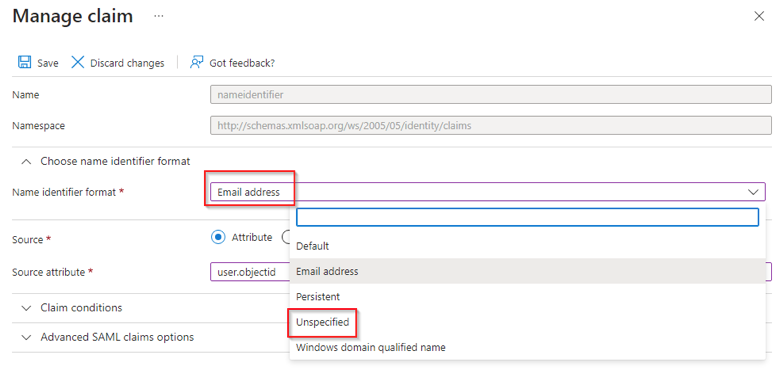
- Click on Unique User Identifier (Name ID).
- In the Source attribute field, change the value by selecting "user.objectid".
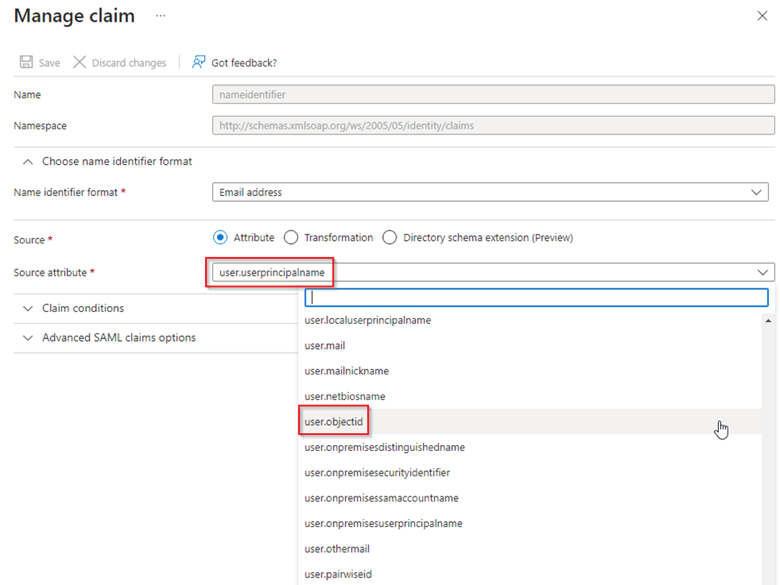
- In the Name identifier format field, change the value by selecting "Unspecified".
Add Group Claims
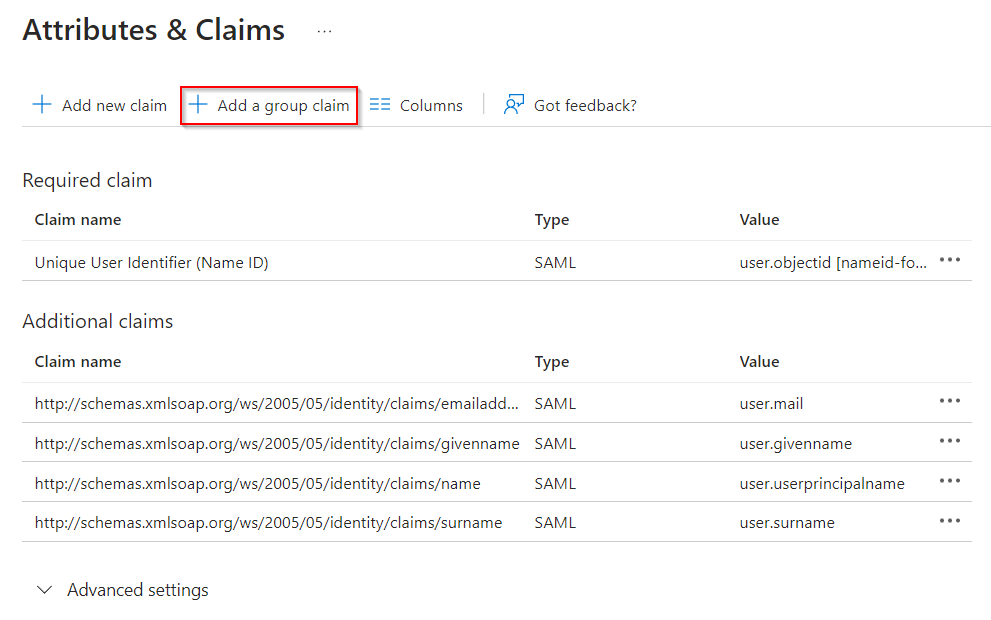
- For group usage, click on Add a group claim.
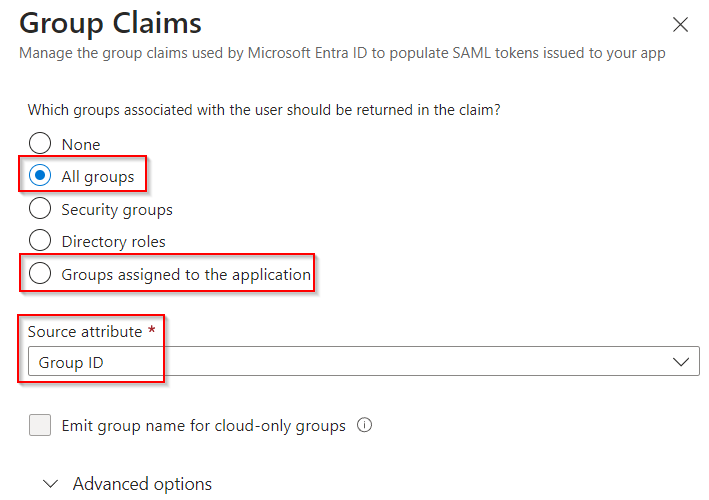
- Select the appropriate option between "All groups" and "Groups assigned to the application" based on your Entra license level. You may also change the Source attribute if needed but the value "Group ID" will work just fine as well.
- To use job titles, click on Add new claim.
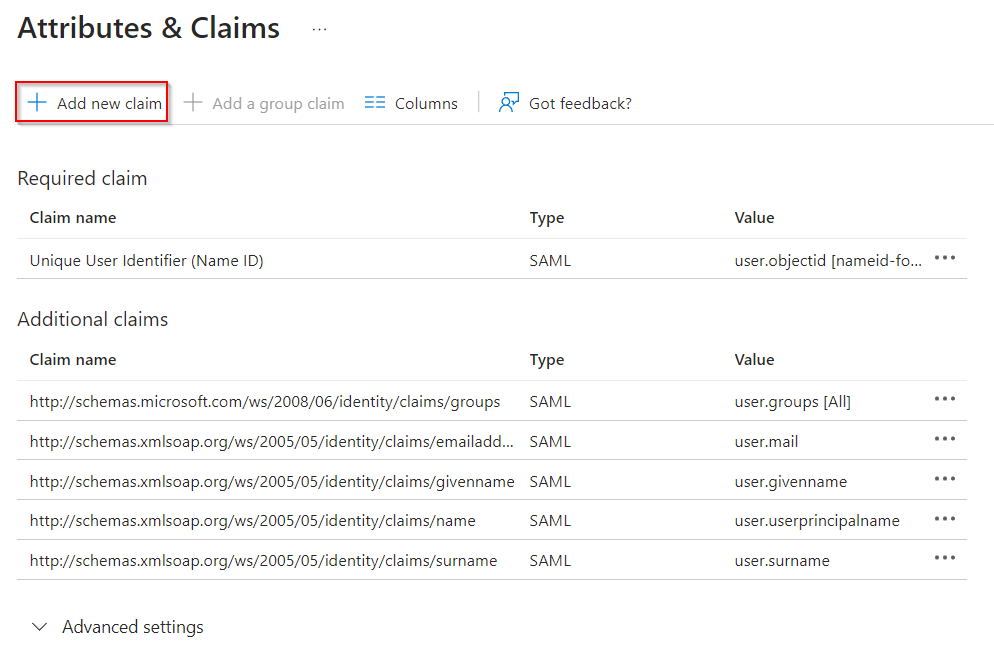
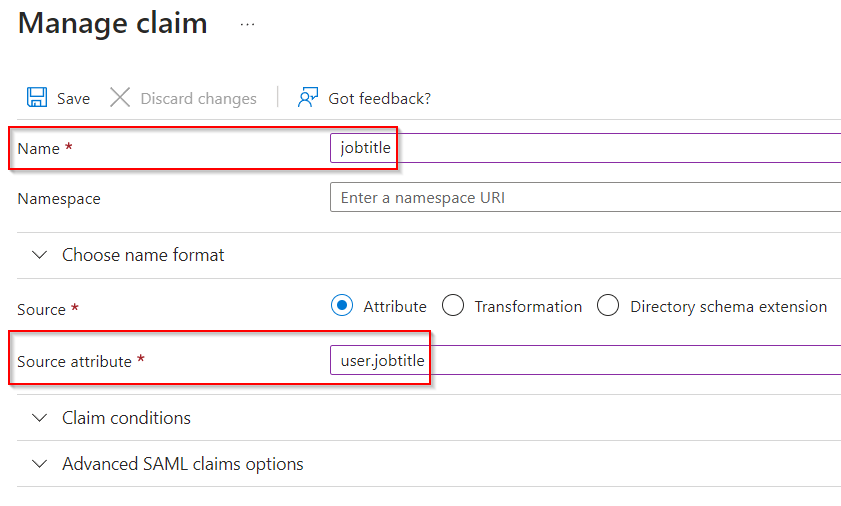
- Enter "jobtitle" in the Name field then select the "user.jobtitle" option in the Source attribute field.
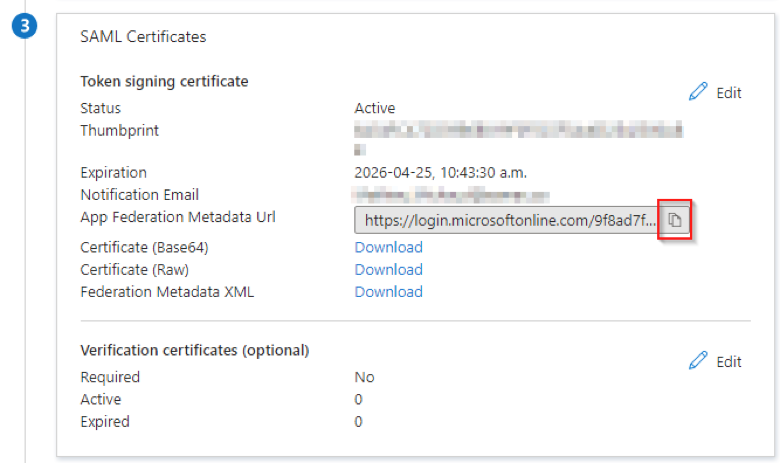
- In the 3rd section named "SAML Certificates", click on the icon to copy the address of the field named App Federation Metadata Url and send it to us so we can complete the integration on our end.
User and Group Assignment
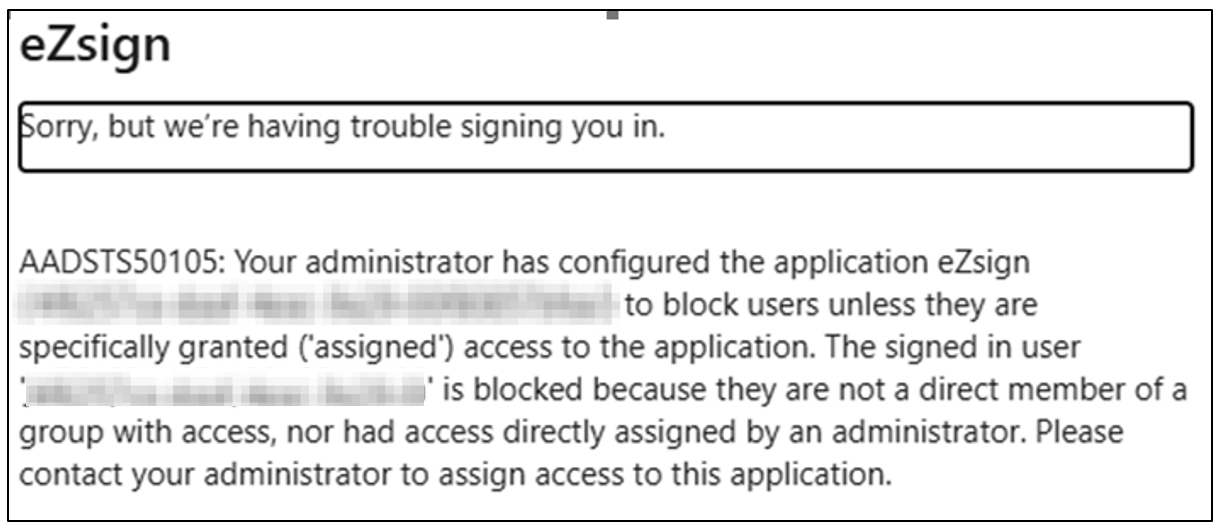
Depending on your current Microsoft Entra configuration, you may need to assign users or groups to the application from the Users and groups tab of the enterprise application. Otherwise, unauthorized users will see the following message:
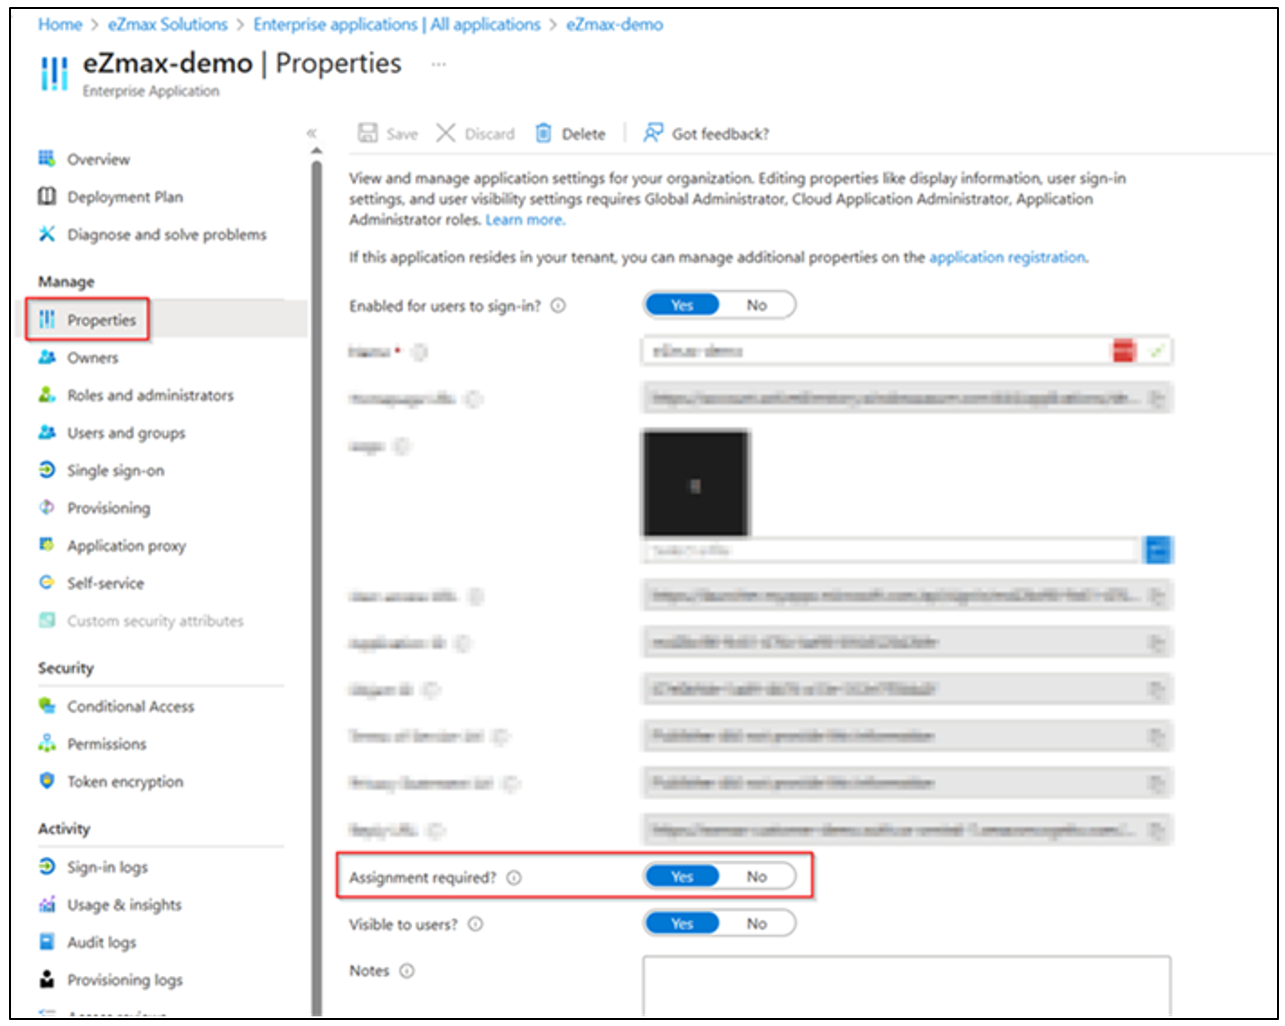
Alternatively, if you want to allow access to all users in your organization, you can change the Assignment required? value in the Properties**** of the enterprise application and set it to No. This will allow all users to sign in.