
English
SSO Activation and Configuration
SSO Activation and Configuration
Enabling Single Sign-On (SSO) in eZsign involves several steps and requires that you are configured with an identity provider (IdP). Once configured, SSO will allow your users to log in directly to eZsign without having to enter their username and password again.
NOTE: This feature is only available in the Enterprise account.
eZsign supports all IdP solutions (such as Microsoft Entra, Azure AD, Imprivata, OneLogin, etc.) as long as the solution is compatible with SAML 2.0 or OpenID. If your IdP is Microsoft Entra (formerly Azure AD), please refer to this article: Microsoft Entra Integration Guide. Otherwise, contact us if you need assistance with the configuration.
In order to fully benefit from the SSO integration, we recommend creating external user groups. To learn how to configure an external user group in eZsign, please refer to the article Add/Edit an External User Group - Administration (eZsign Web).
Creating Users via SSO
Users created via SSO can be done in two different ways. To configure user creation, go to Administration >> System Configuration and choose an option in the section Action to take when connecting a new external user.
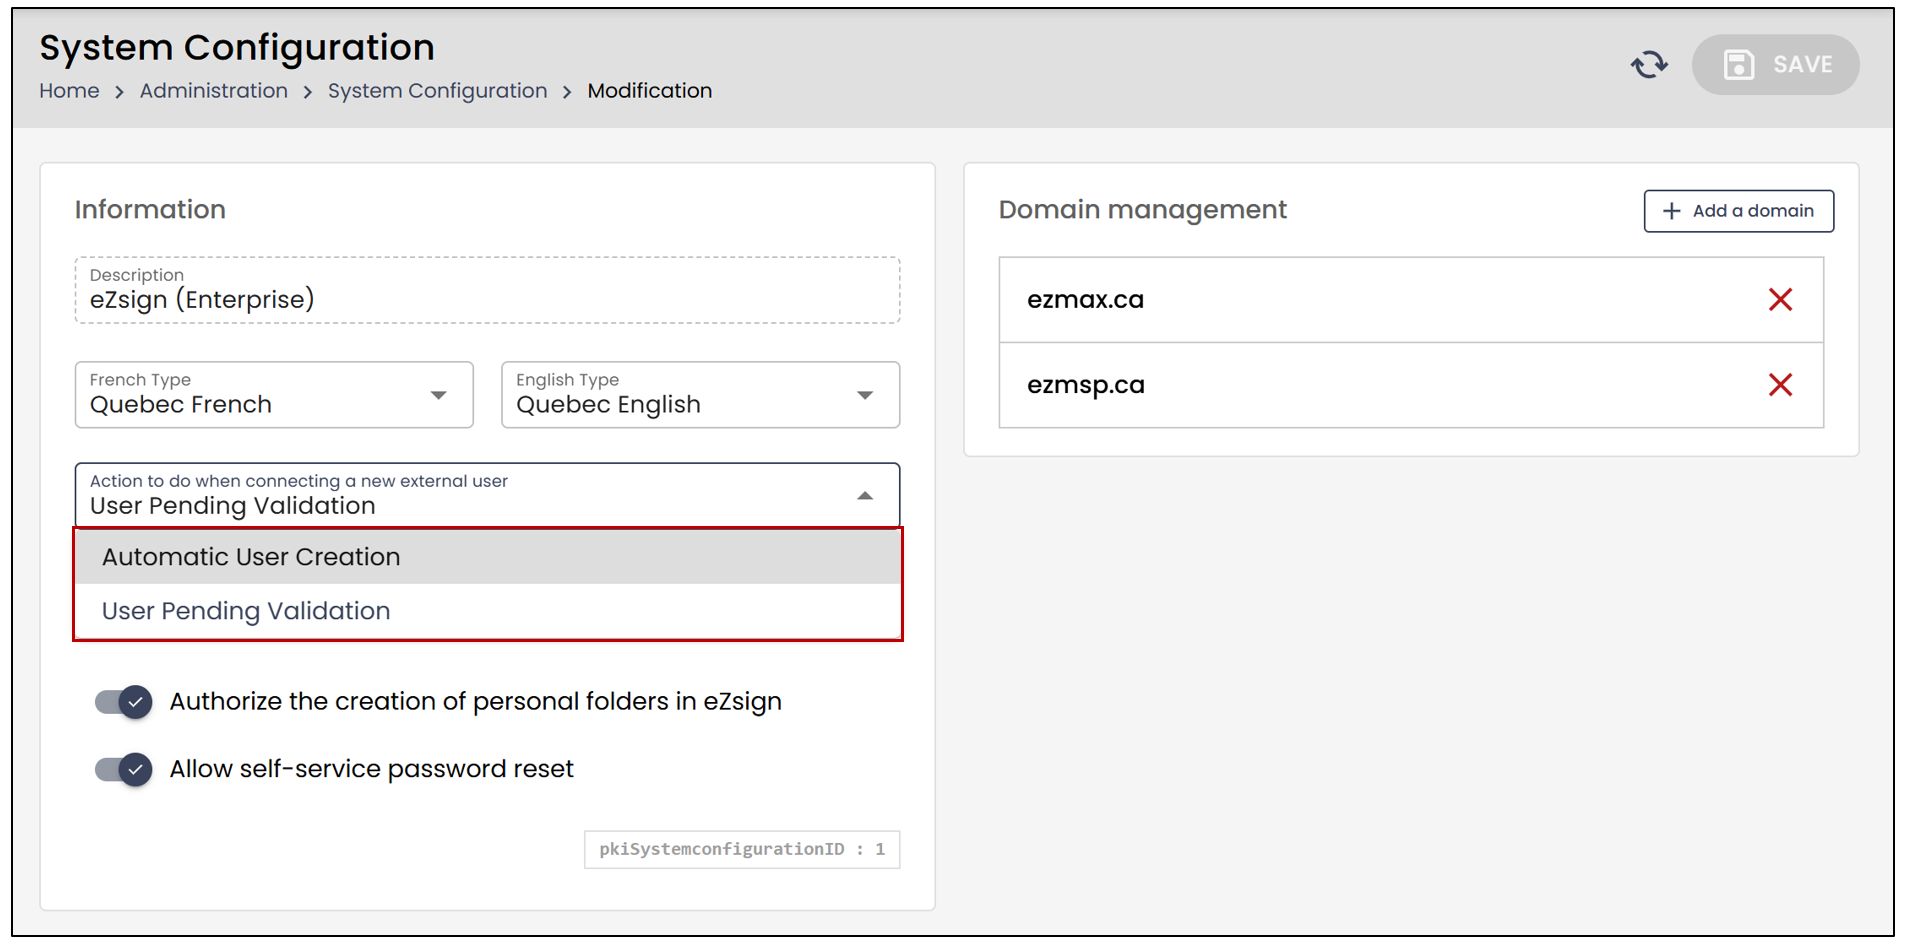
Automatic User Creation
Upon the first login via SSO, after authentication, the user will be automatically created in eZsign. However, this user will not have any permissions or access to folder types. It will therefore be important to add them to a user group, and external user groups will allow you to automate this process.
User Pending Validation
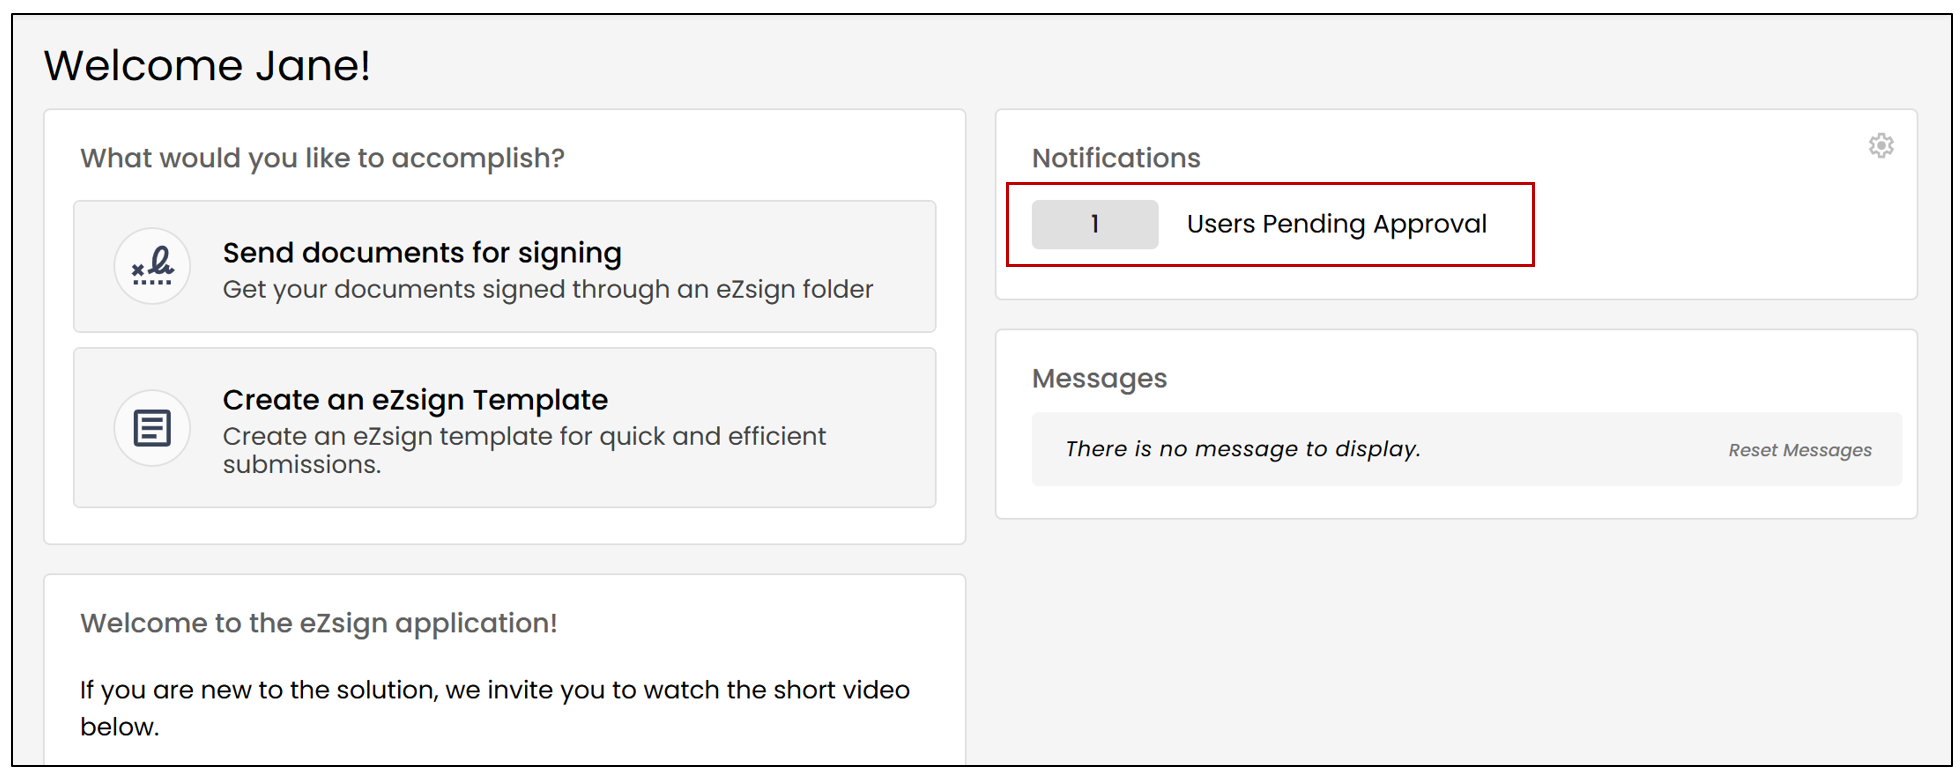
Upon the first login via SSO, once authenticated, the user will require validation from an administrator with the appropriate permissions. Users pending validation will be visible on the homepage.
NOTE: Pending validation users will be essential during a transition to SSO authentication. If you are using eZsign without SSO, all your users will already be created. On the day you enable SSO, to avoid duplicates, select user validation in eZsign. This way, you will be able to associate the account created by SSO with the one already existing in the system, initially created manually.
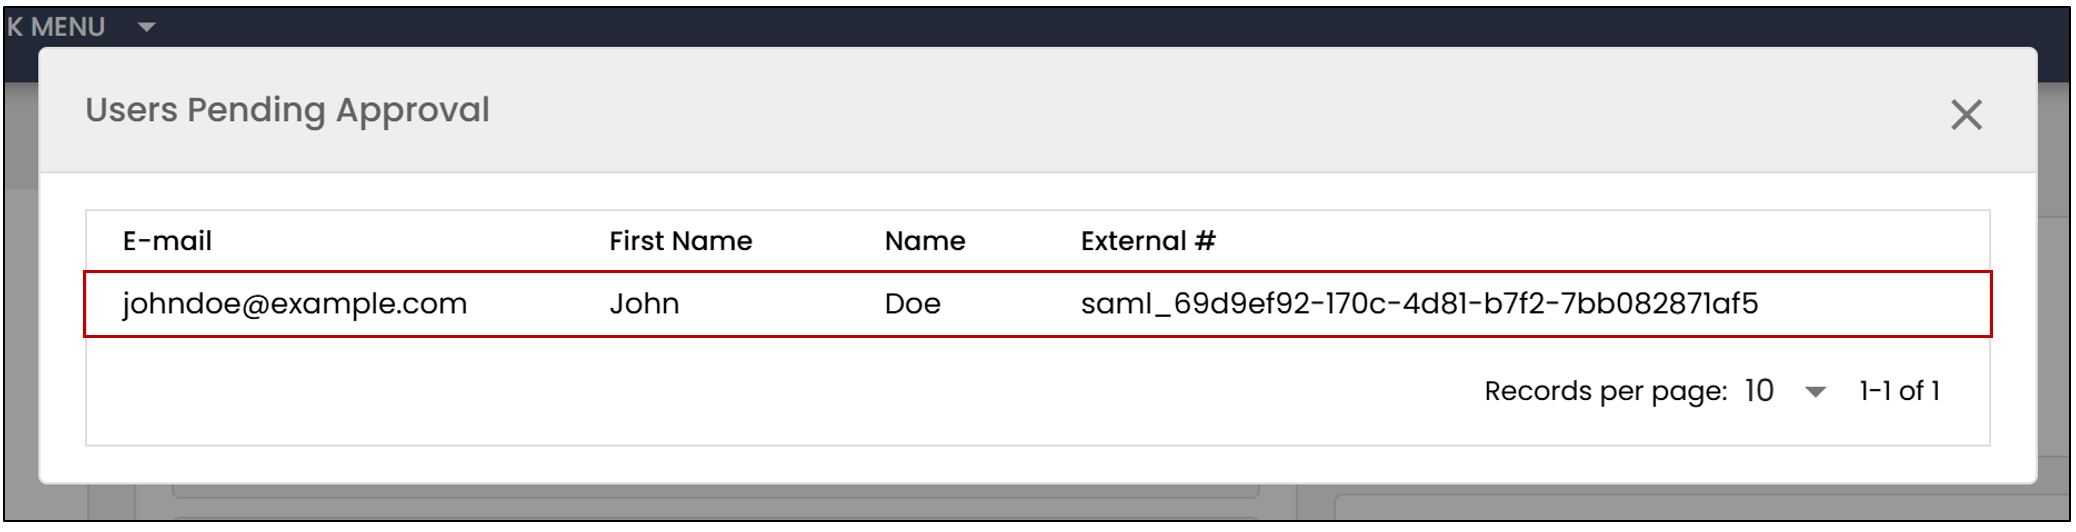
- From the main menu, click on Users Pending Approval.
- Click on the desired user from the list.
Create a New User
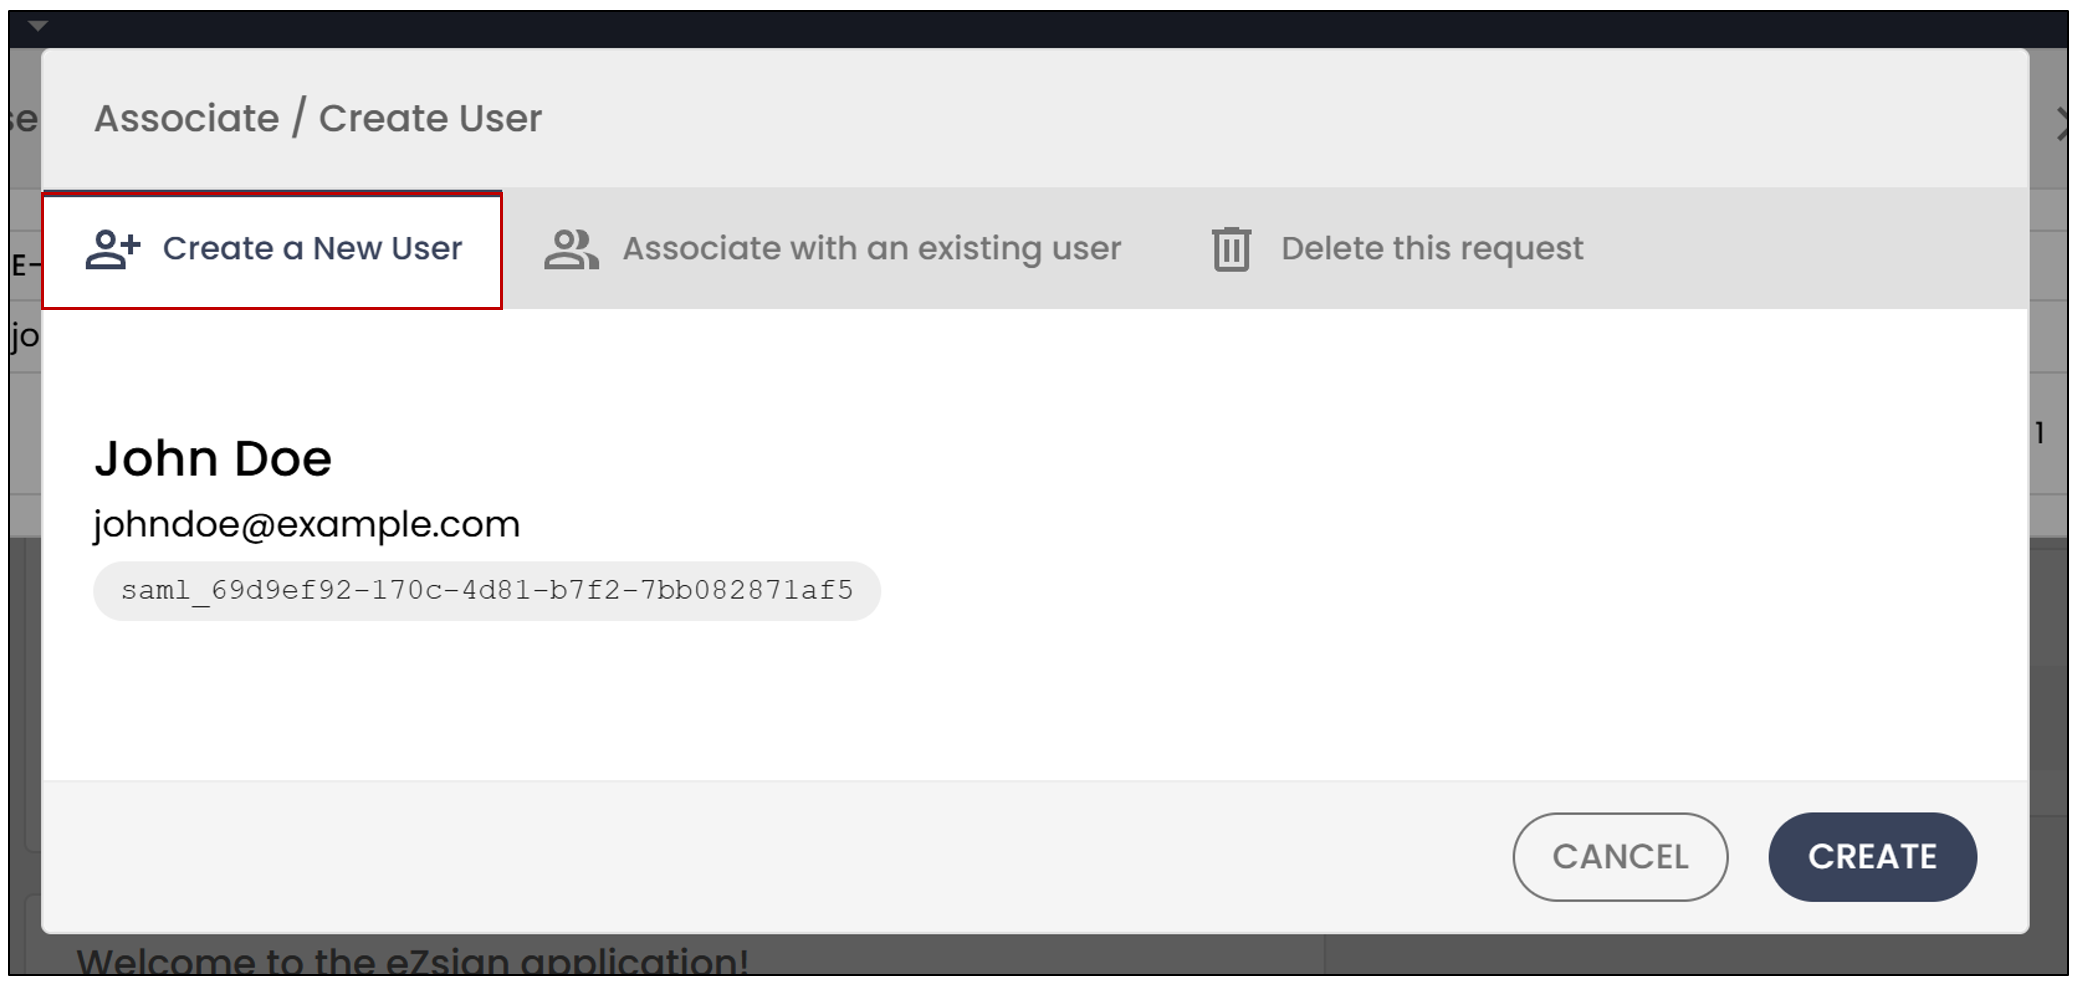
- If you want to create a brand-new user, click Create.
This user will have no permissions and no access to any folder types. Therefore, it’s important to add them to a user group. External user groups will allow you to automate this process.
Associate with an Existing User
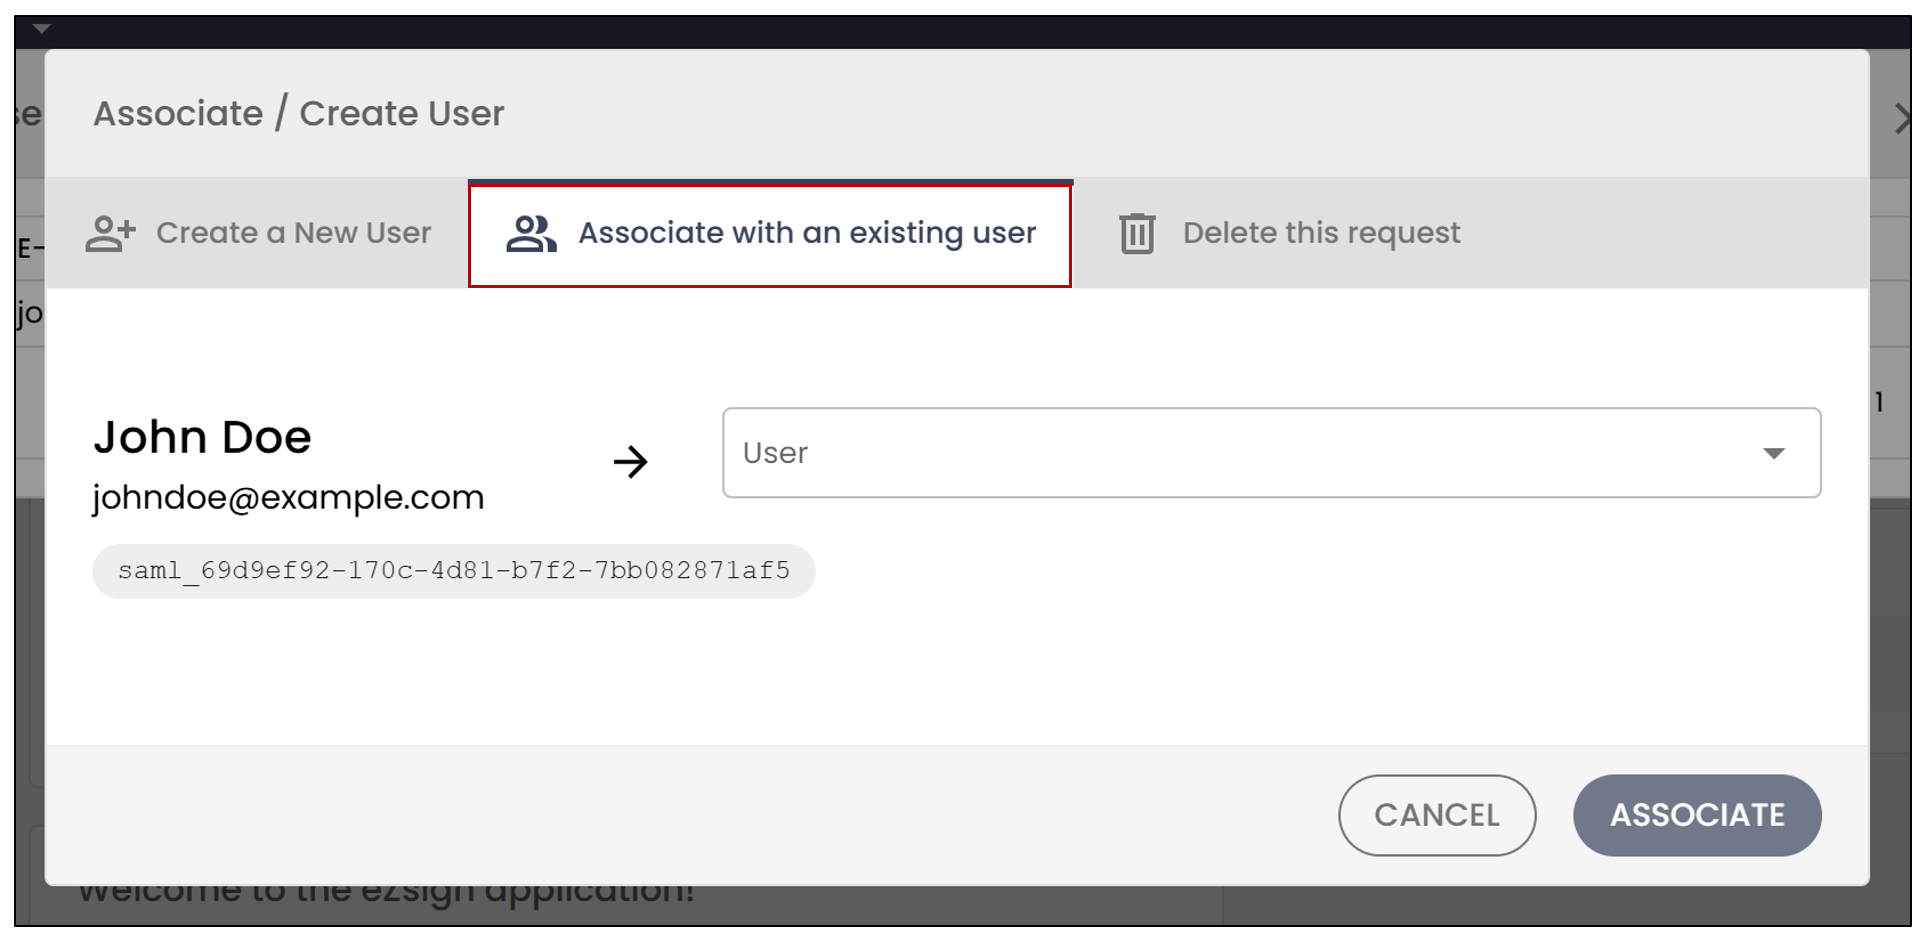
When SSO is activated for an existing organization, users must authenticate using the client code to create their SSO account. Once the account is pending approval, you must link this new SSO user to the existing user already in the platform by selecting them from the drop-down list.
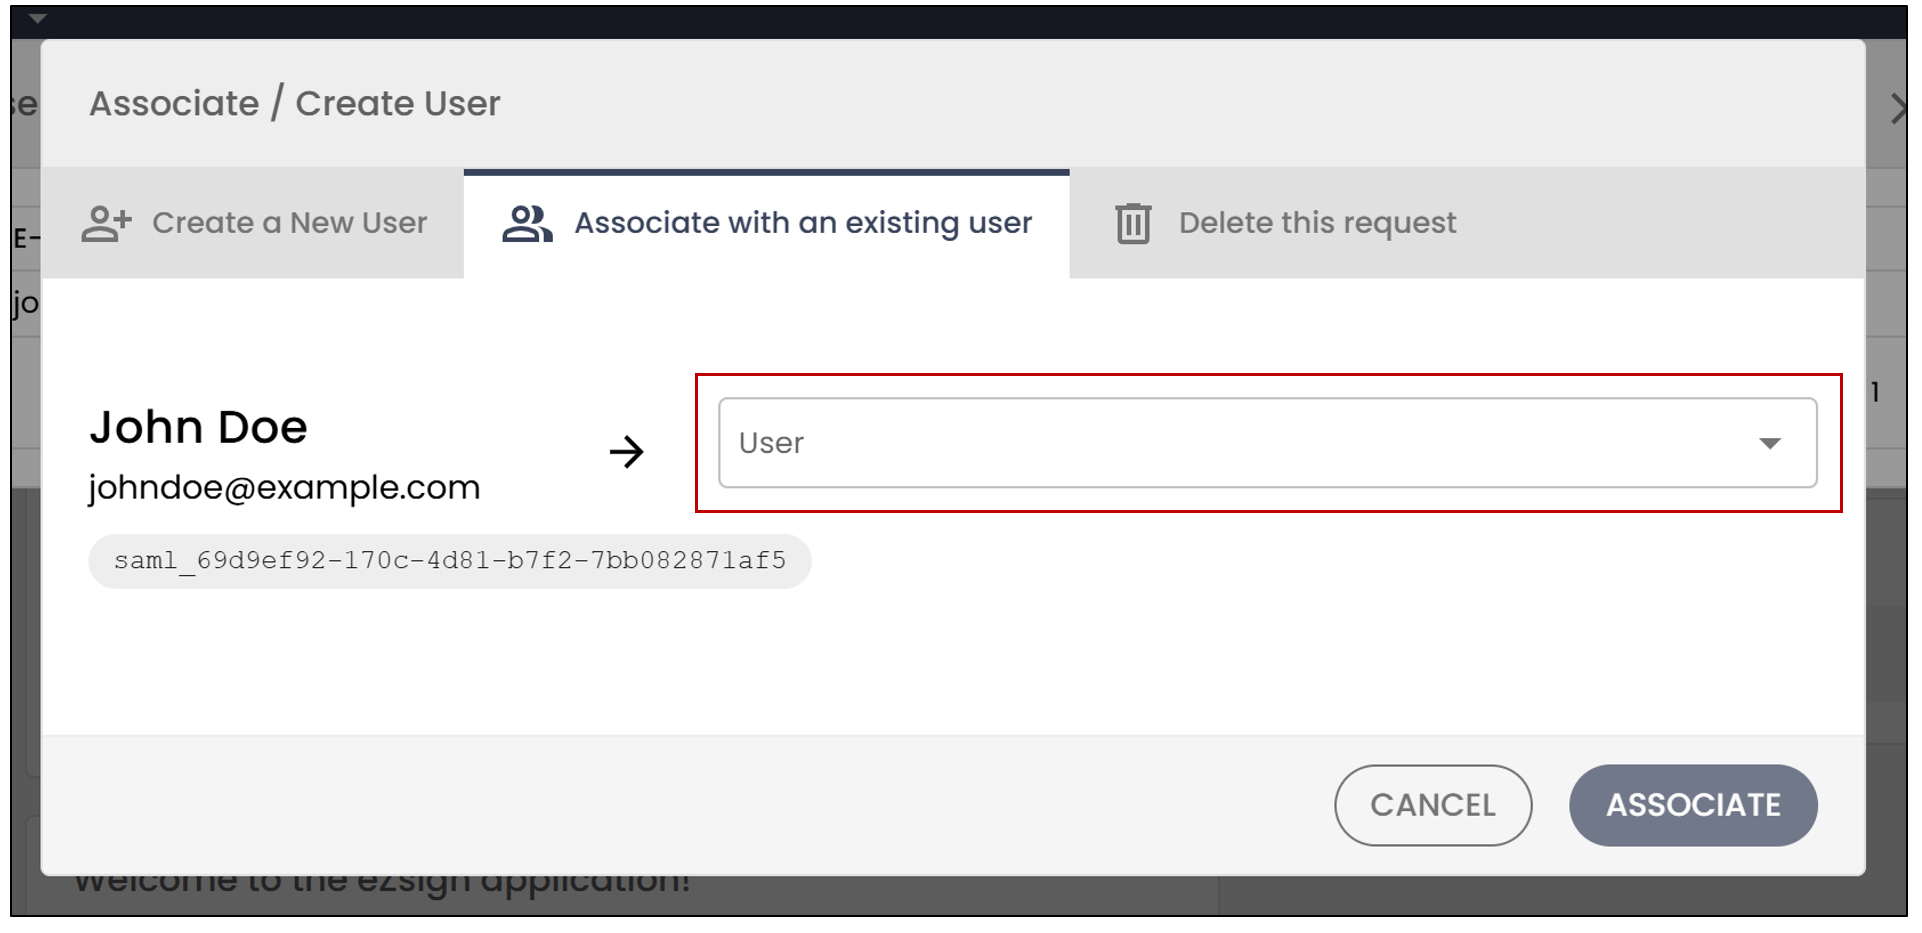
- Once the user is selected, click Associate.
Delete this Request
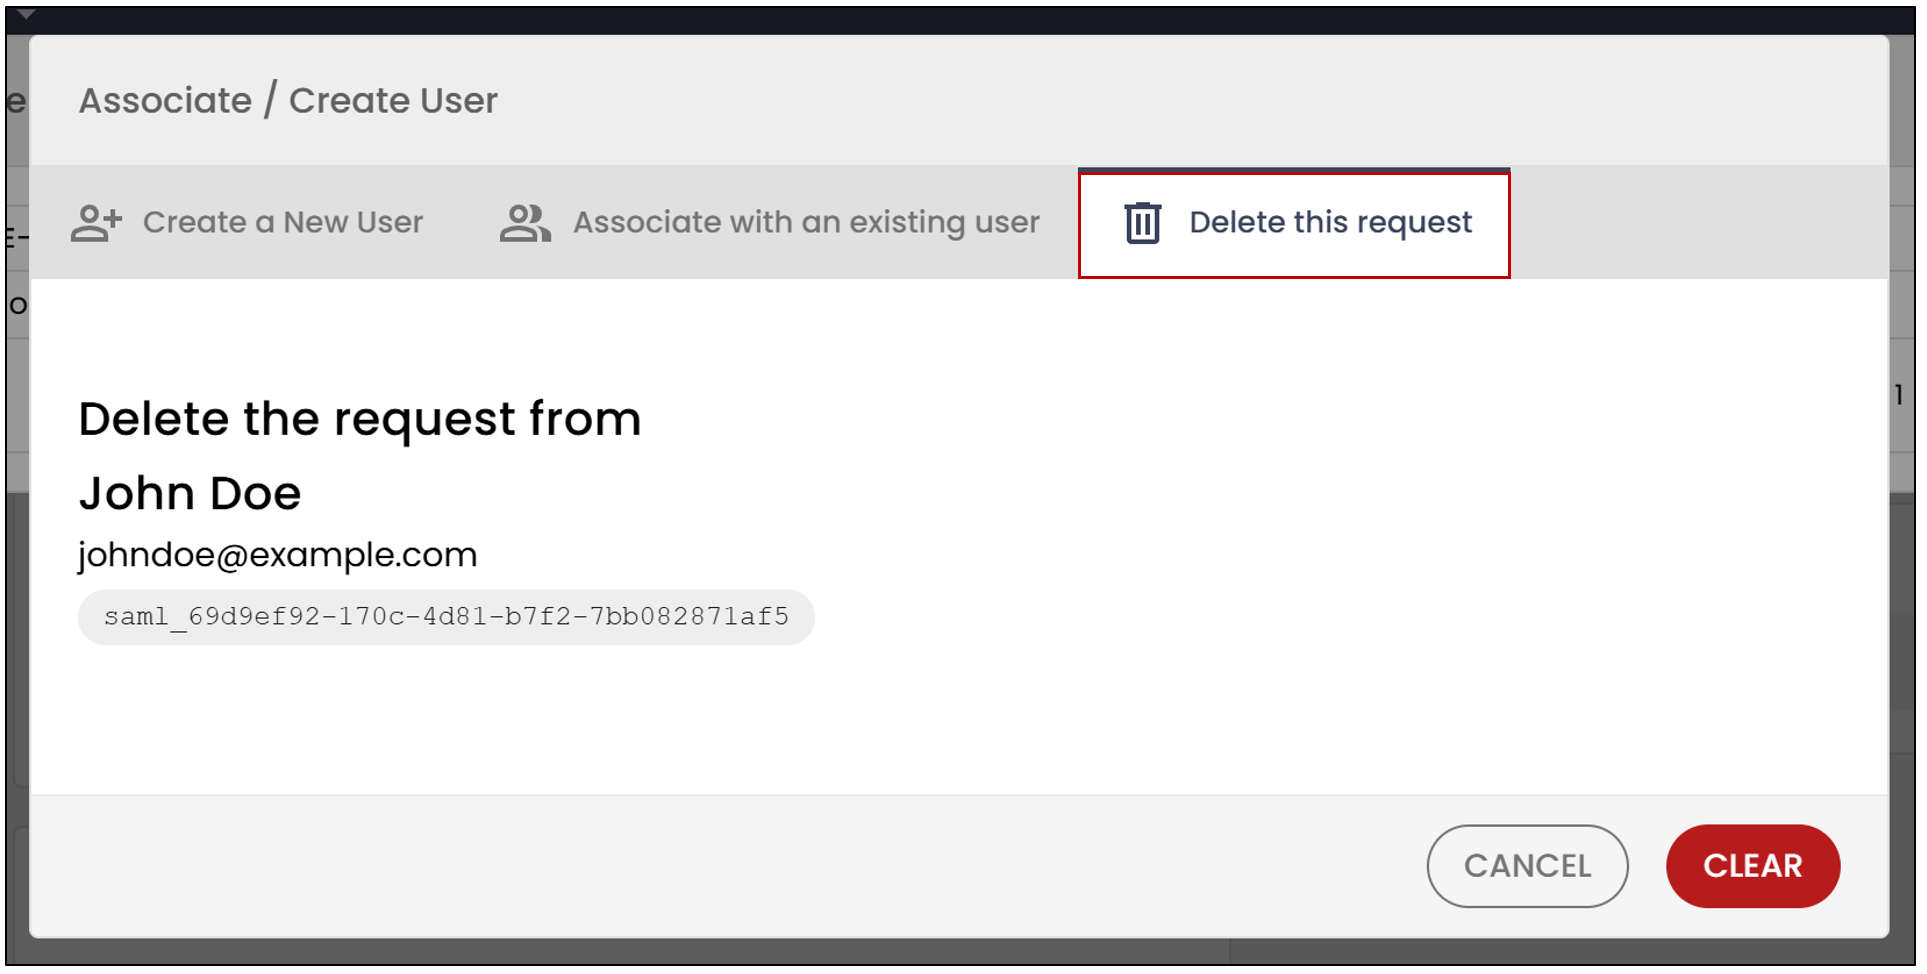
- If you wish to delete the request, click Clear.
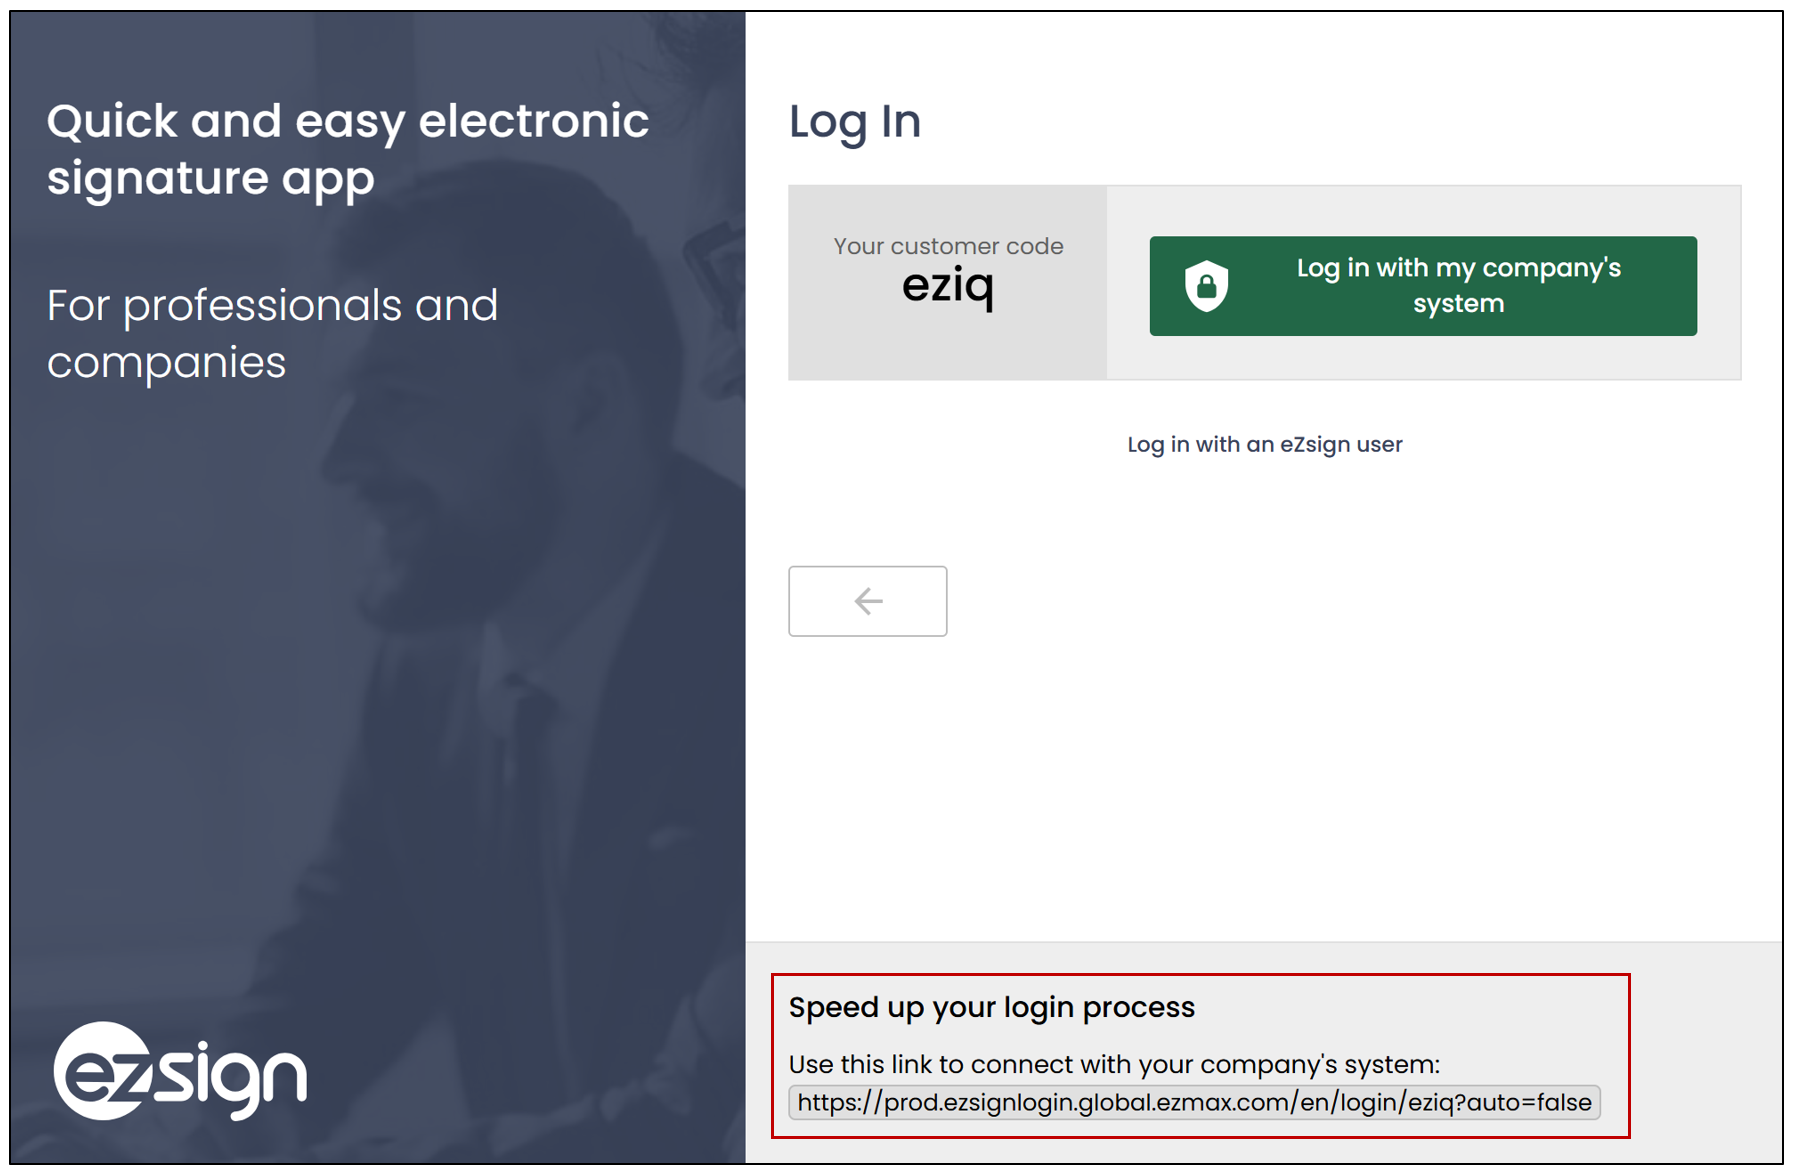
Creating a Shortcut in Your Environment to Access eZsign
Once the configuration is complete, you will be able to use the login URL and create a shortcut to eZsign in your environment. The link can be found at the bottom of the login page linked to your client code.