
English
Tips: Signature/Form Field Types (eZsign Web Version)
Tips: Signature/Form Field Types
Here’s how to do in eZsign:
- You’ll need to create a new eZsign folder.
For more information on creating an eZsign folder, please refer to the article Creating an eZsign Folder: Start Here.
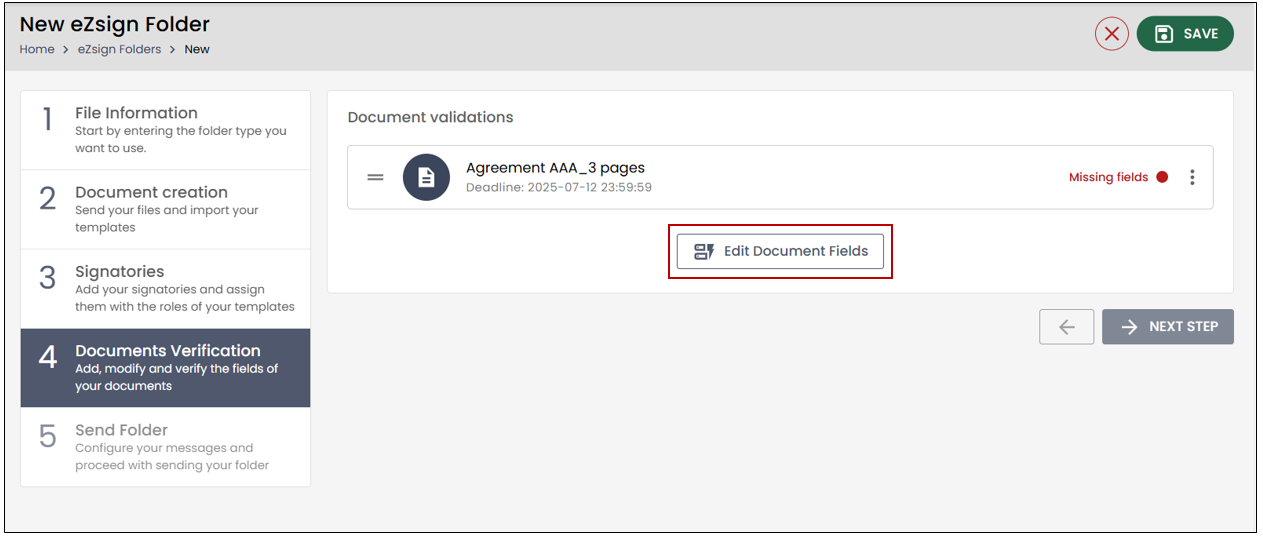
- During the Document Verification step, click on Edit Document Fields.
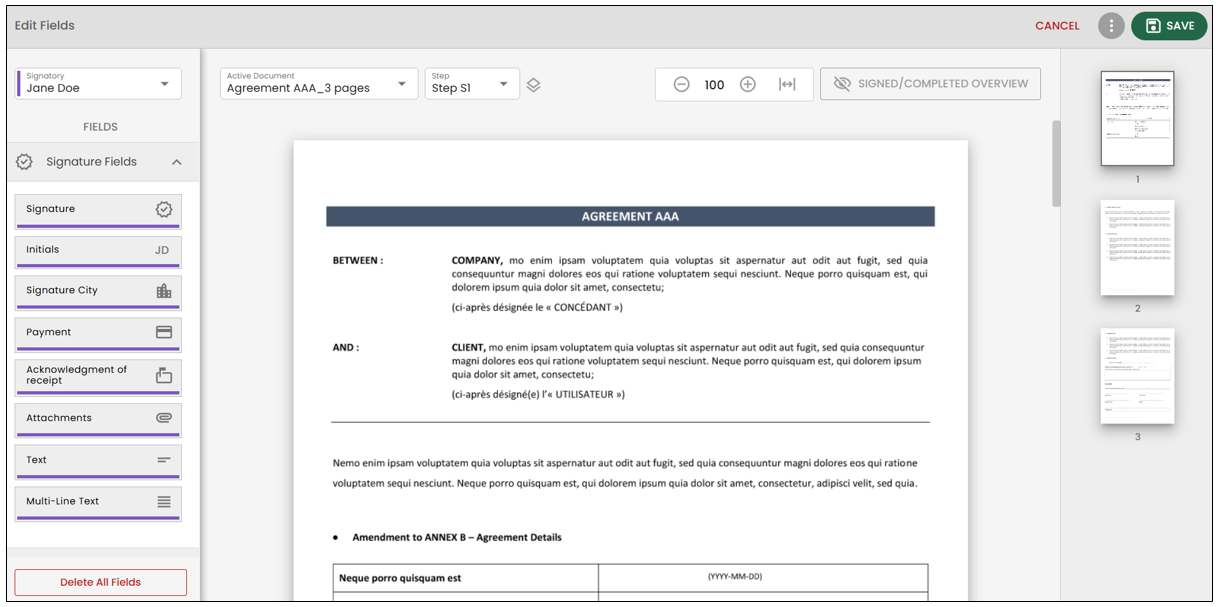
NOTE: When adding a field, the left column is primarily used to prepare the signature field, while the right column allows you to edit the properties of that field.
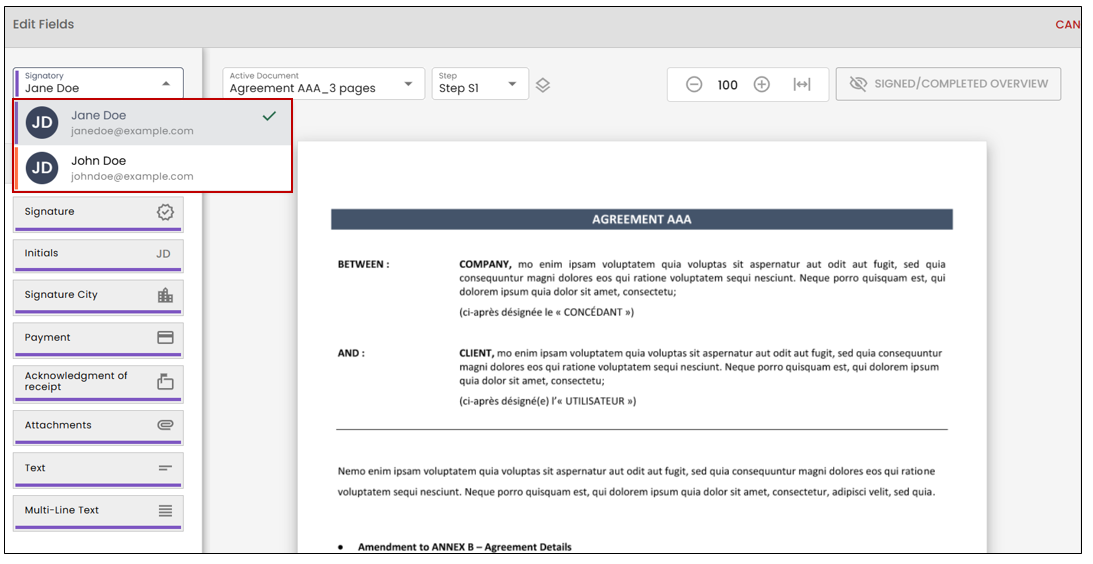
- To assign a signer to a field, simply select the signer from the drop-down list in the top left corner.
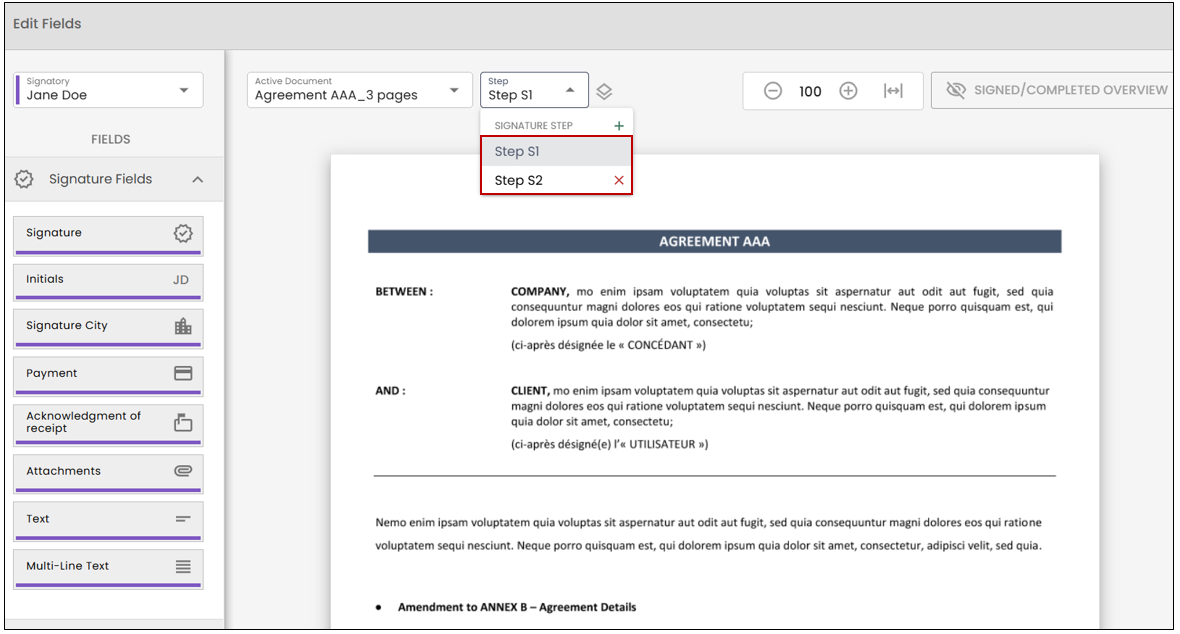
- To modify the signing step, click on Step , located at the top left of the document.
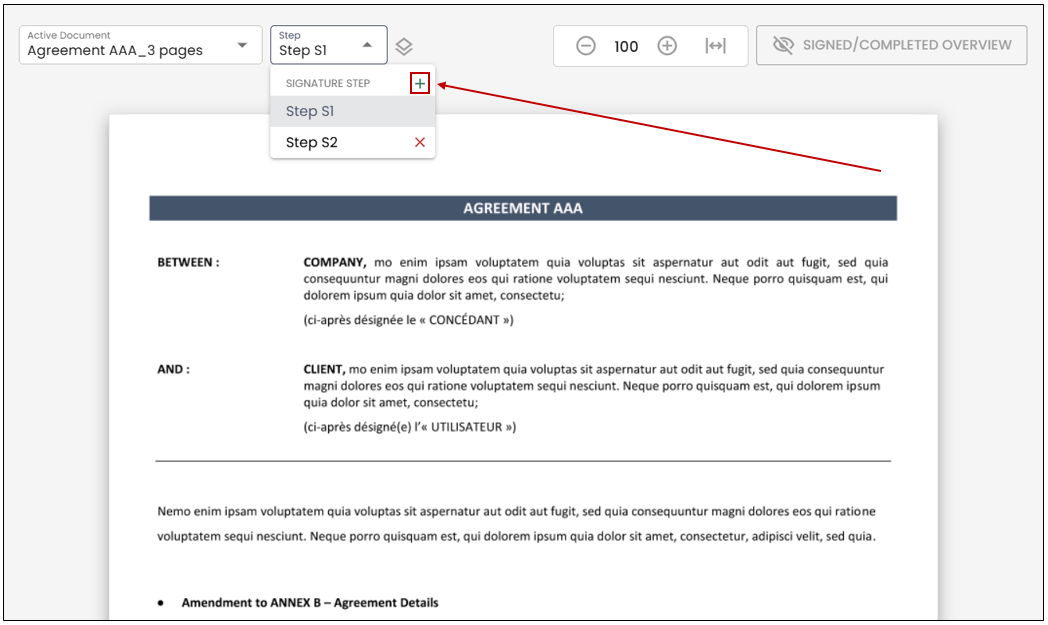
- To add steps, click on the "+" to the right of Signing Step.
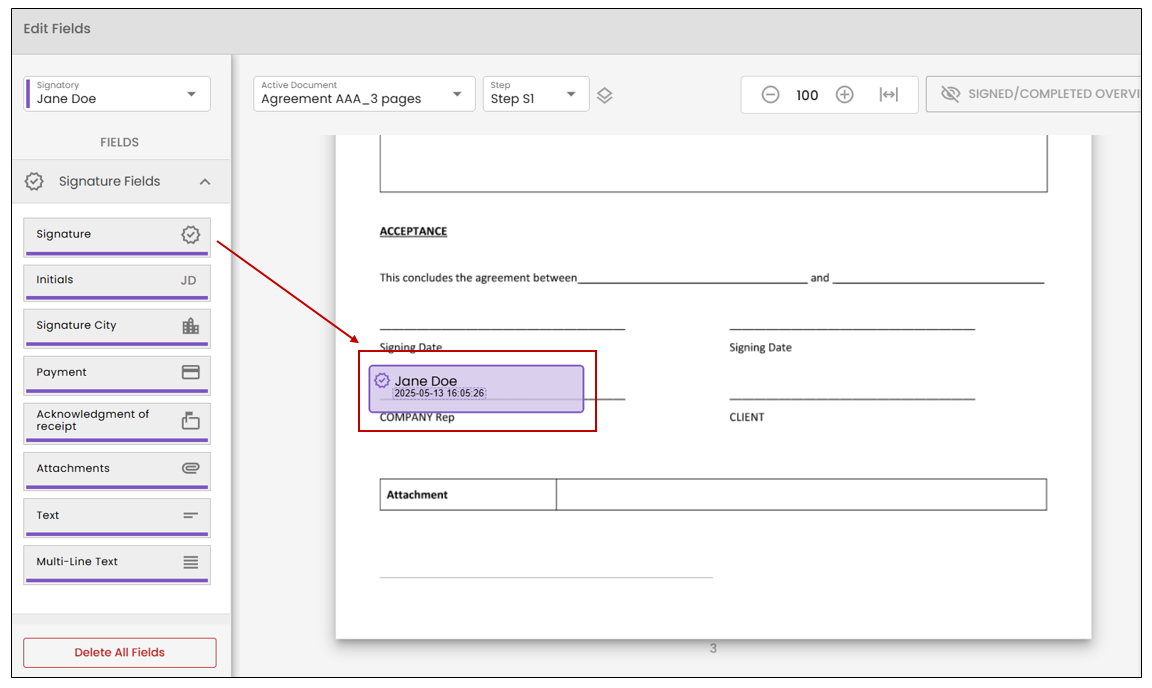
- To add a field to the document, you will need to drag it onto the document from the left column.
Custom Dates
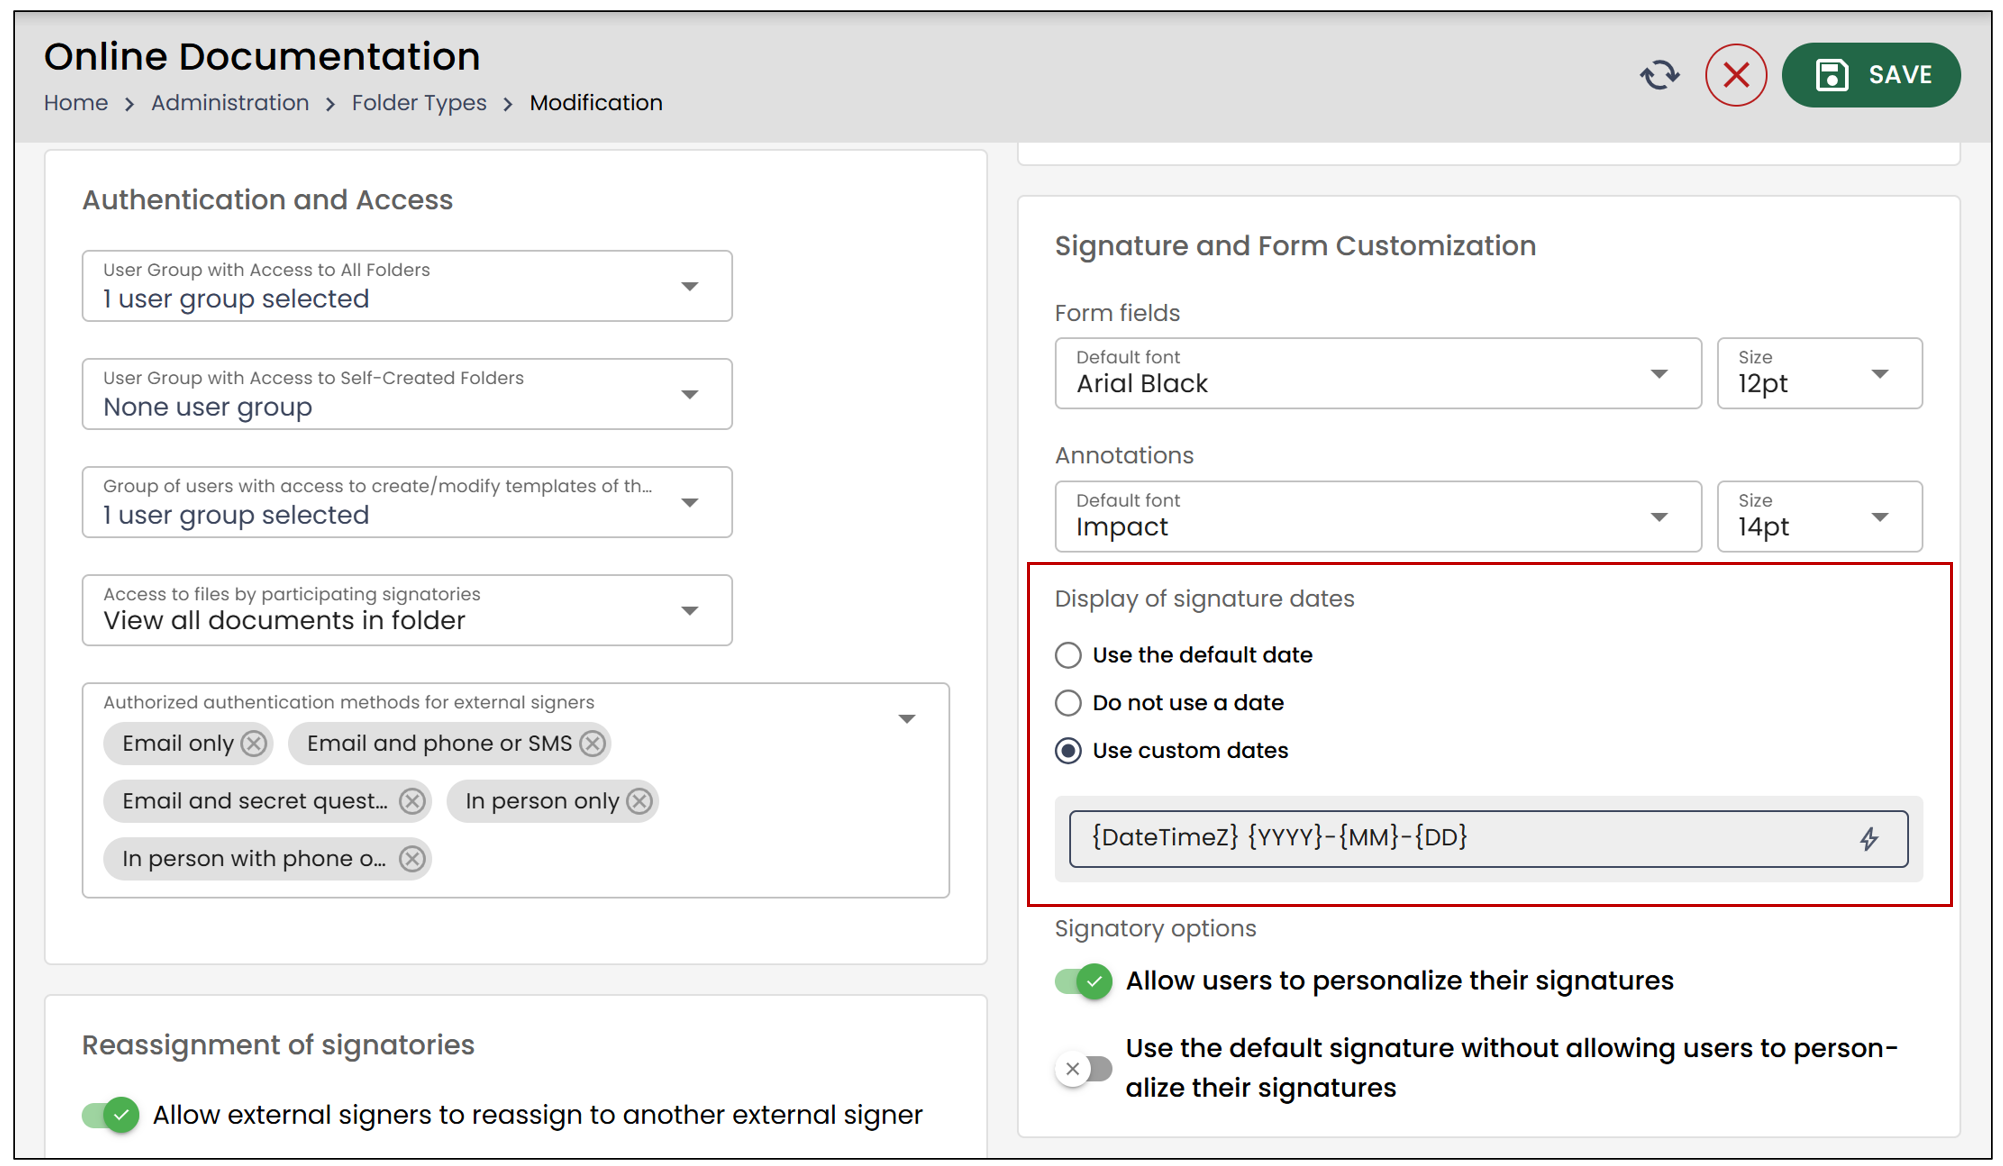
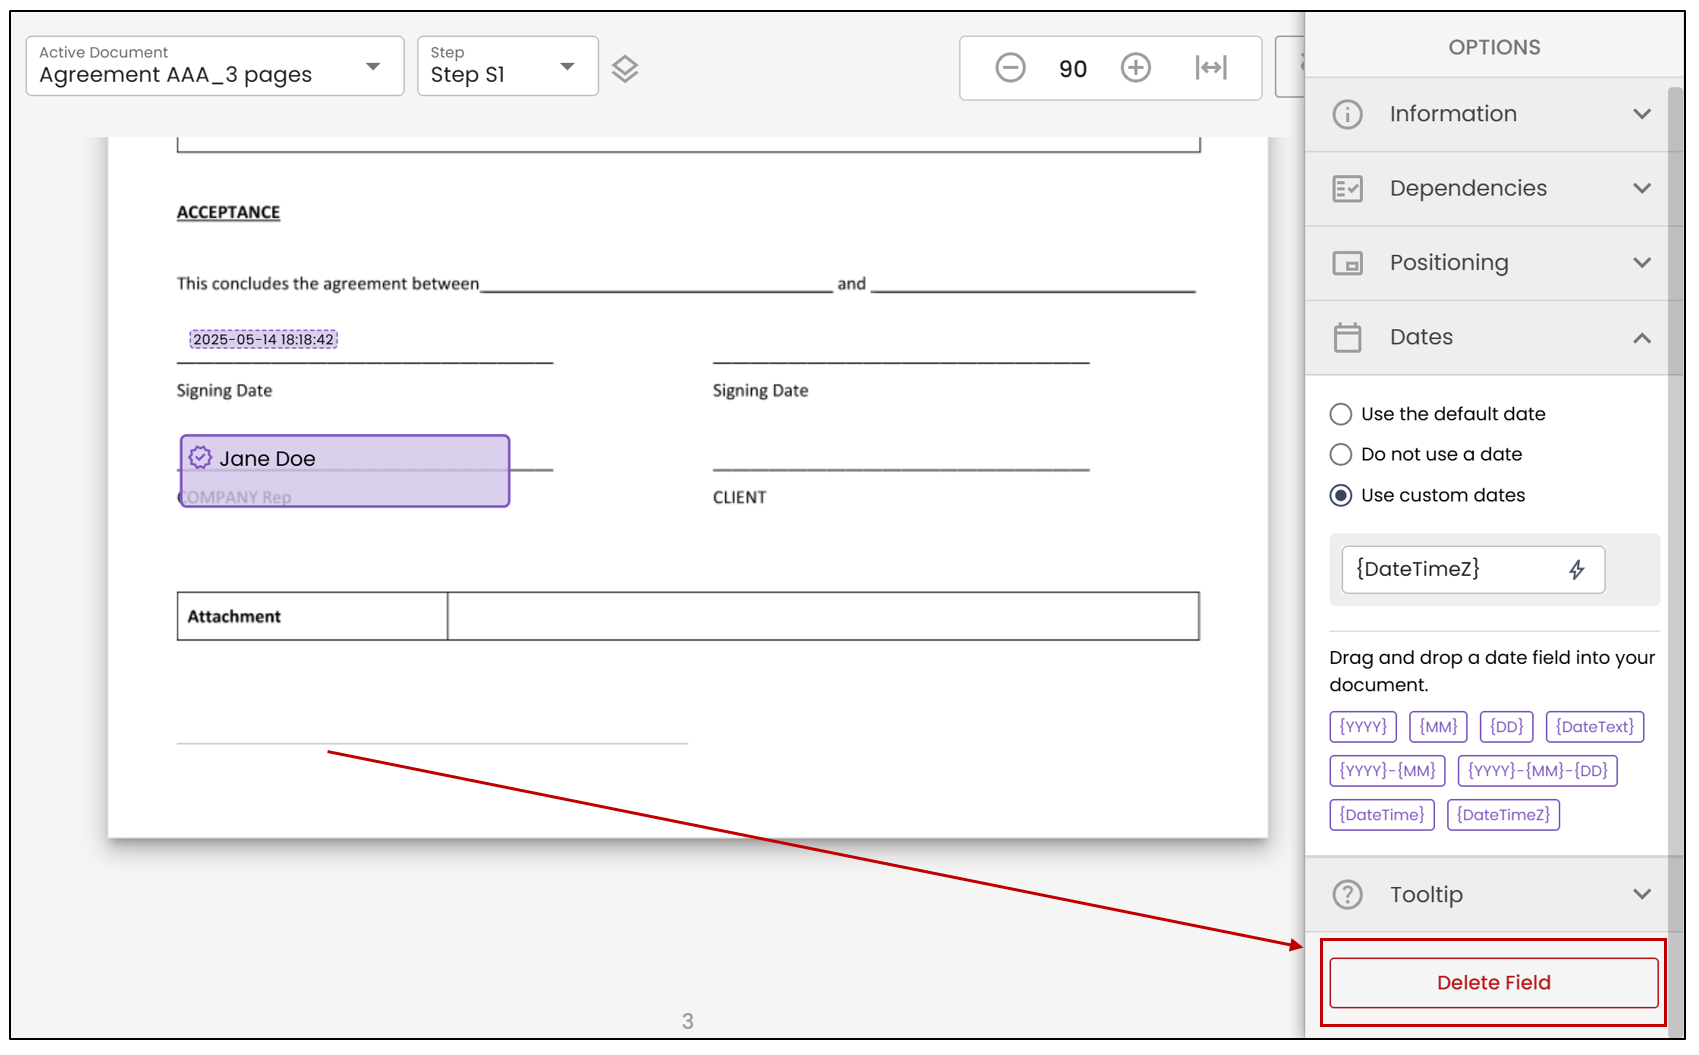
It is now possible to configure how the date associated with signature fields is displayed directly in the Folder Type.
You can now adjust this behavior according to your needs by choosing one of the following options:
- Use the default date : displays the full date and time.
- Do not use a date : the signature field is displayed without a date.
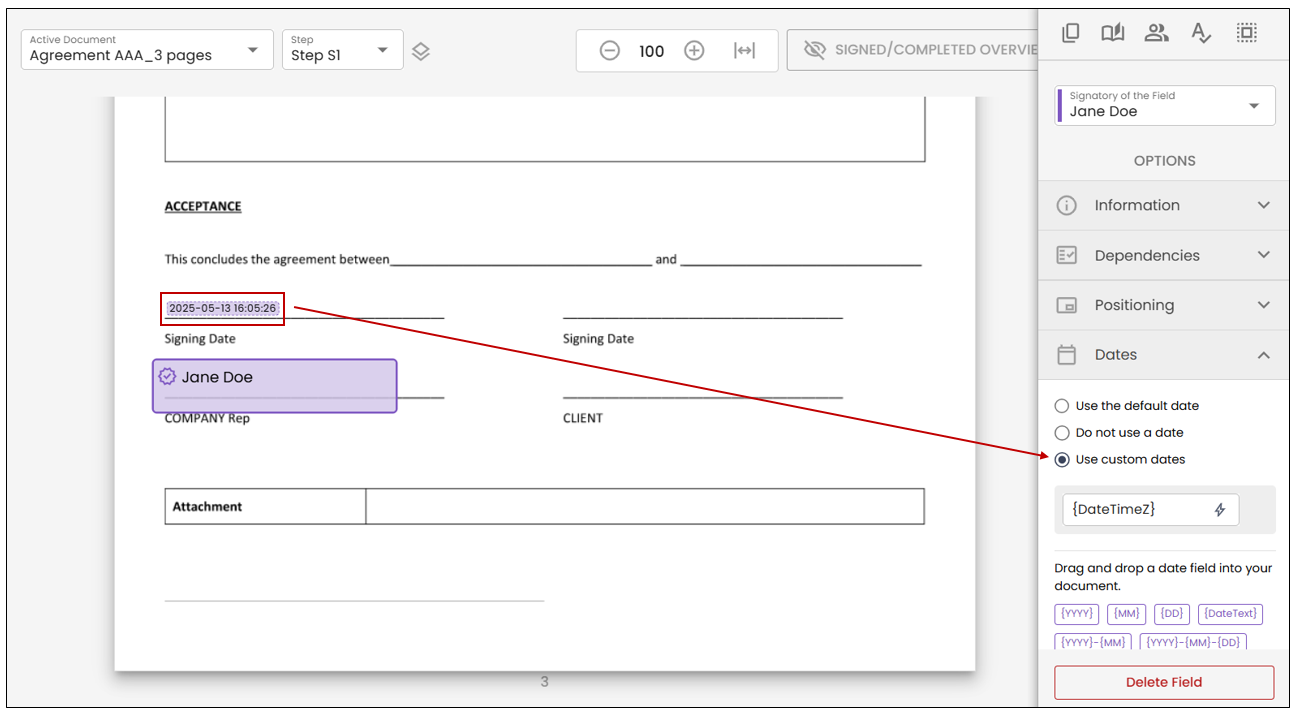
- Use custom dates : choose the format that meets your needs, for example, displaying only the date (YYYY-MM-DD).
NOTE: If you have a Business Pro , Individual Pro , or Brokers Pro account, you will have the option to move and customize the signature date.
NOTE: When using a custom date with a signature field, the date and signature field can be moved separately by dragging the date to the desired location. To select and move both elements simultaneously, double-click the signature field. You can also click and hold the mouse button, then drag the cursor to select both elements before moving them.
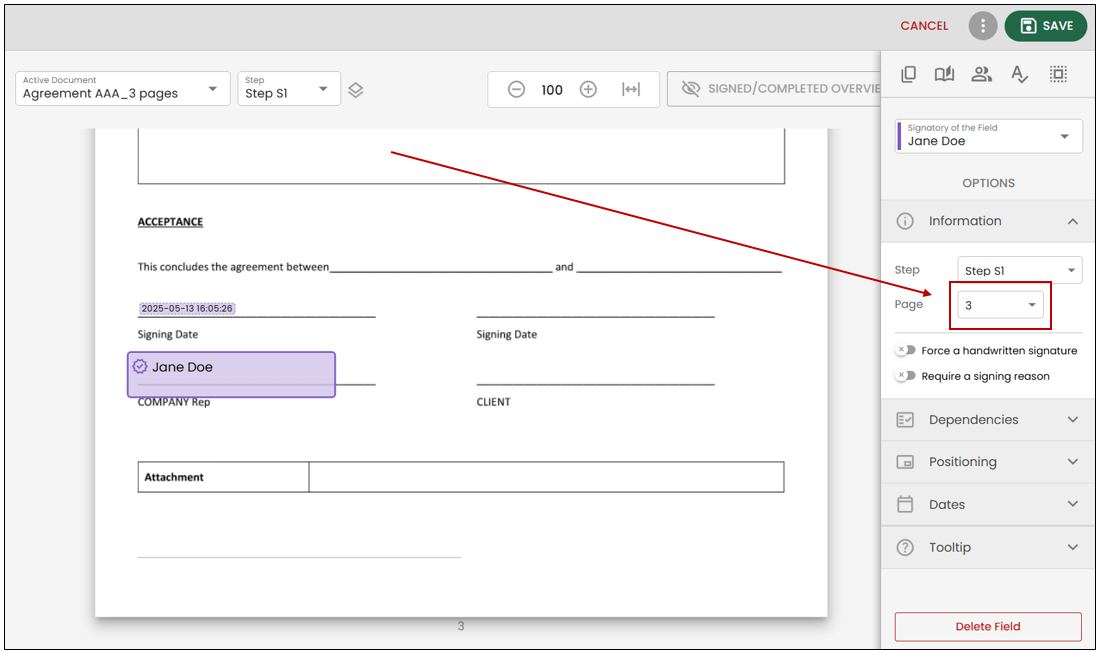
- You can move fields from page to page by dragging and dropping them, or simply by editing the Page of the field on the right.
Field Options
You have access to the following tools to speed up the addition of fields.
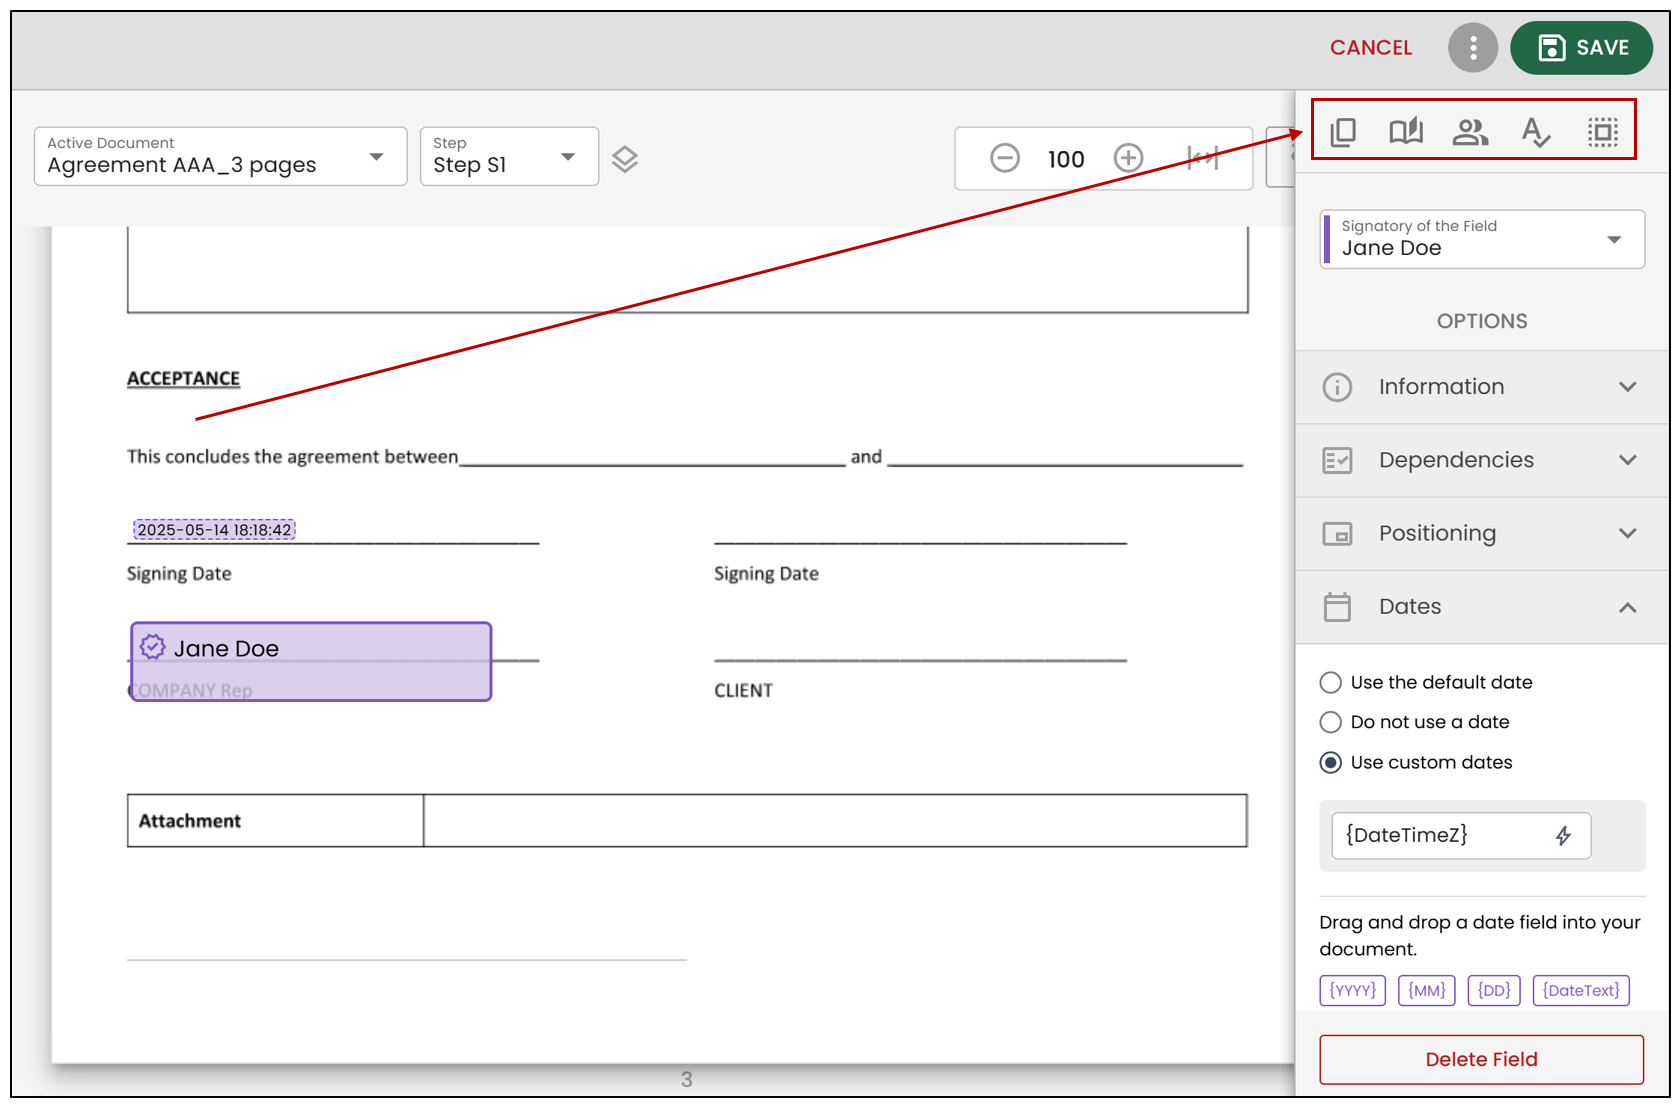
Copying an element:
- When you select a field in your form, you have the option to click on the

icon. This allows you to copy the selected field while retaining the previously entered settings. This creates a duplicate field, but in a separate field group, meaning they will not be linked.
Copying across multiple pages:
- To copy a field to other pages, click on the

icon. You will then need to enter the page numbers where you want to duplicate the element. This option copies the field to the selected pages while maintaining its position and settings.
Copying for each signer:
- By selecting the

icon, you can duplicate the element for every signer who has access to the document. For example, if the form has eight signers, you will now have eight copies of this field.
Copying by keyword:
- If you select the

icon, the field will be duplicated on all pages where the specified keyword appears. Make sure to select the desired pages.
Selecting Fields for the Current Signer:
- By clicking the

icon, all fields assigned to the current signer will be selected. You will then be able to modify the signing step or reassign the signatures, for example.
Performing Actions on Multiple Fields Simultaneously:
- To select multiple fields at once, click where you want to start the selection, hold down the left mouse button, and drag the cursor to include all desired fields.
Delete a Field
- To delete a field, you can drag it off the document page. The word Delete will appear.
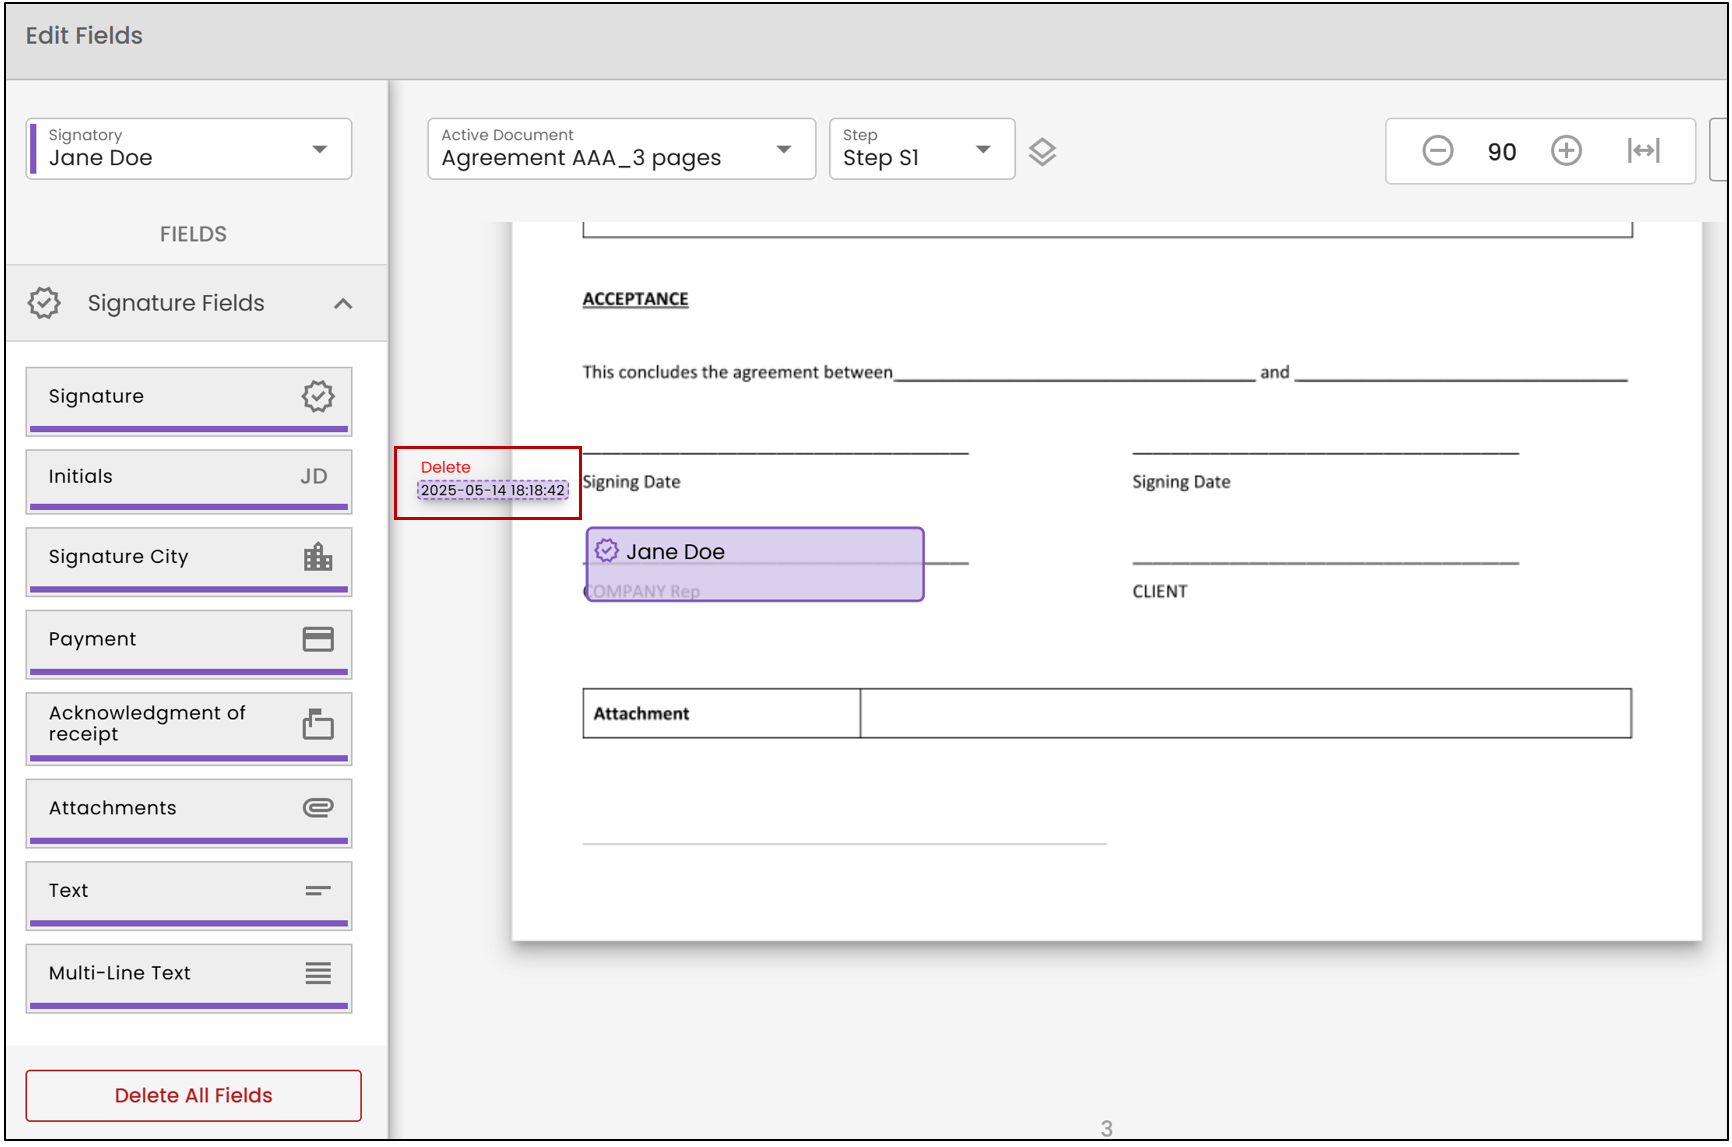
- The second option is to select the field and click on Delete Field at the bottom right of the document.
For more information on the types of form fields, please refer to the article Types of Form Fields (eZsign Web).
For more information on the types of signature fields, please refer to the article Types of Signature Fields.
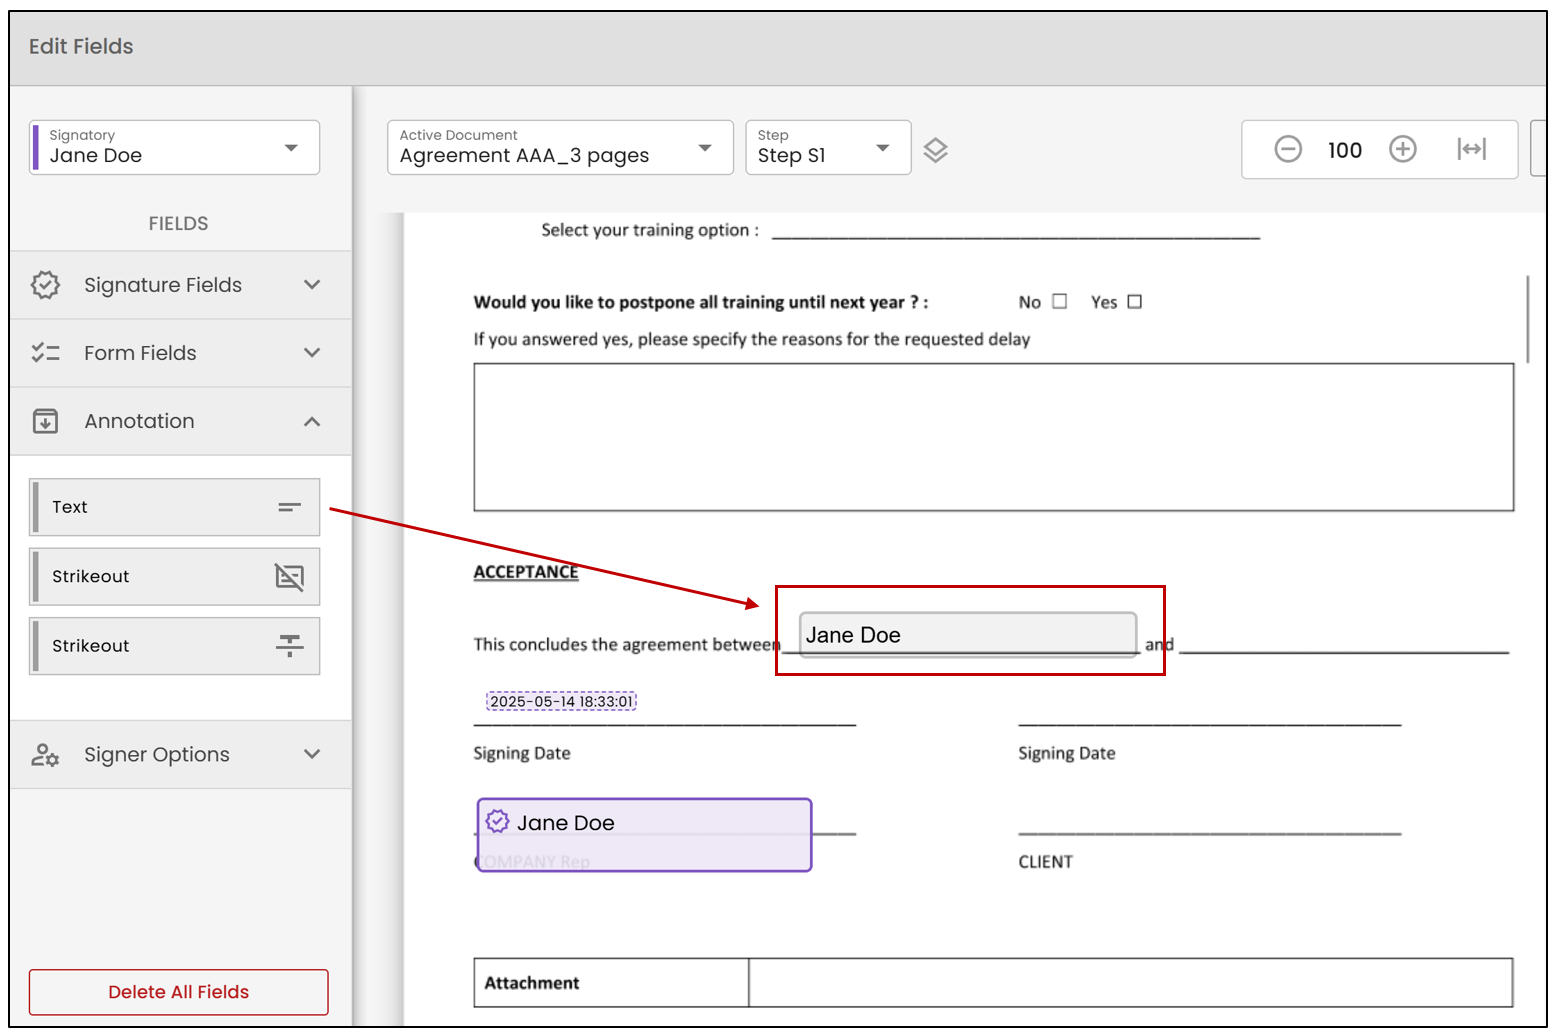
Annotation Fields
Text annotation fields allow you to add text to your document. This text will appear as-is on the document and cannot be modified during signing.
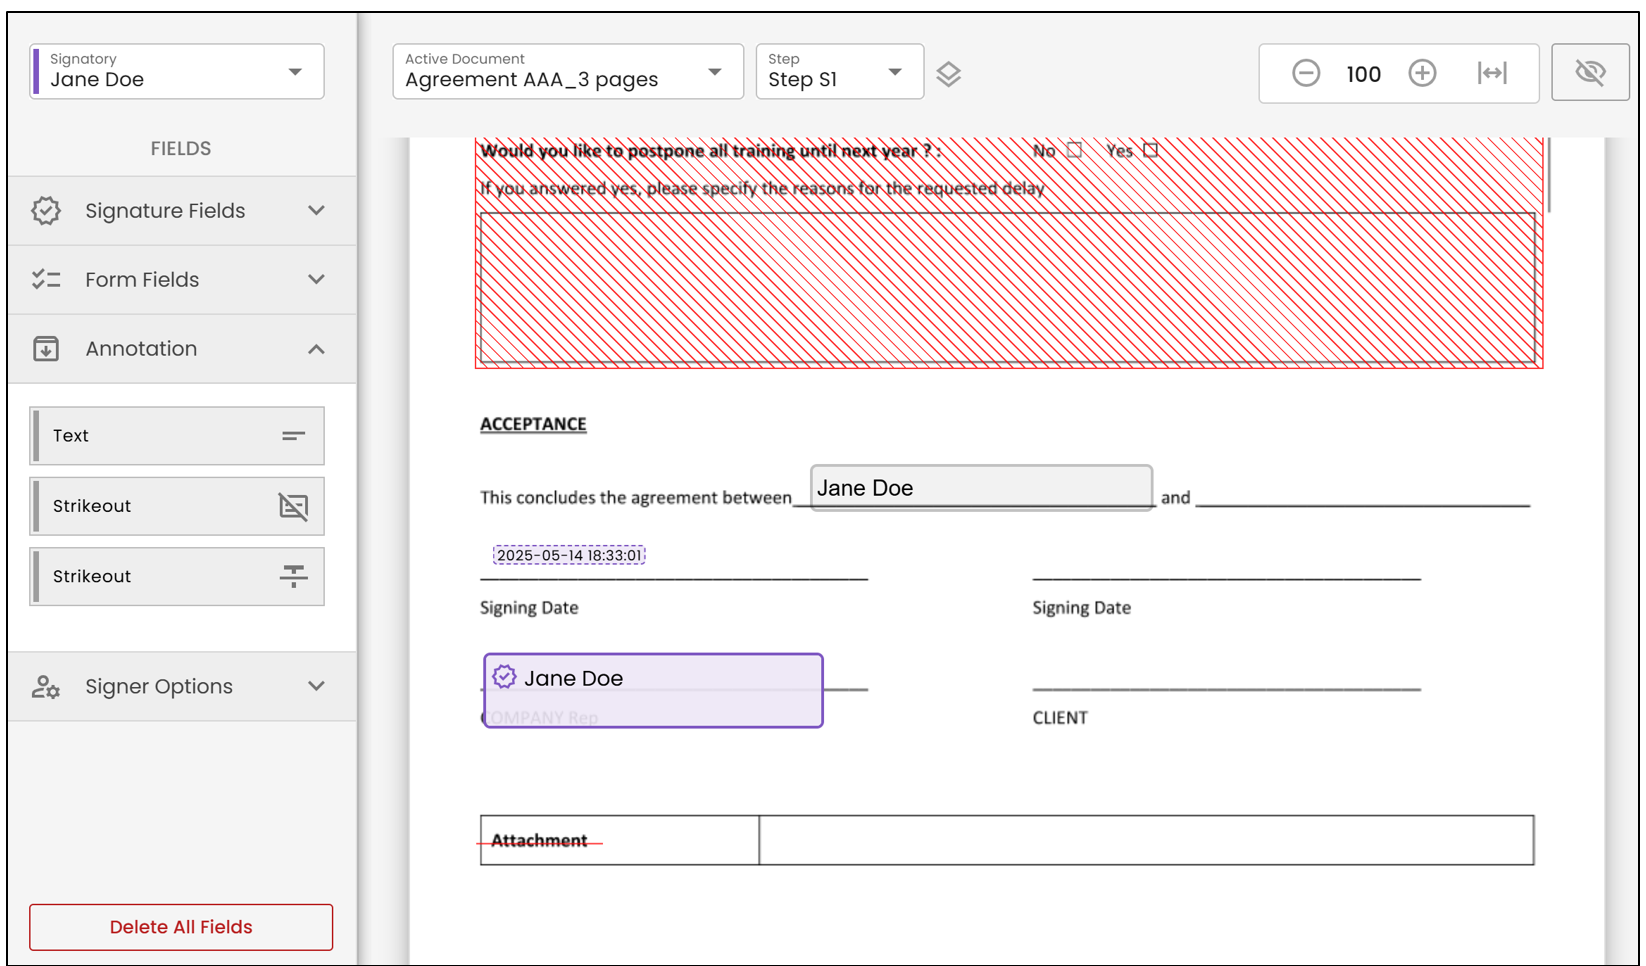
Strikeout annotation fields allow you to strike through a part of the document or a line of text. The strikeout will appear as-is on the document and cannot be modified during signing.
Signed/Completed Preview
If you want to see what the document will look like once signed, click on the

icon.
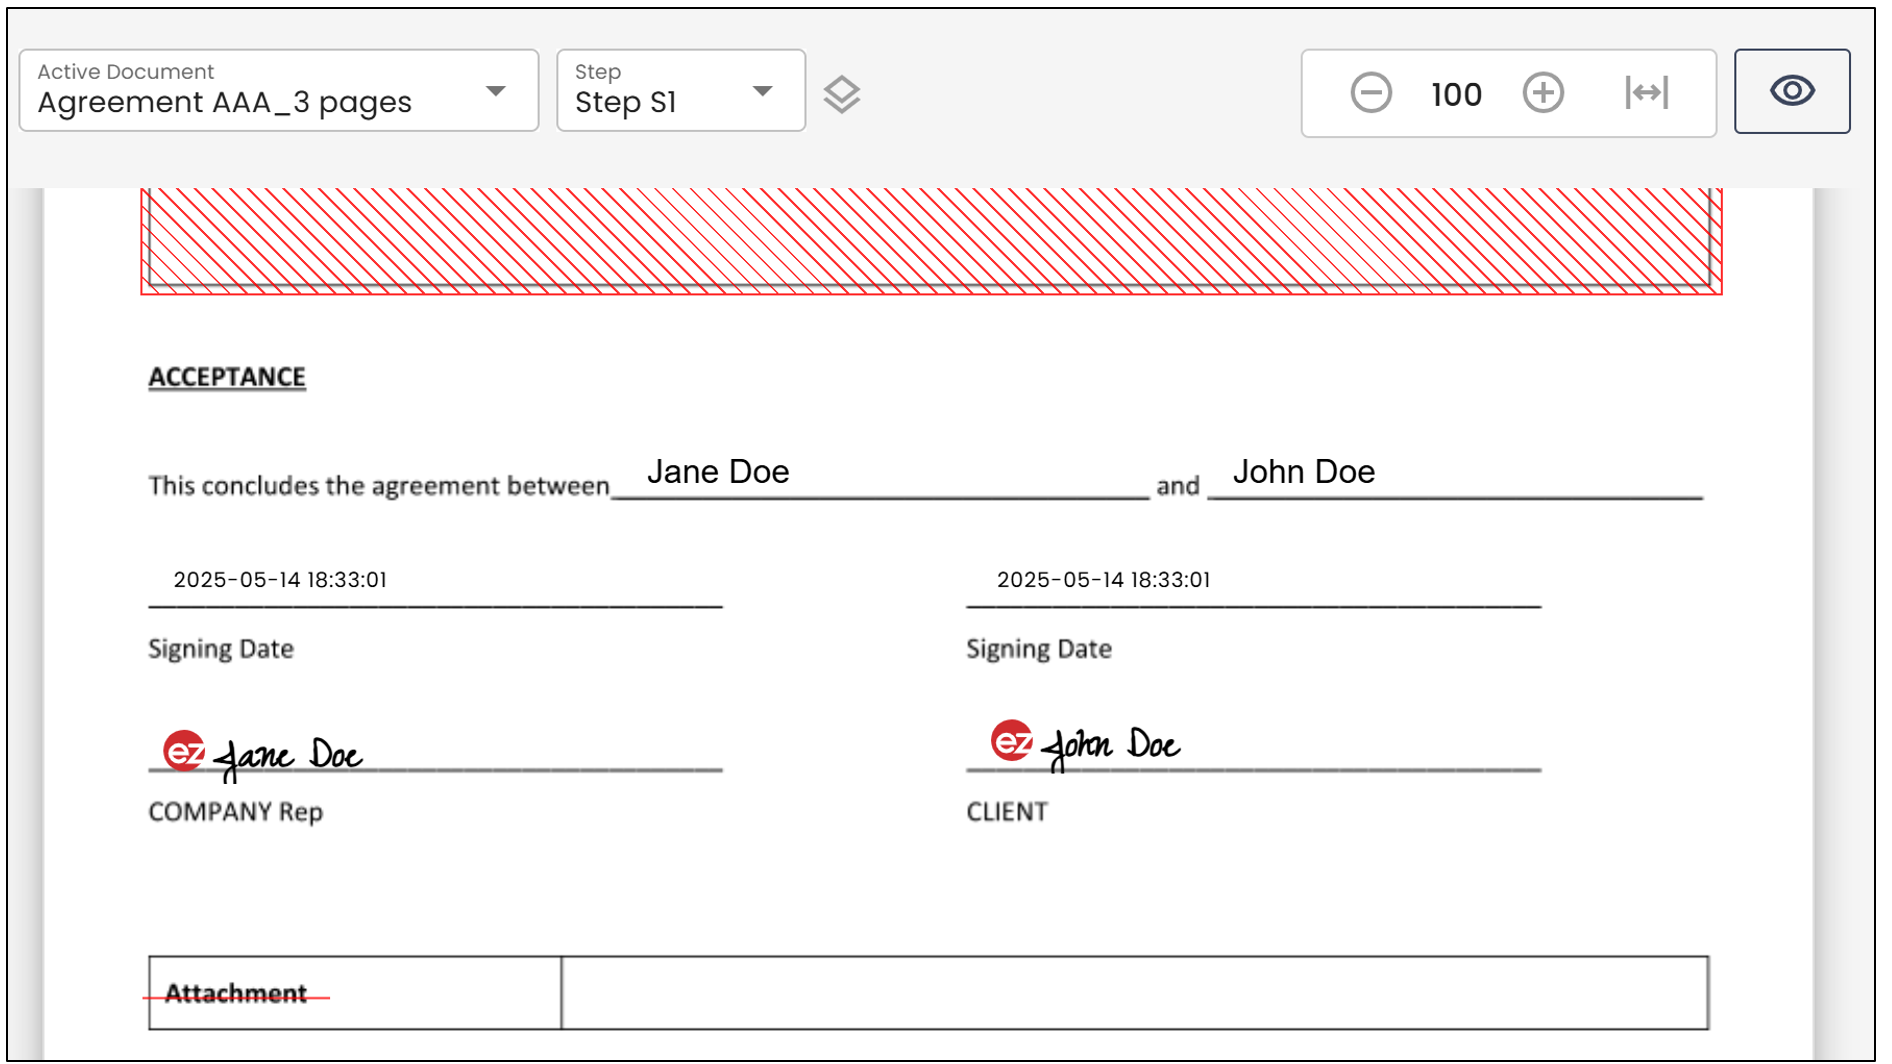
NOTE: You will still be able to edit the fields and move them around on the document.
Create a Template
It is possible to create an eZsign template directly from the document.
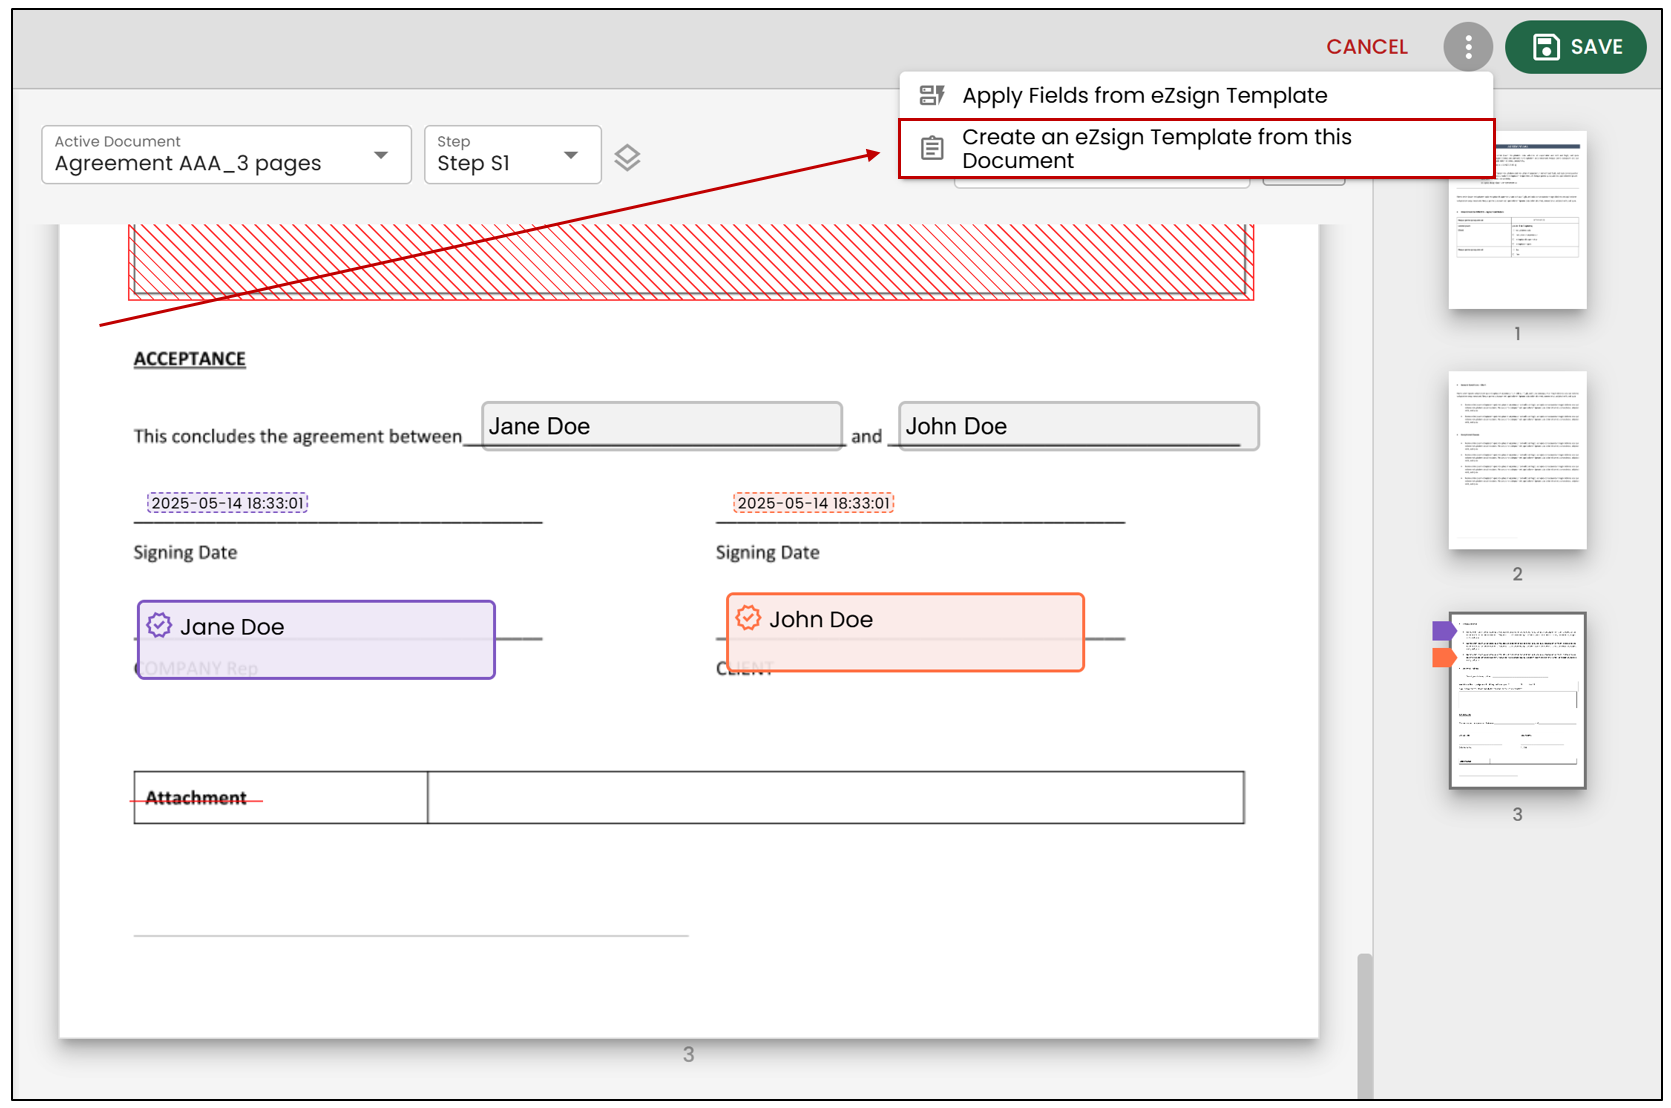
- Click on the three vertical dots to the left of Save , then click on Create an eZsign Template from this Document.
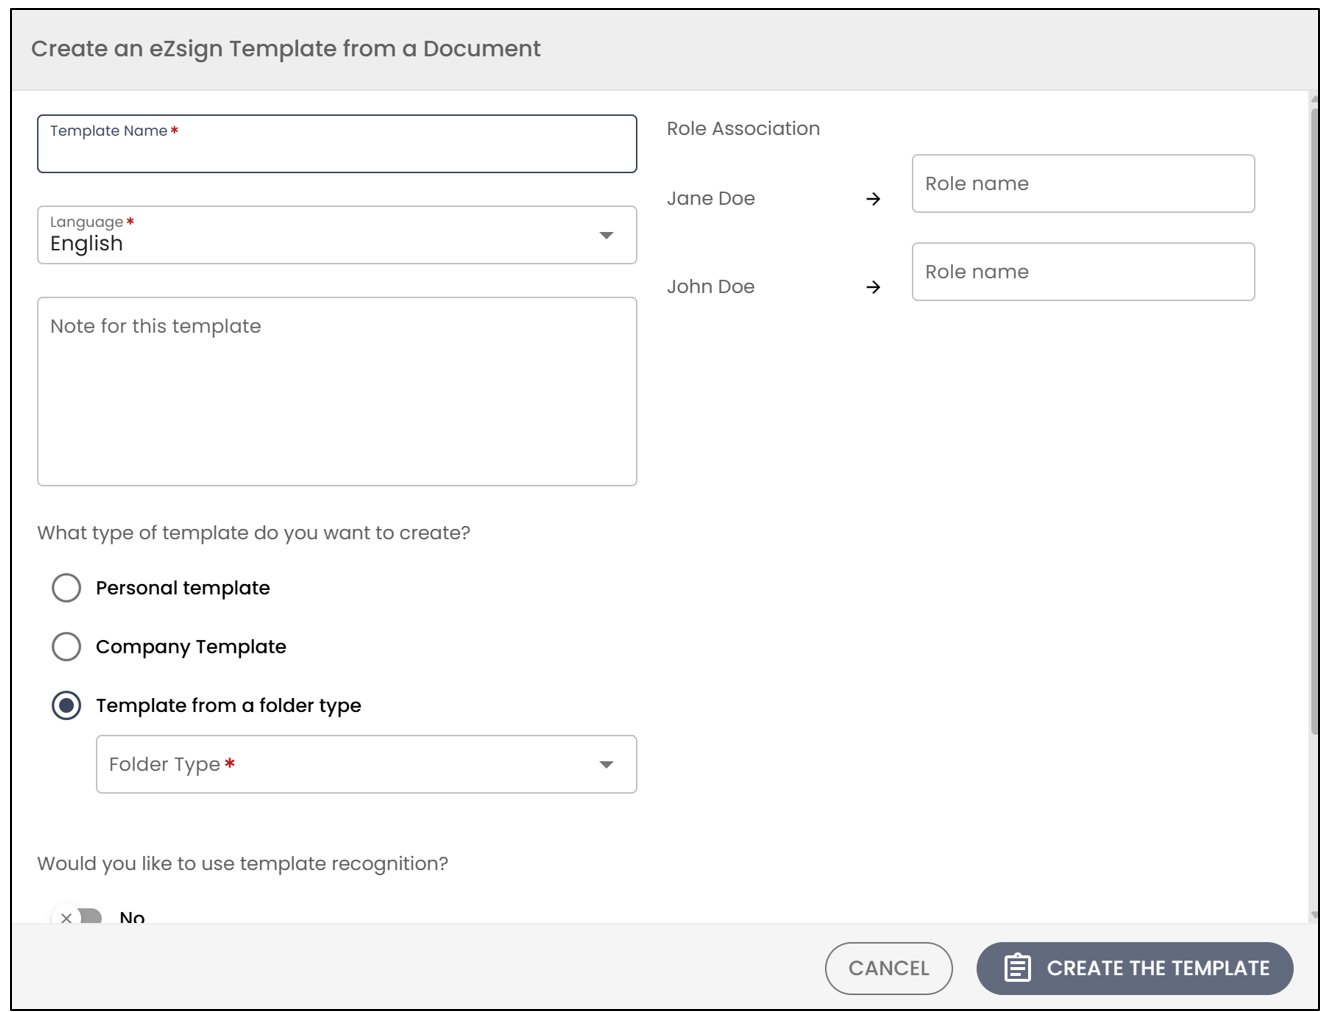
- Enter all the template information, then click on Create the Template.
Save and Send the Document
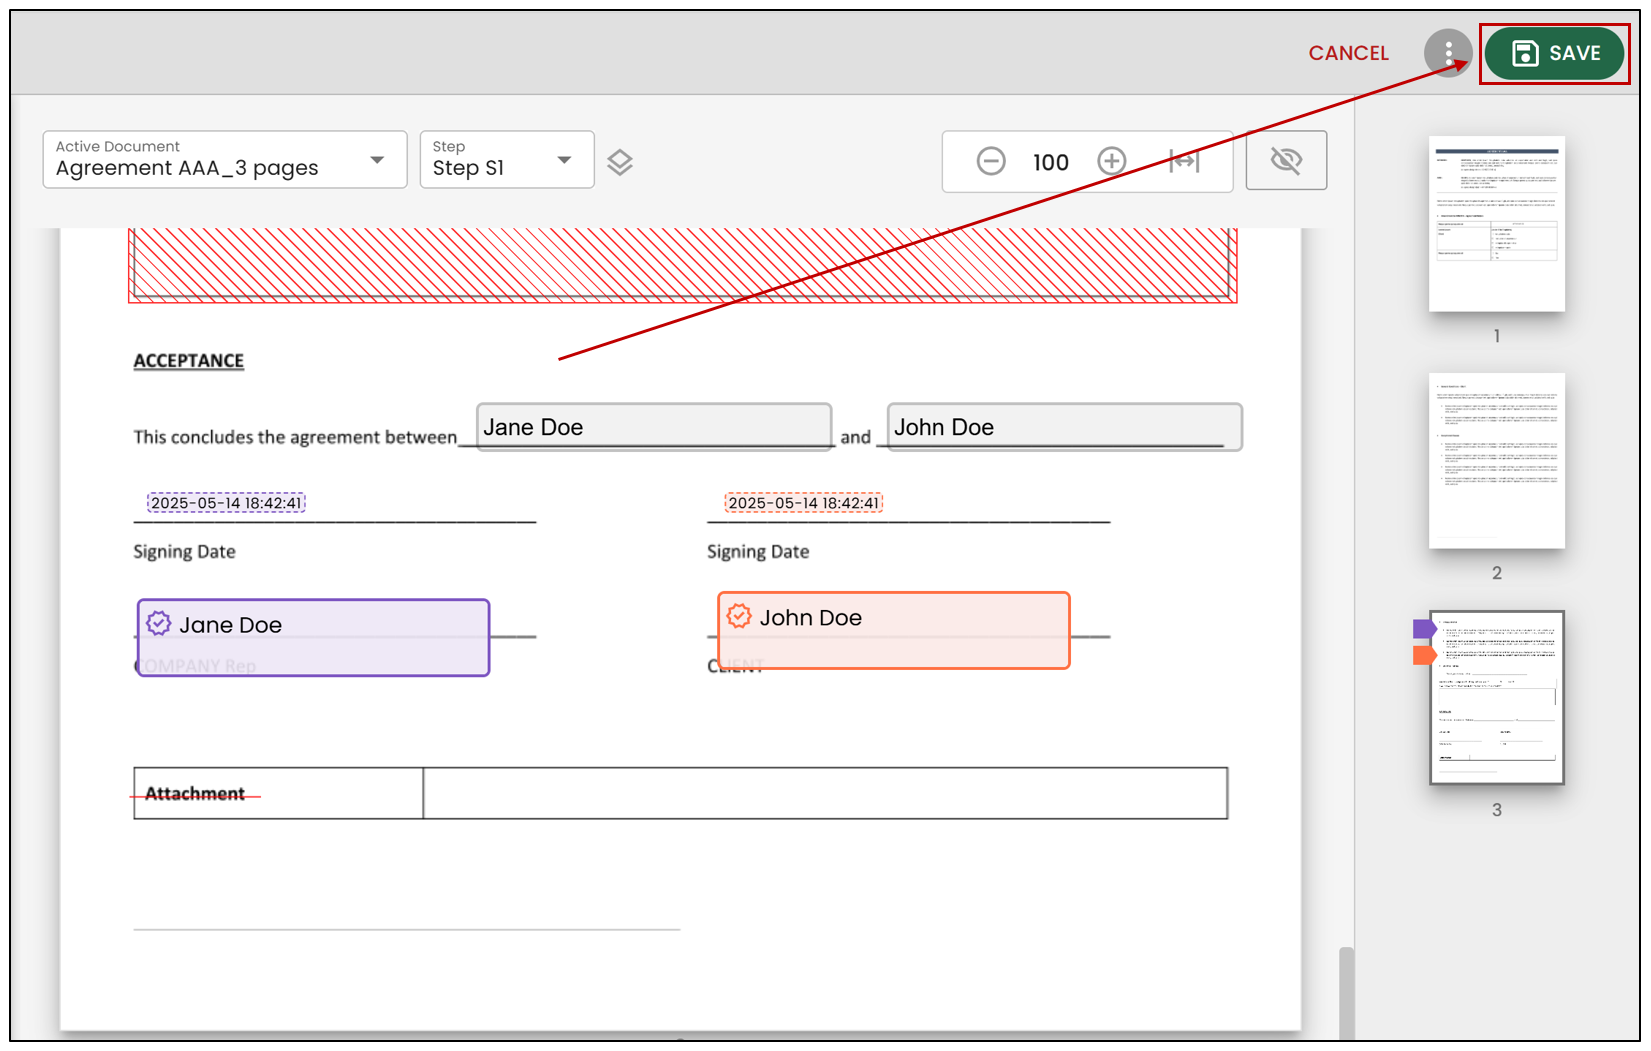
- Once all the fields are added, click on Save at the top right of the page.
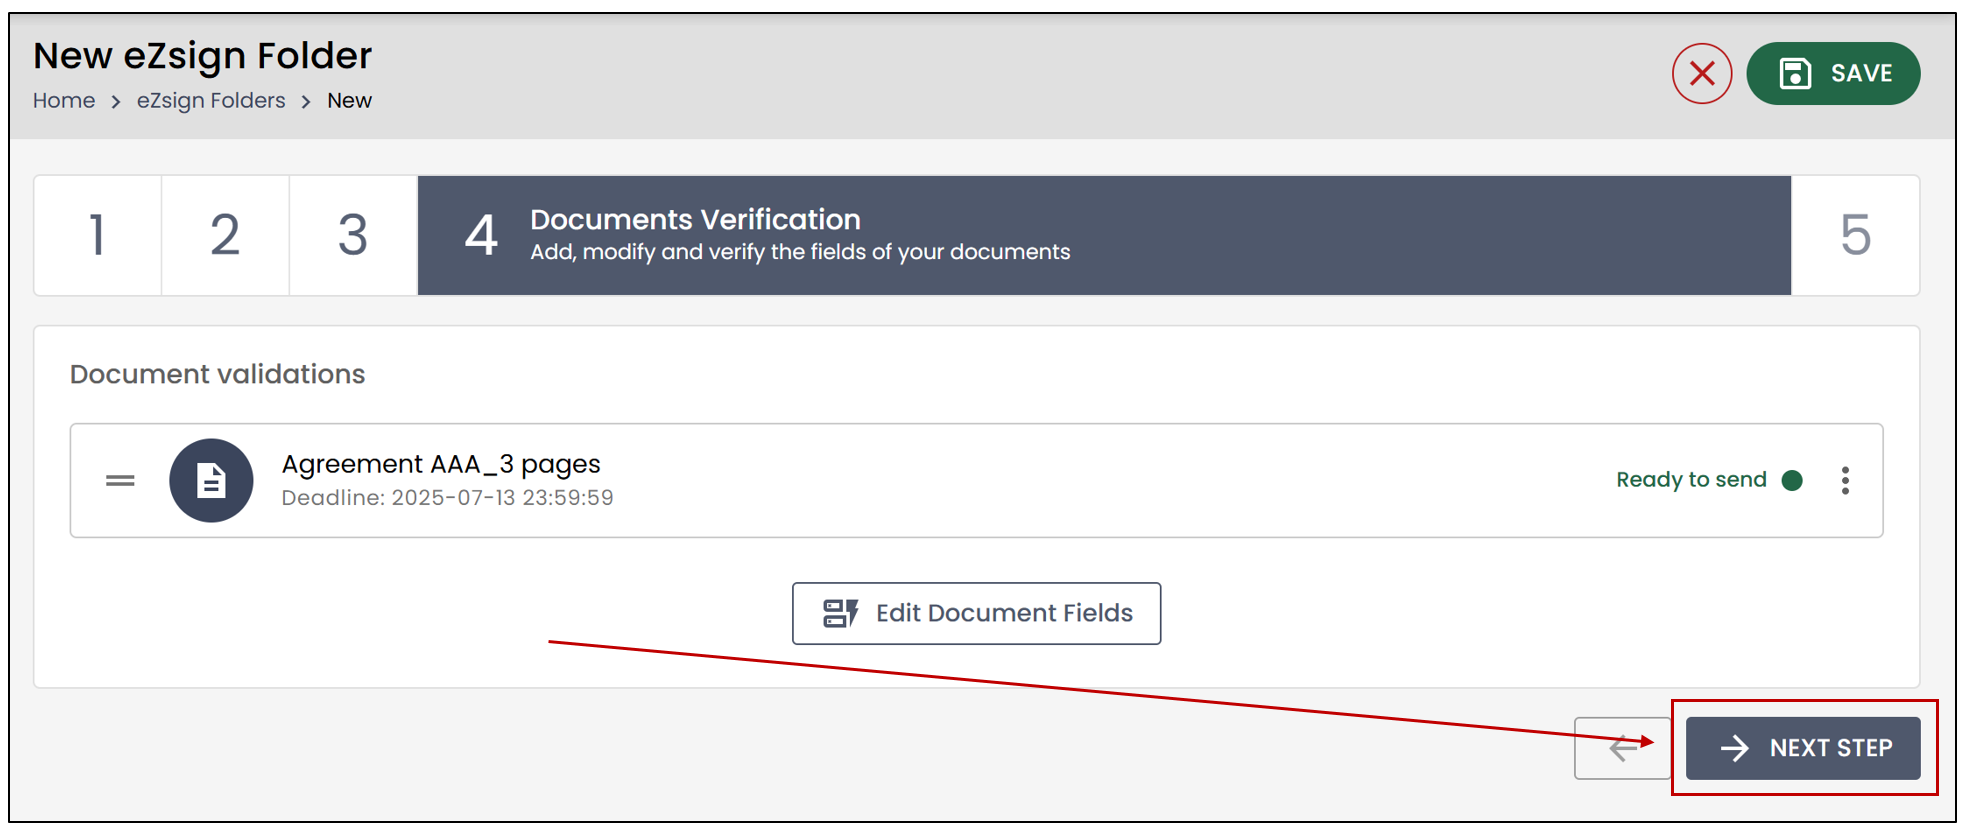
- Then click on Next Step.
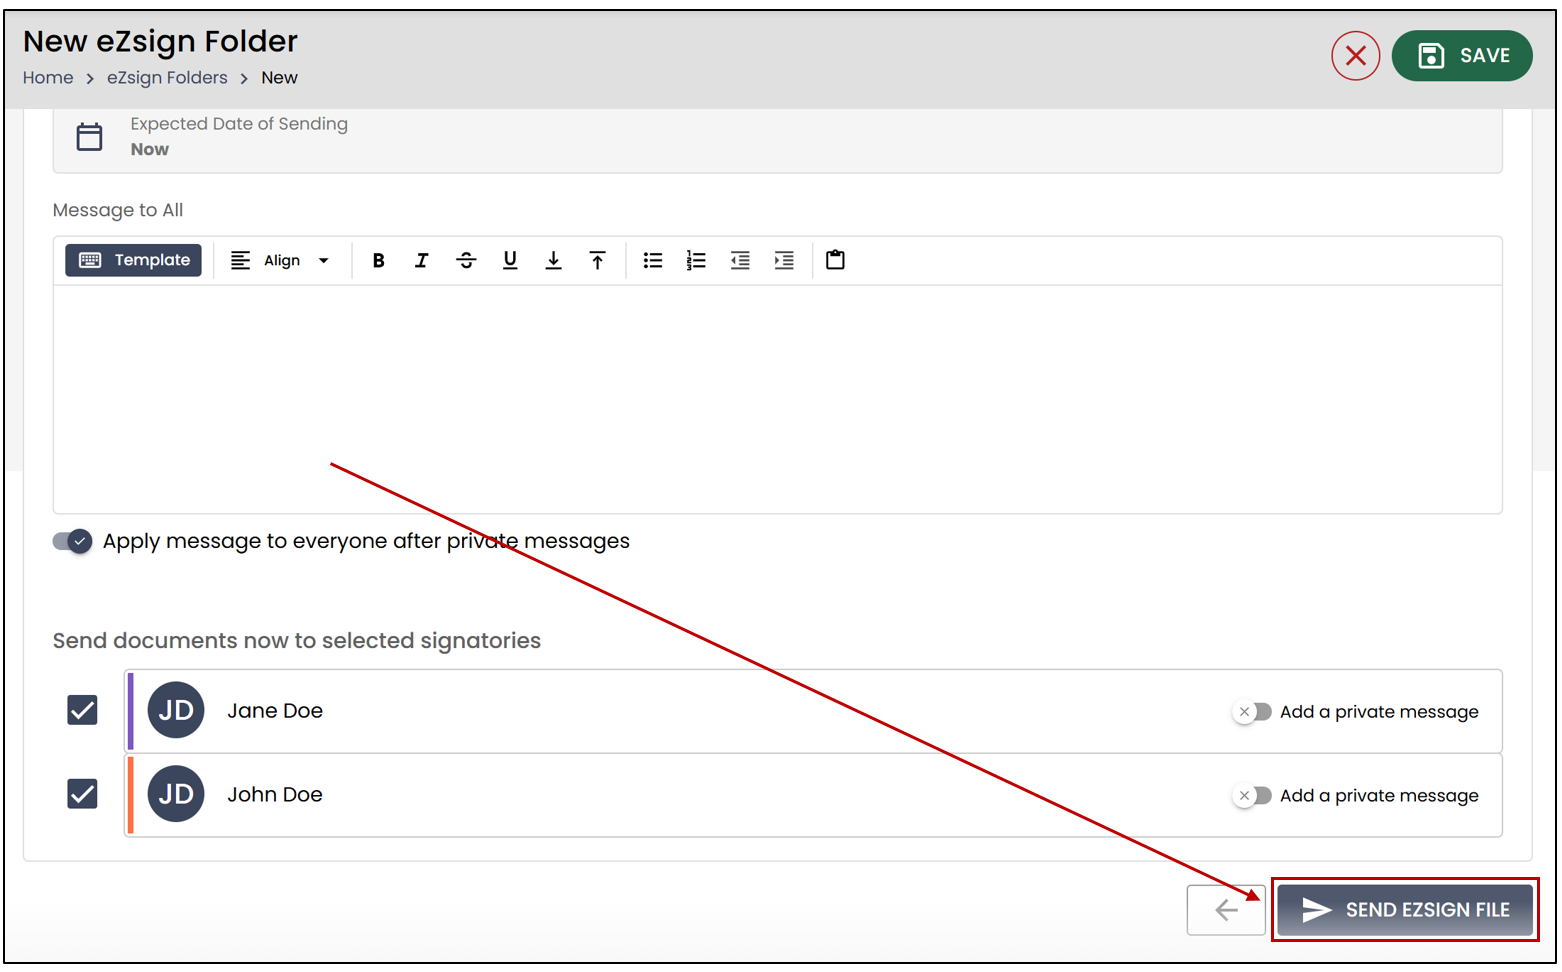
- To send the folder to the document signers, click on Send the Folder.