
English
Signing a Document as an External Signatory
Signing a Document as an External Signatory
When you need to sign a document as an external signatory, i.e., you are not the user who added the fields and sent the document, you will receive an e-mail with the following information:
To begin the signing process, click on Consult and Sign the Document.
NOTE: Below the sentence "... has sent you a document to consult and sign," you will see the message entered by the sender when the documents were sent, if applicable. In this example: "Please sign...".
Click on Begin the process and you will be redirected to the authentication page.
NOTE: Authentication depends on what the sender of the documents has configured. For more information, please see the article Types of Signatory Authentication.
Authentification Types
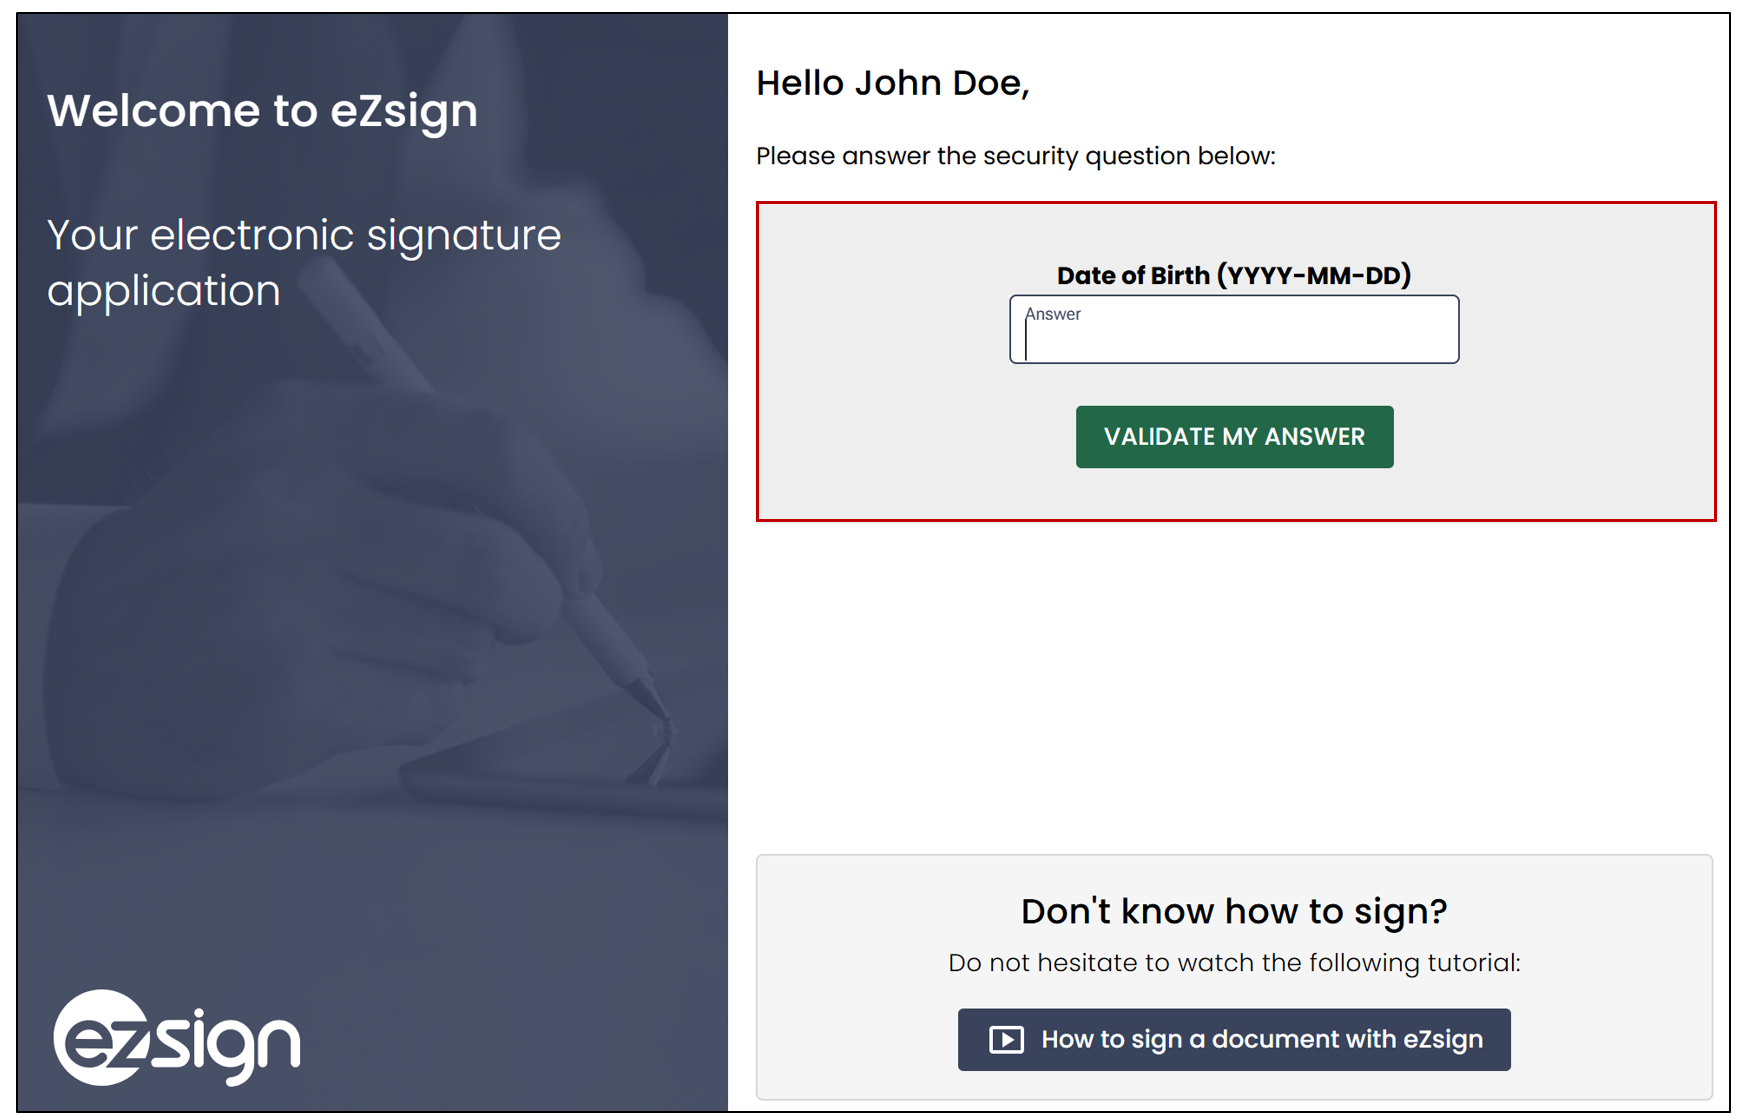
Authentication: E-mail and Secret Question
Enter the secret question’s answer in the Answer field.
Click on Validate my answer and the agreement page will appear.
Authentication: E-mail and Phone or SMS
Select the sending method of the unique code: Send code by SMS or Validation by phone.
In both cases, click on Send Code.
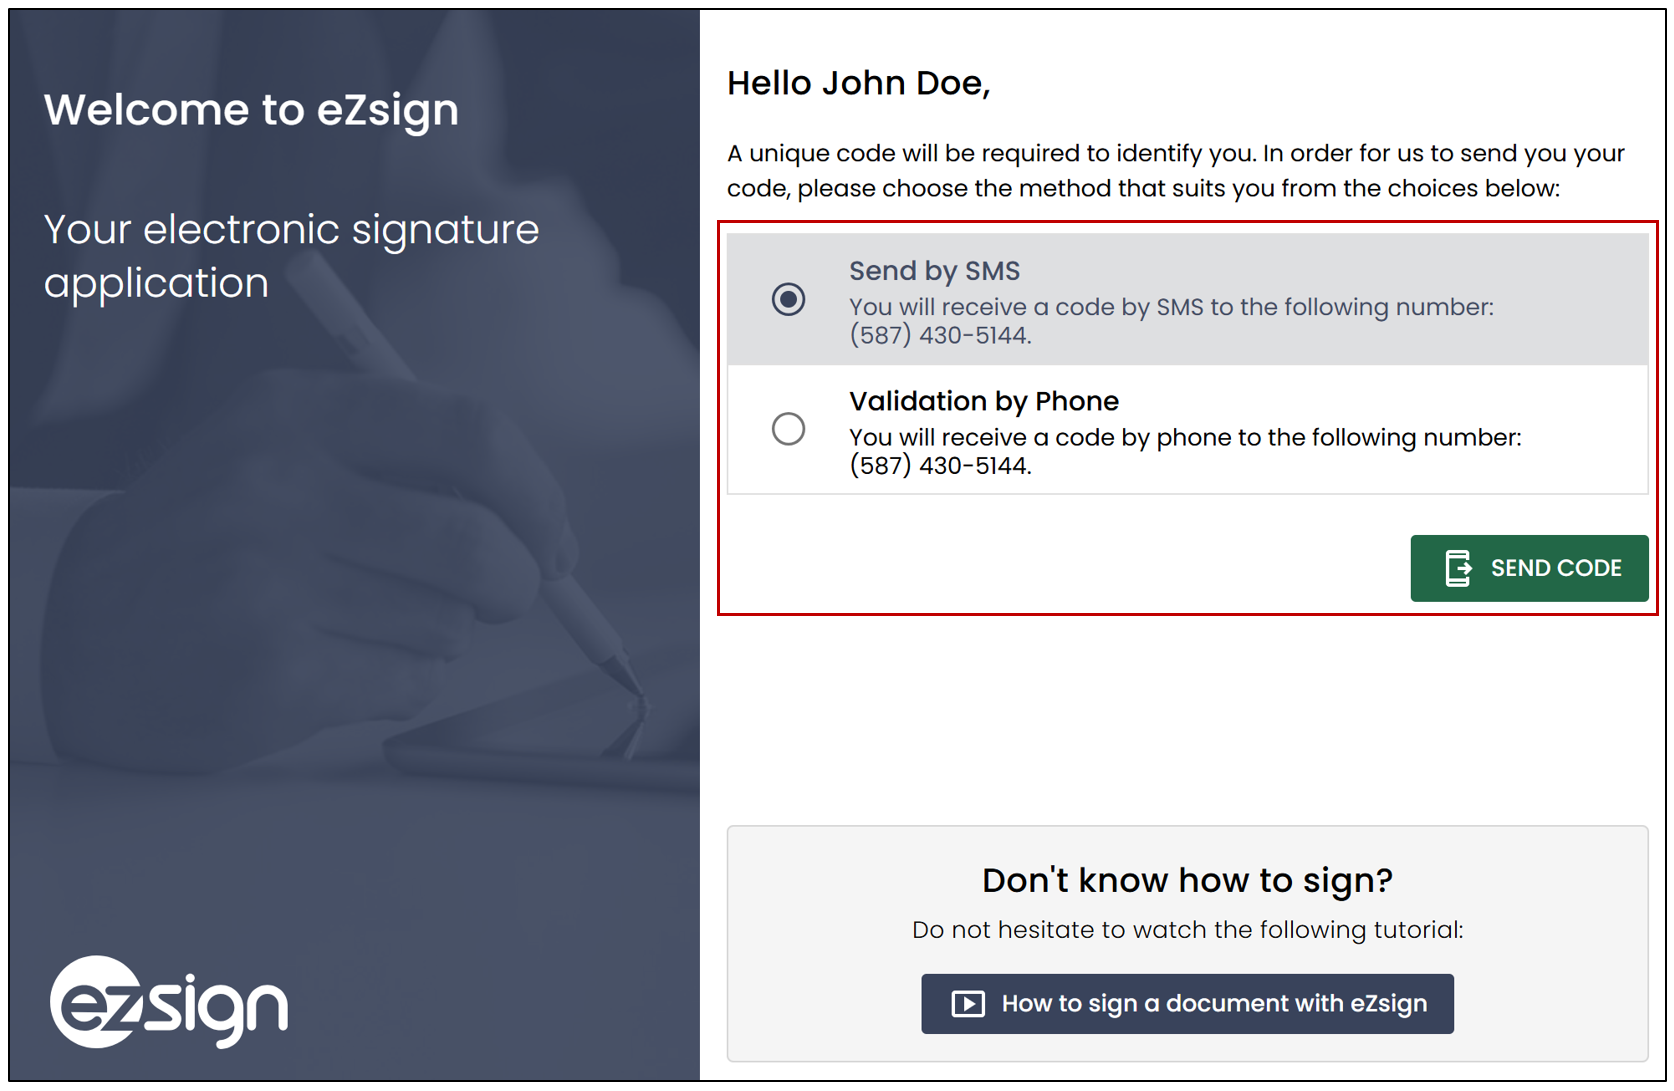
Validation by SMS
When you receive the unique code on your cell phone, enter it in the field Your code.
Click on Validate your code and the agreement page will appear.
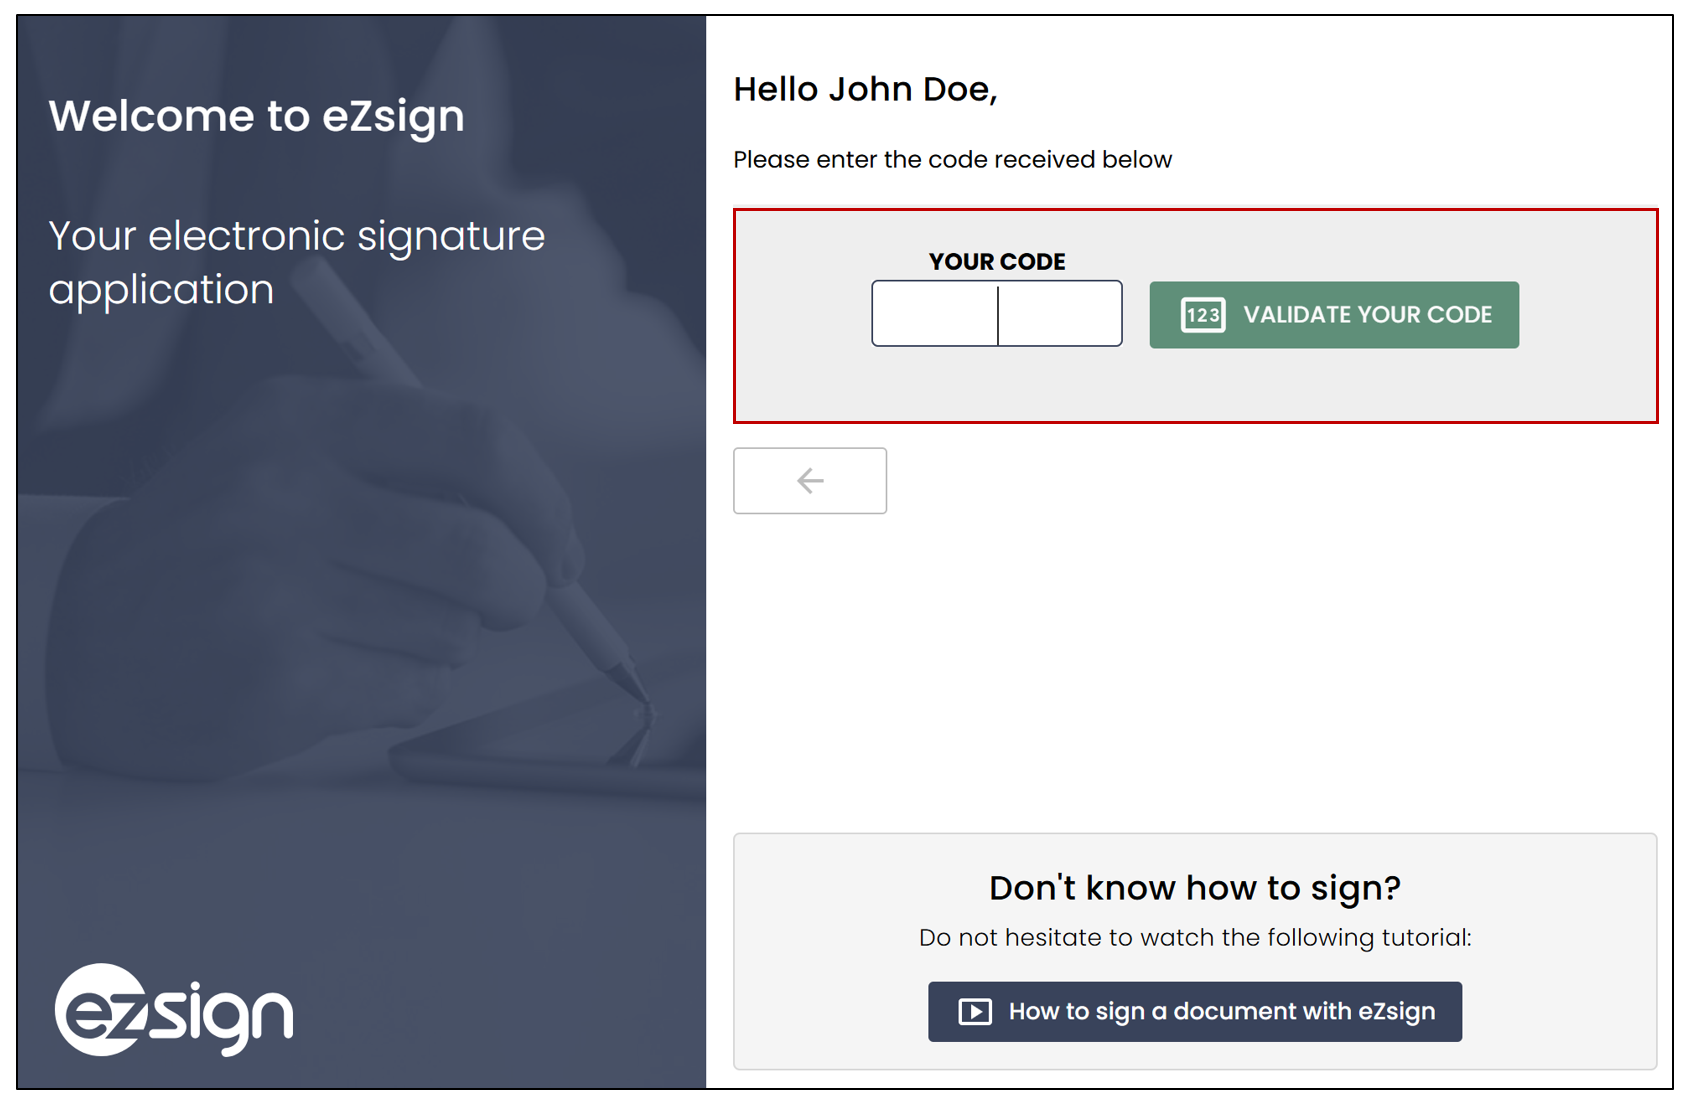
Validation by Phone
The phone number on file will ring. When you answer, a message will provide you with a 5-digit code that you must enter in the Your code field.
Click on Validate your code and the terms and conditions acceptance page will appear.
Read the terms and conditions for using the electronic signature system and click I have read and agree to these terms of use.
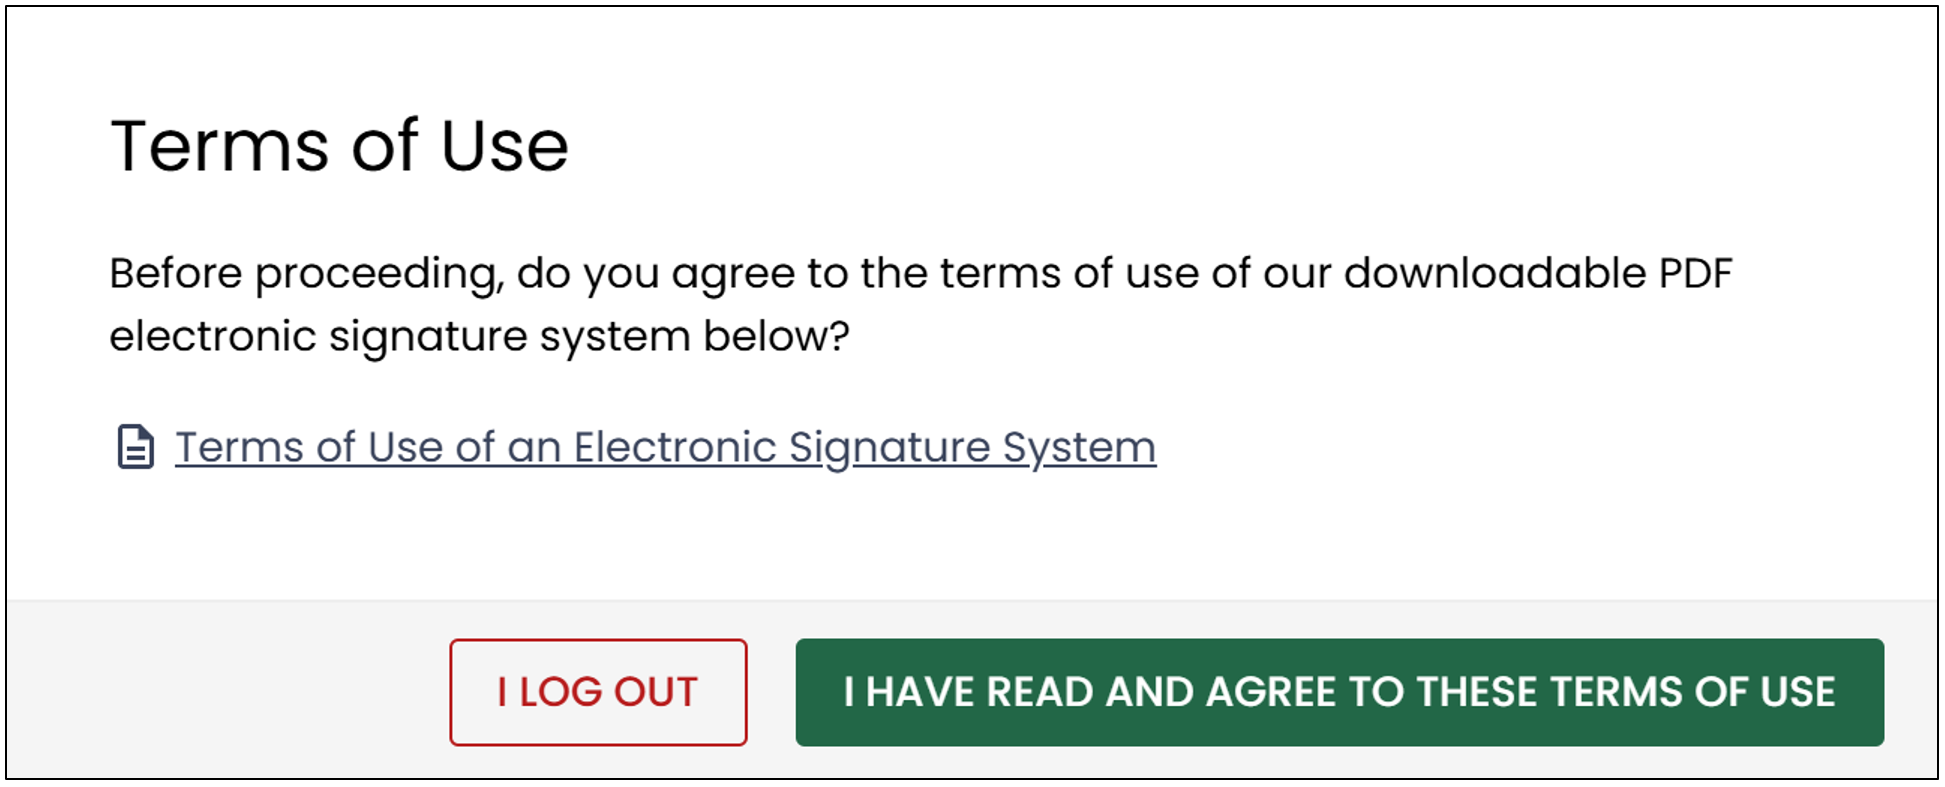
The document to be signed will open automatically after accepting the terms and conditions.
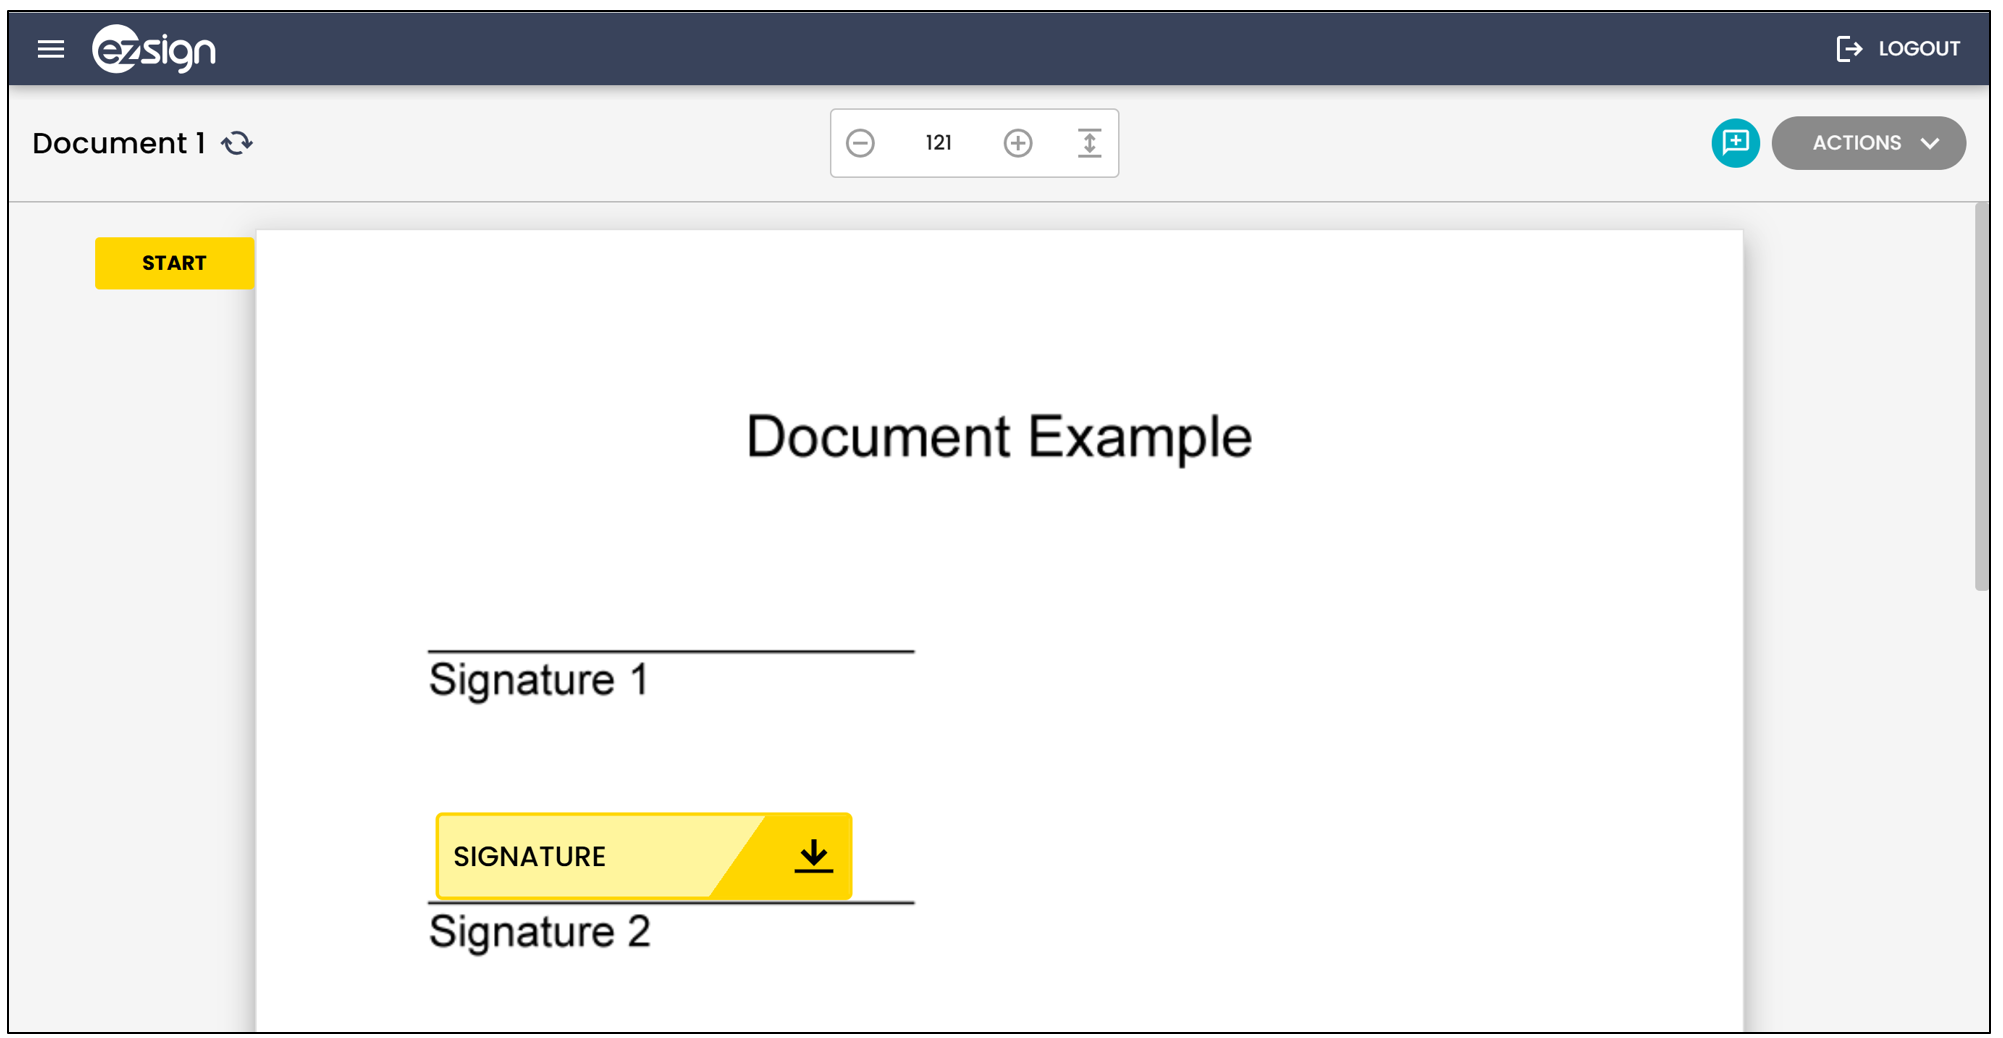
Signature Progression
The next steps vary depending on the type of fields contained in the document, i.e., form fields or electronic signature fields.
NOTE: Form fields must be completed before electronic signature fields.
To view the progress of the signatures, simply look at the List of Documents to the left of the contract to be signed. You will be able to see the current stage of the document.
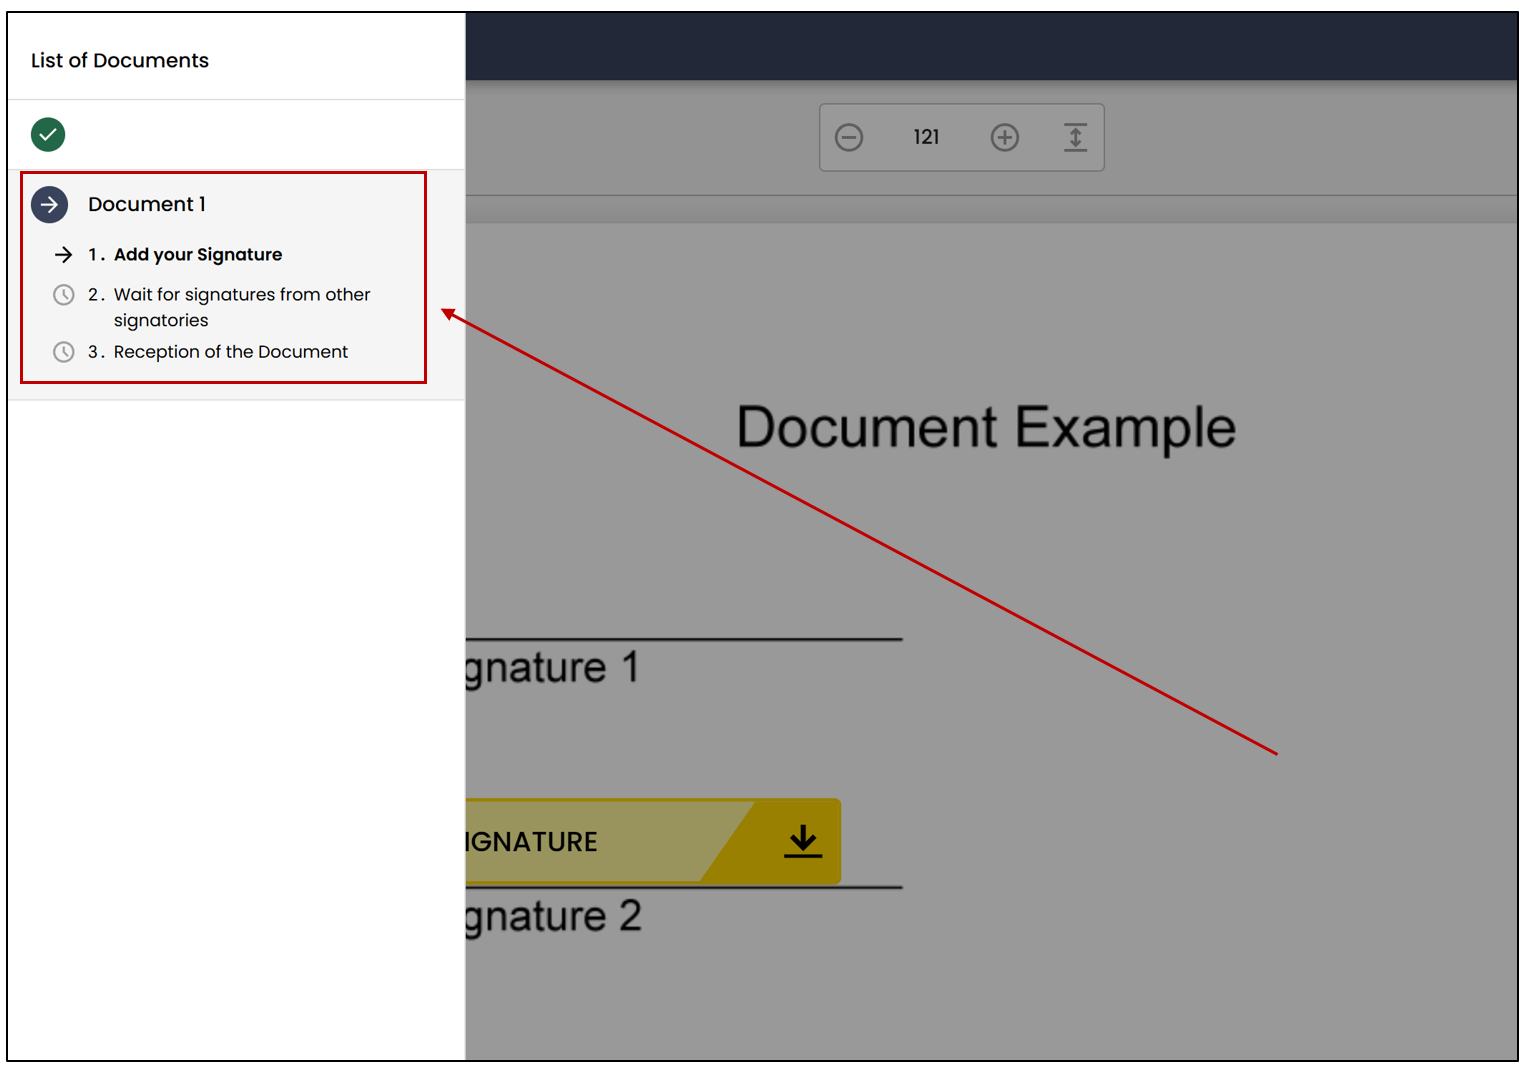
NOTE: It is possible that one of the signers may not be able to sign the document right away, as they must first wait for the signatures of the other signers. Once the others have signed, this signer will be able to proceed in the same way.
Field Types
Form Fields
Please see the article Types of Form Fields (eZsign Web).
Electronic Signature Fields
Sign the document where indicated by clicking on Signature.
NOTE: If the field that was added in the document is "Signature City", click on Enter the city h****ere. Enter the name of the city from which you are signing in the window that will appear and click on Send. The system will ask you to confirm then click on Yes to confirm.
"Acknowledgment of Receipt" Field:
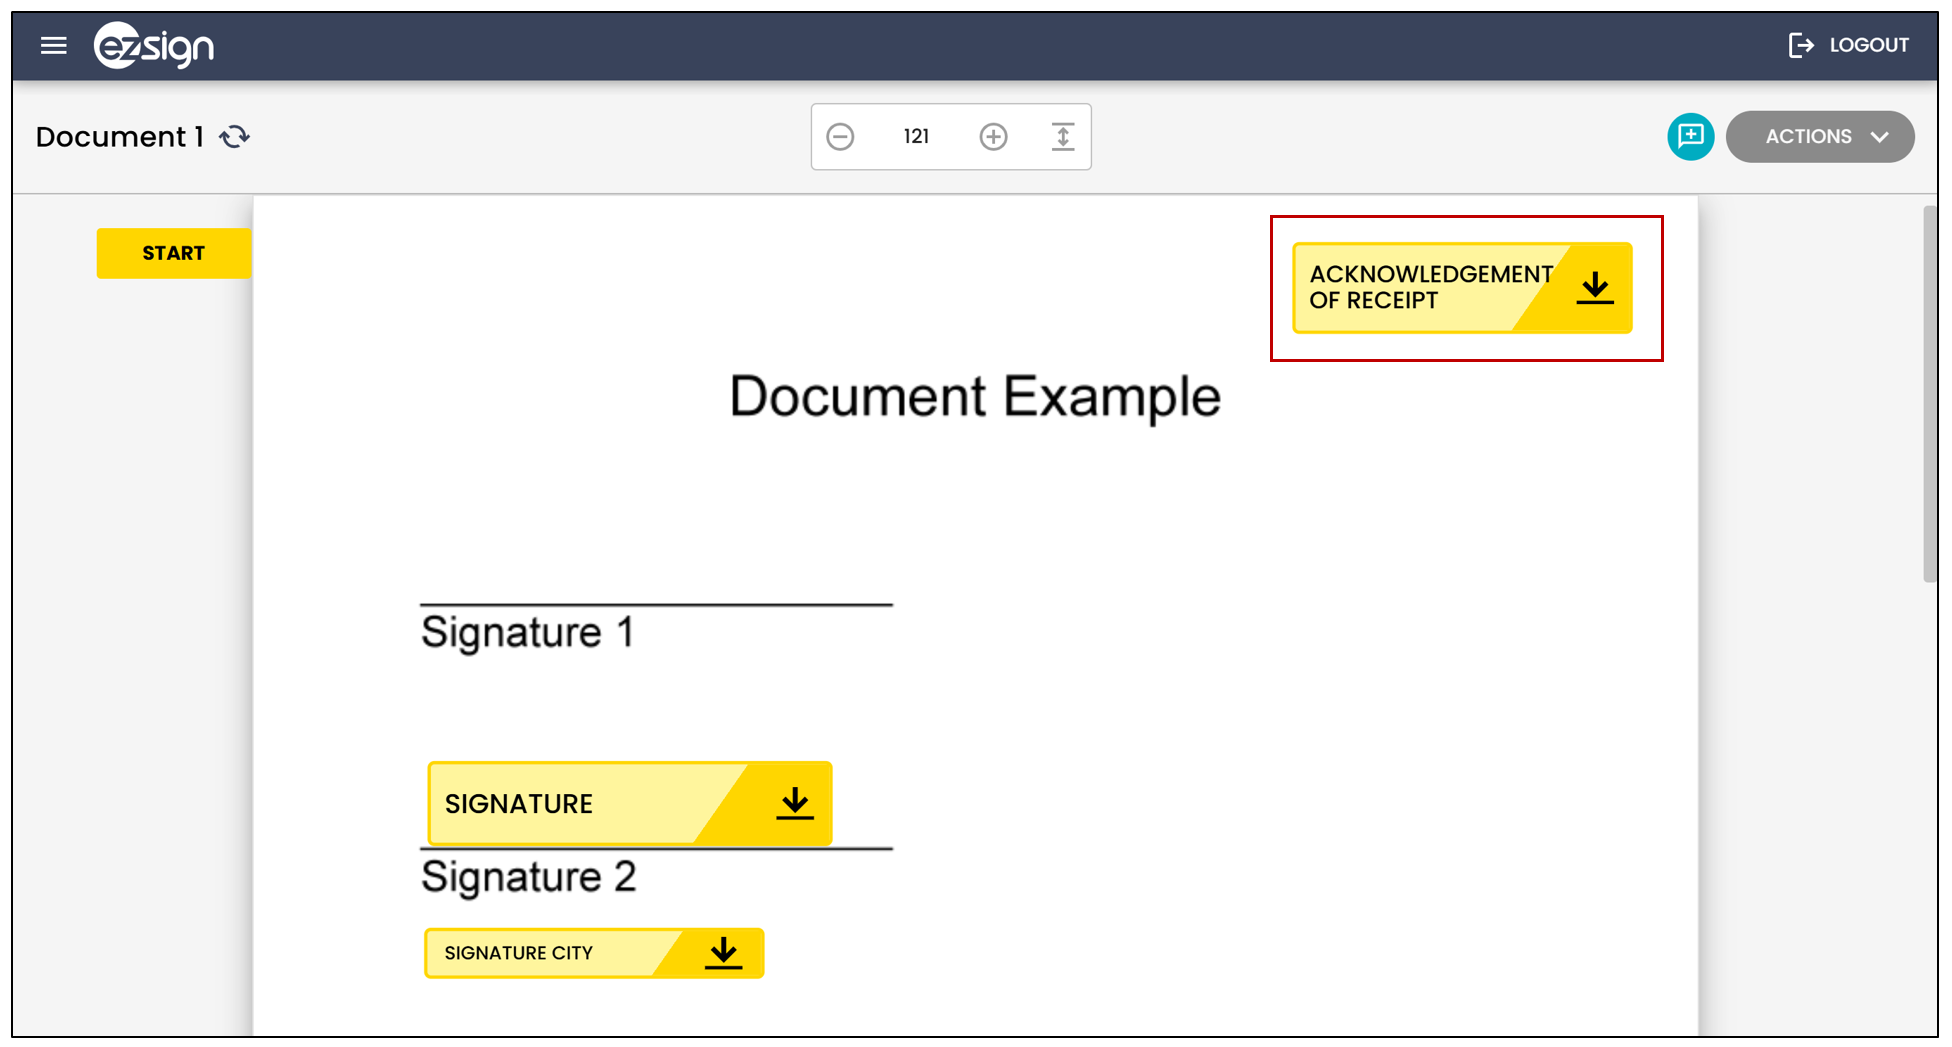
Click on Acknowledgment of Receipt.
"Signature City" Field:
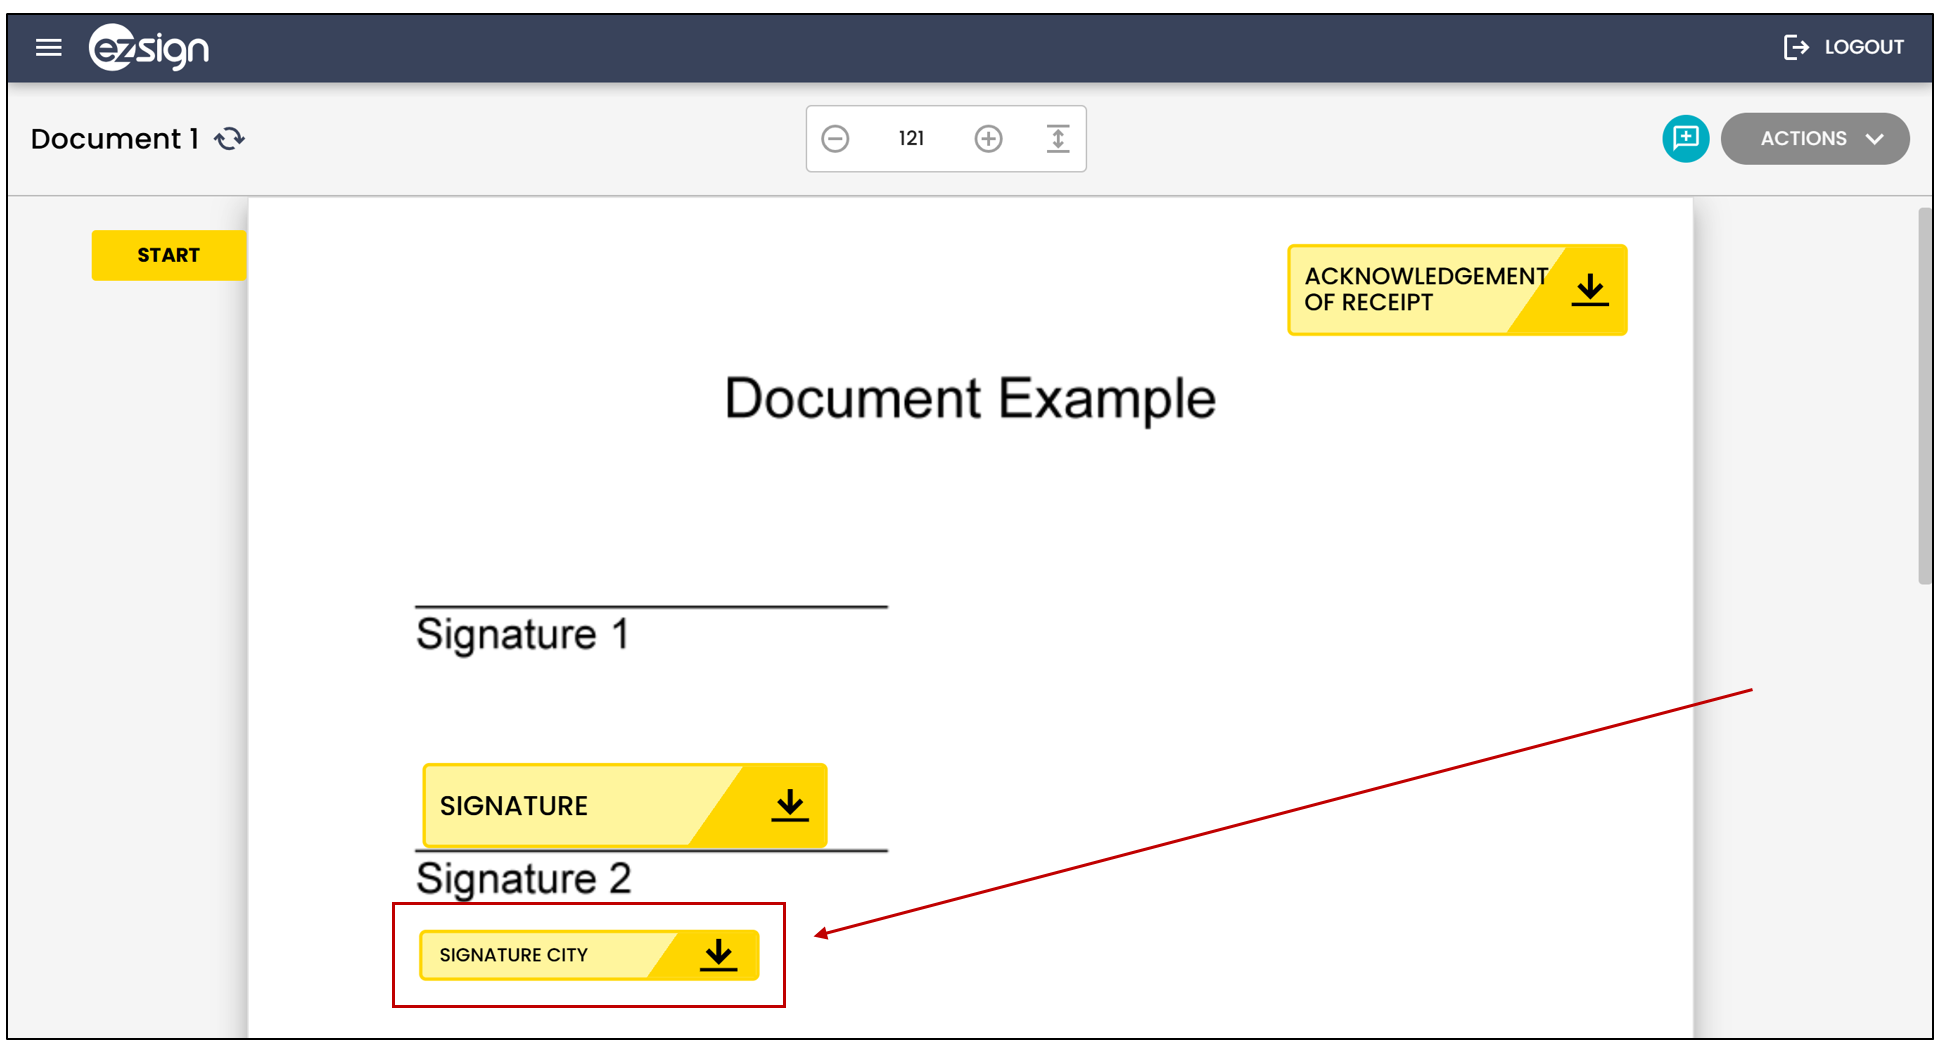
Click on Signature City.
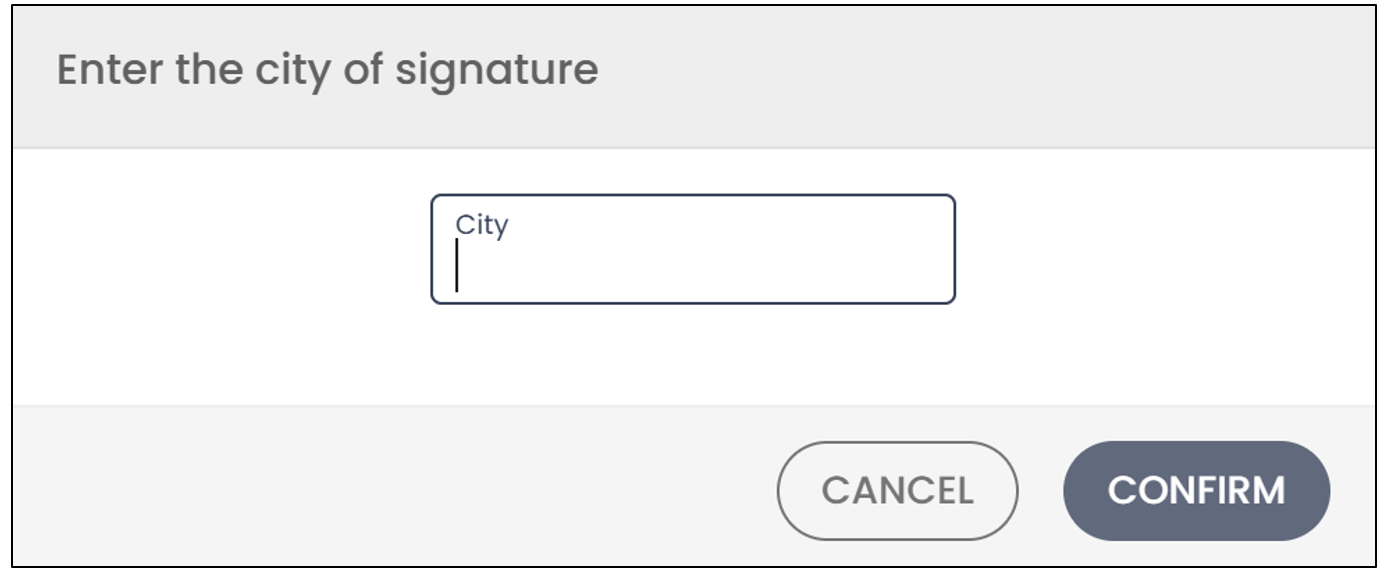
Fill in the City field and click on Confirm.
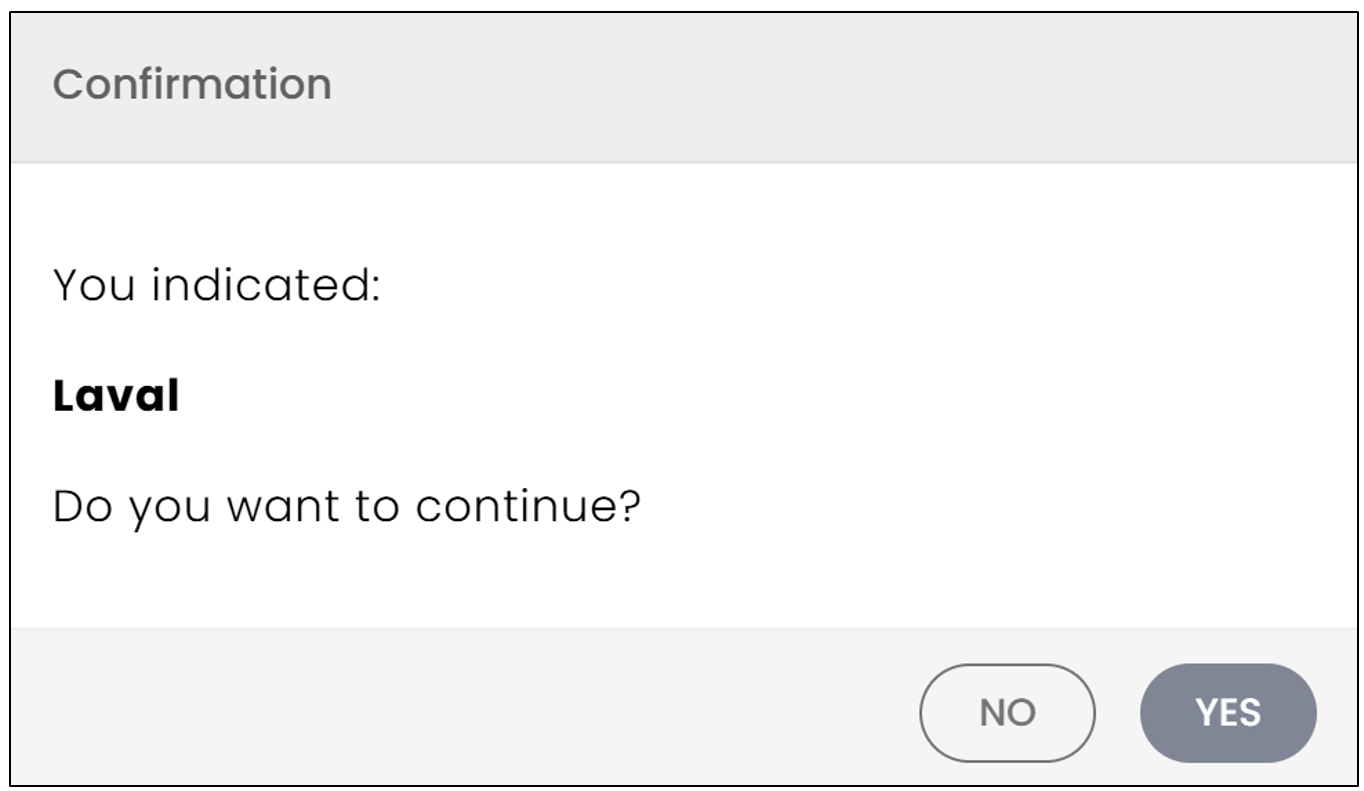
Click on Yes to confirm the name of the city.
If you have completed all the required fields from you but there are still signatures to be obtained from other signatories, this message will be displayed to let you know that the electronic signature process is complete for you.
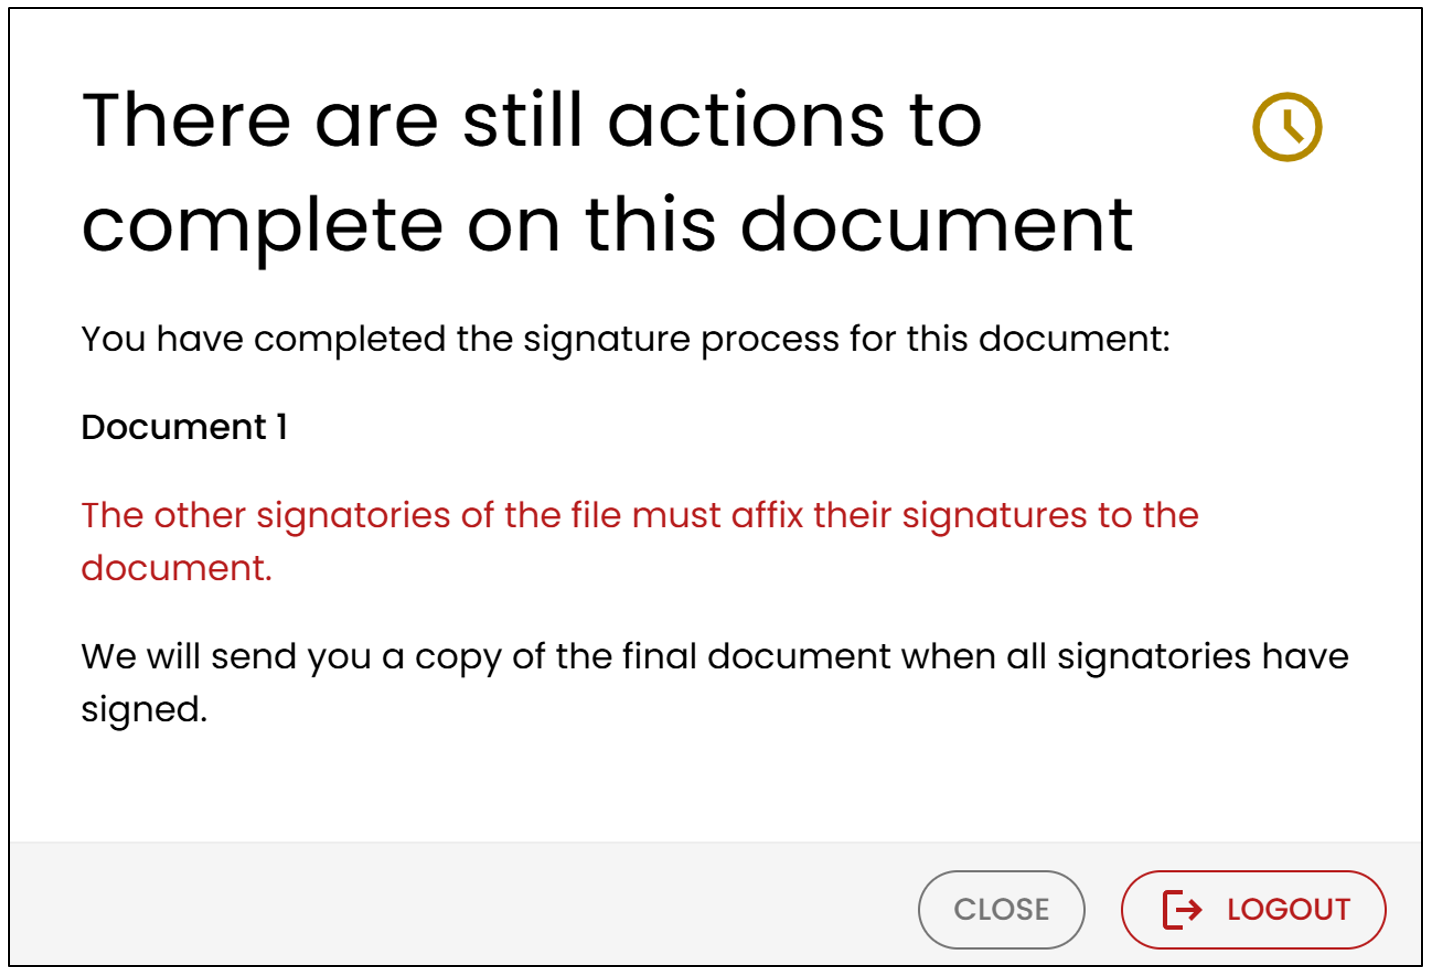
You can click on Close to return to the signed document or on Logout to end your session.
If all signatures have been obtained in the document, this message will be displayed to let you know that the electronic signature process is complete.
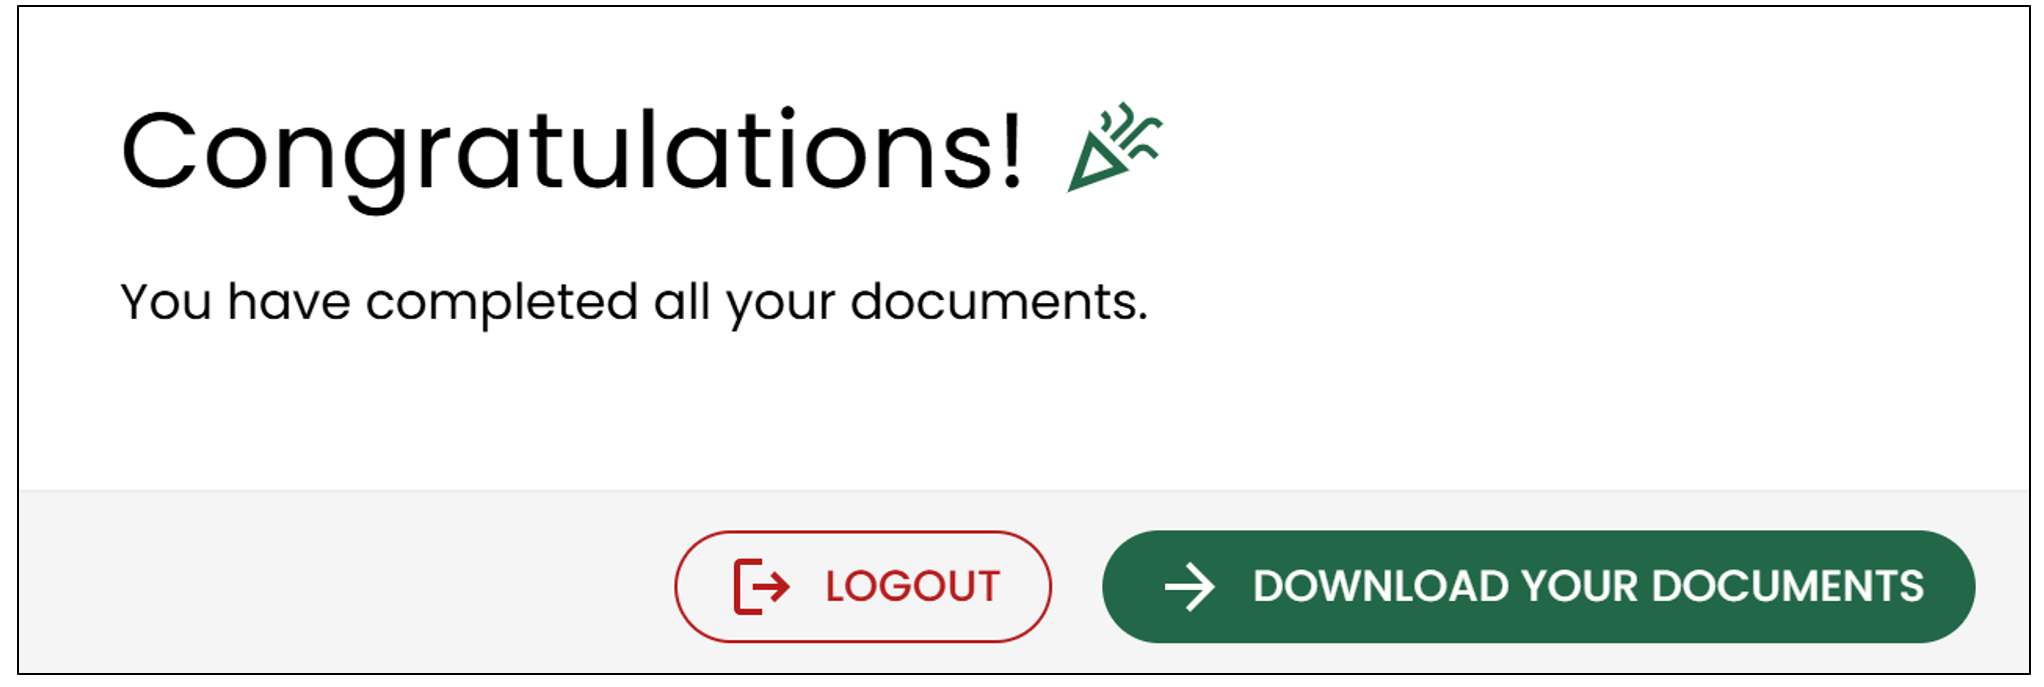
You can click on Download your documents or you can click on Logout to end your session.
You will receive an email once all parties have completed signing the document.
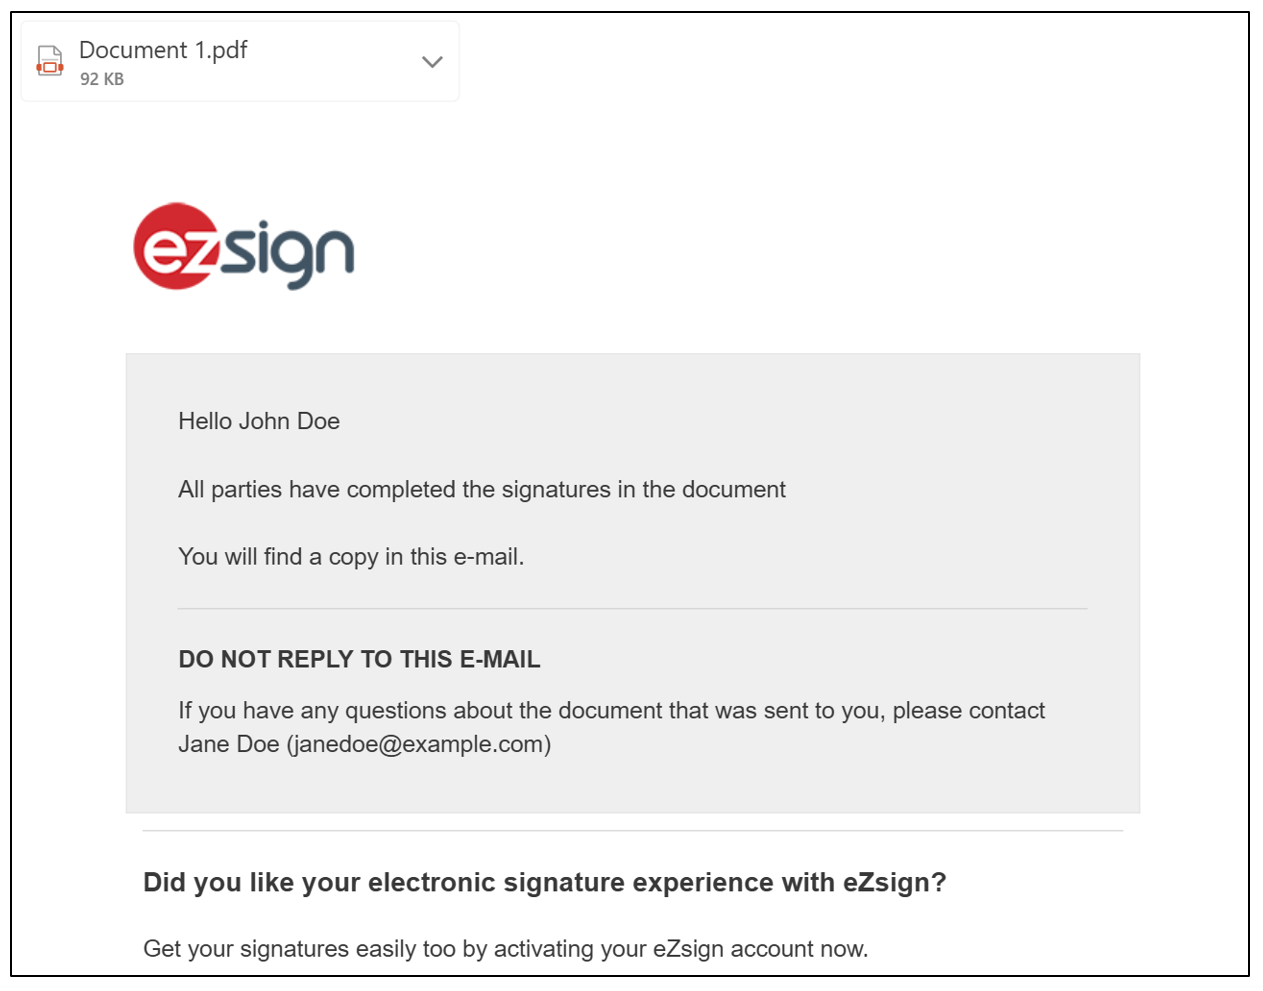
In this email, you will find either a copy of the completed document in PDF format or a link to the completed document, depending on the configuration set by the account administrator. Additionally, you will receive electronic signature proof that you can keep for your records.
NOTE: To view the signatures and verify their validity, you will need to open the documents in Adobe Reader. If you don’t have this (free) software, you can download it from the address provided in the e-mail. For more information, please see the article Validity of an Electronic Signature.
How to Sign a Document in the New eZsign
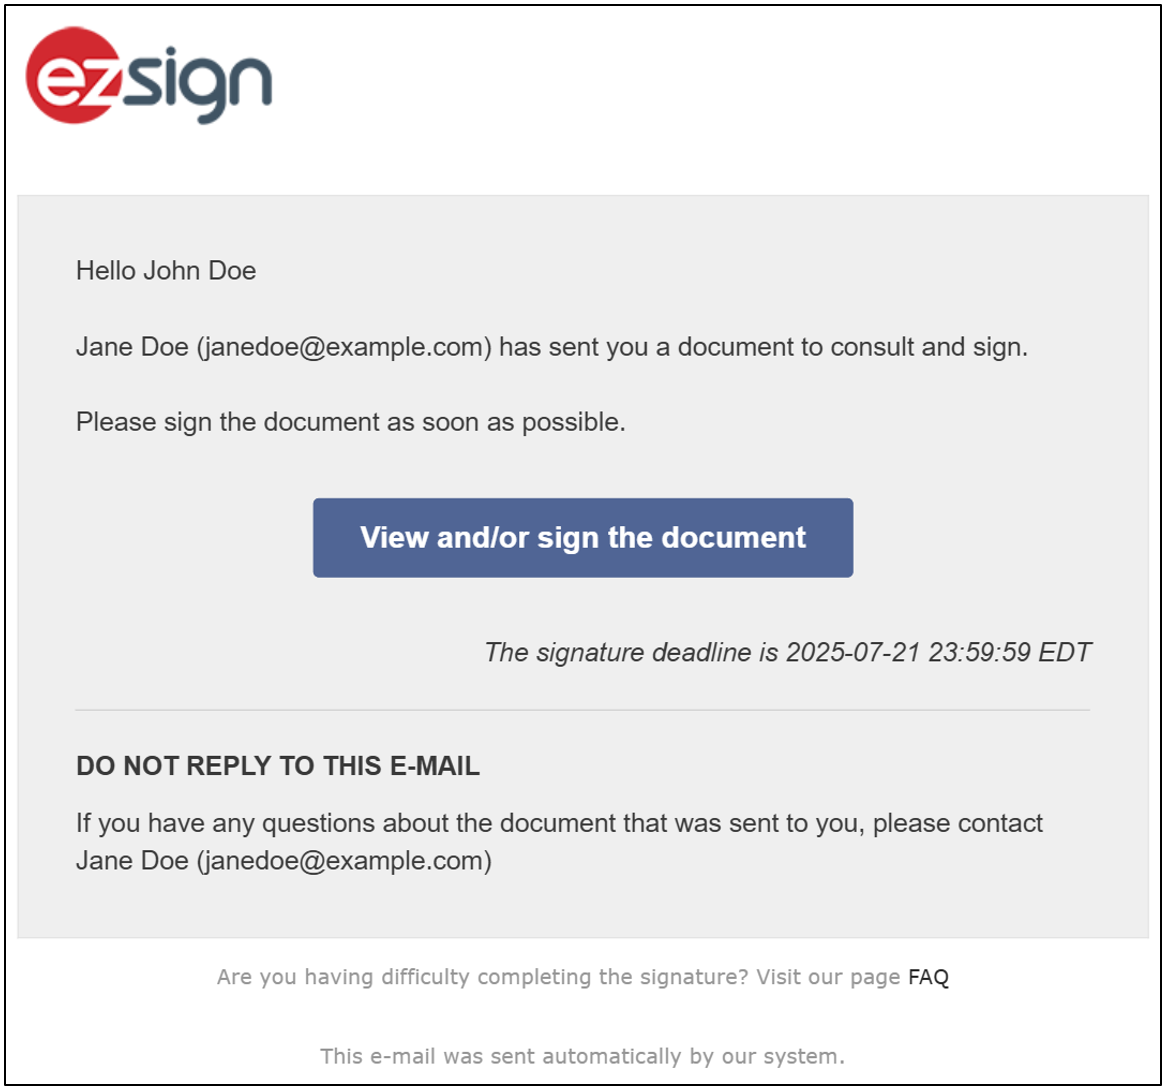
When you need to sign a document as an external signatory, meaning that you are not the user who added the fields and sent the document, you will receive an email containing the following information:
To begin the signing process, click View and sign the document.
NOTE: Below the sentence “… sent you a document to review and sign,” you may see the message entered by the sender when the documents were sent, if applicable. In this example: “Hello John...”.
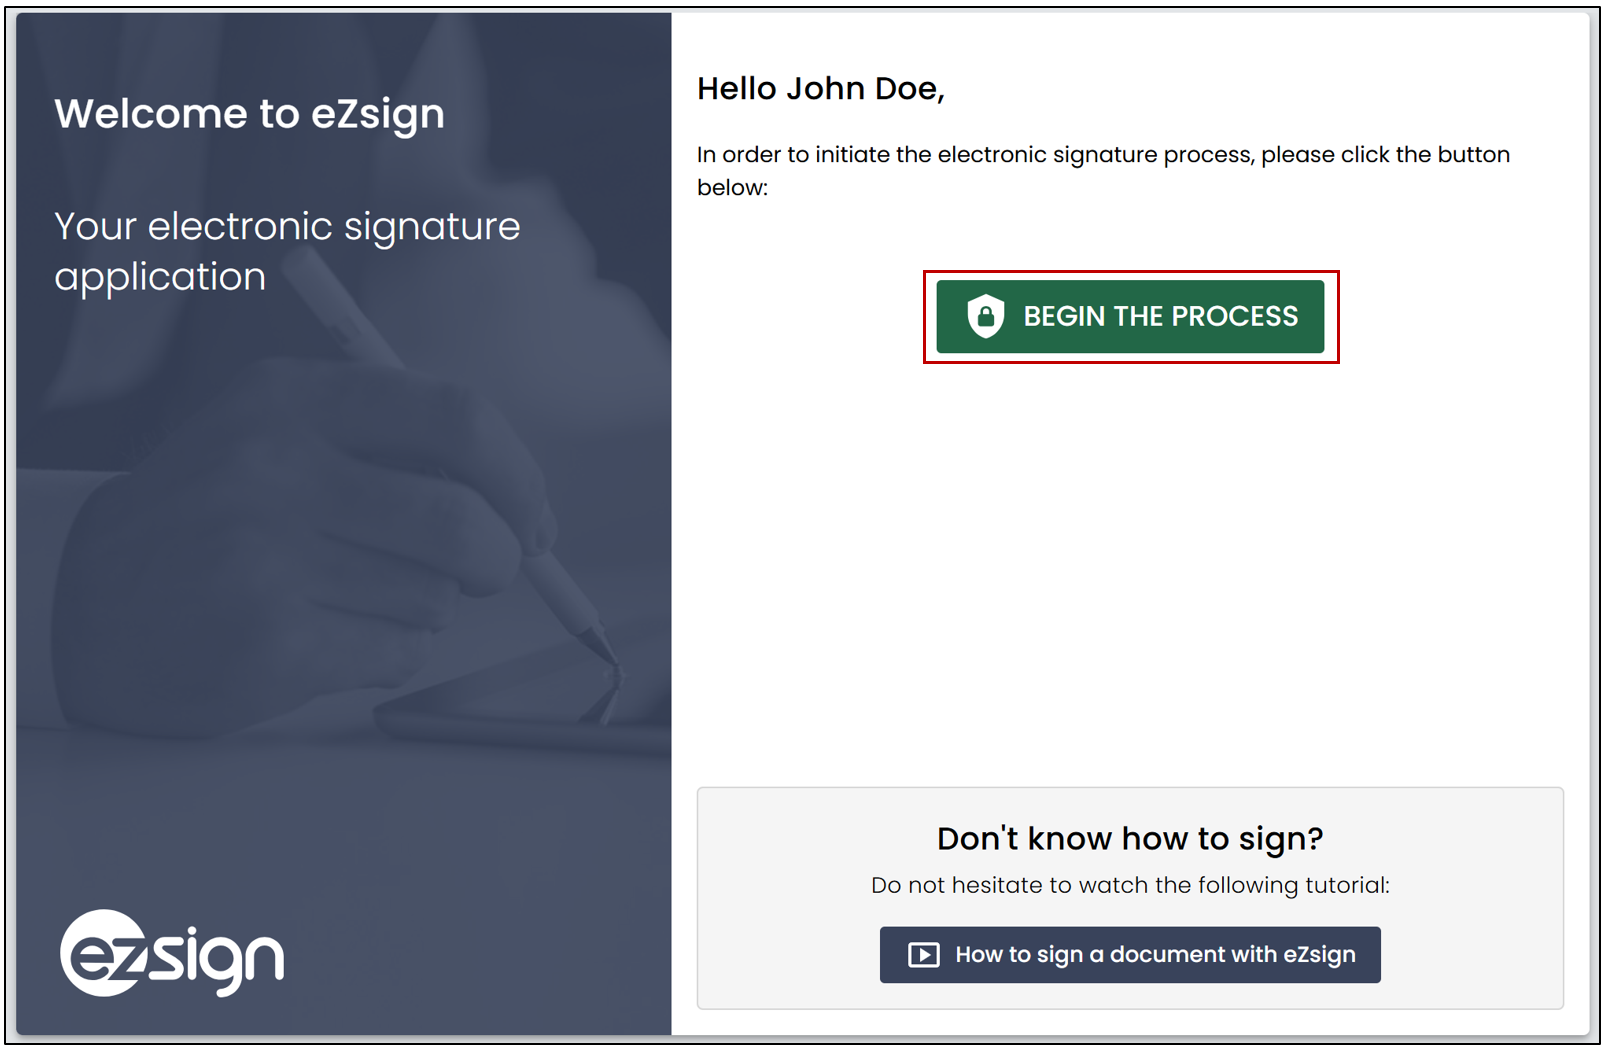
Click Begin the process and you will be redirected to the authentication page.
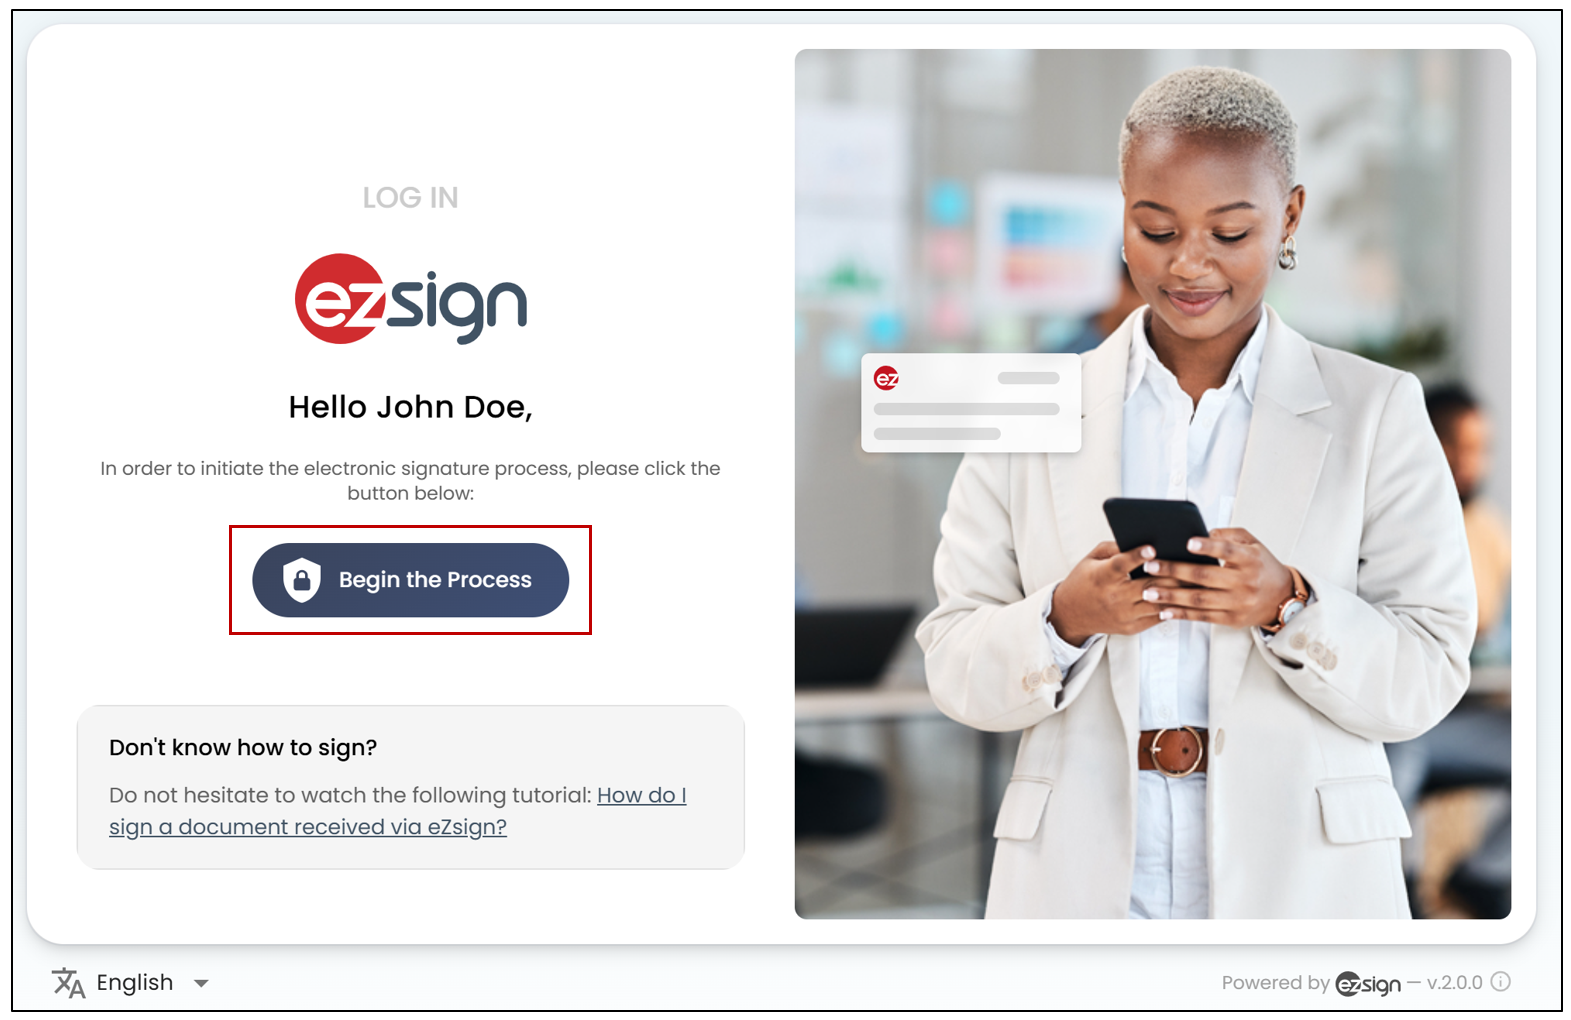
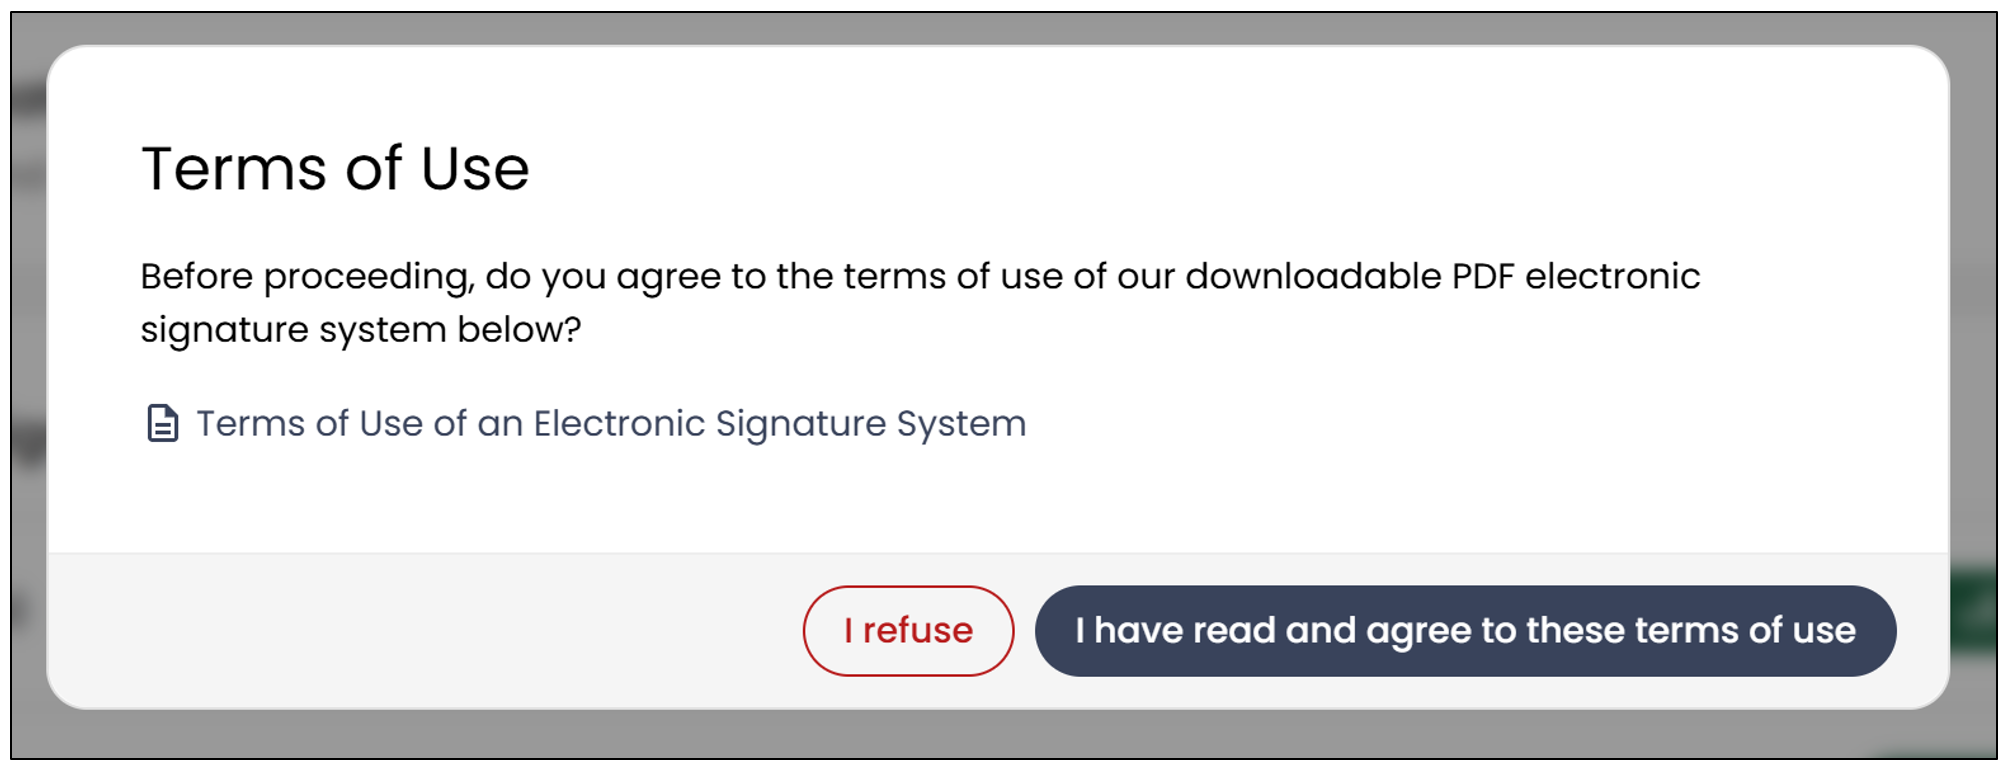
Before accessing the documents, you must accept the terms of use. To download the documents, simply click on the PDF file.
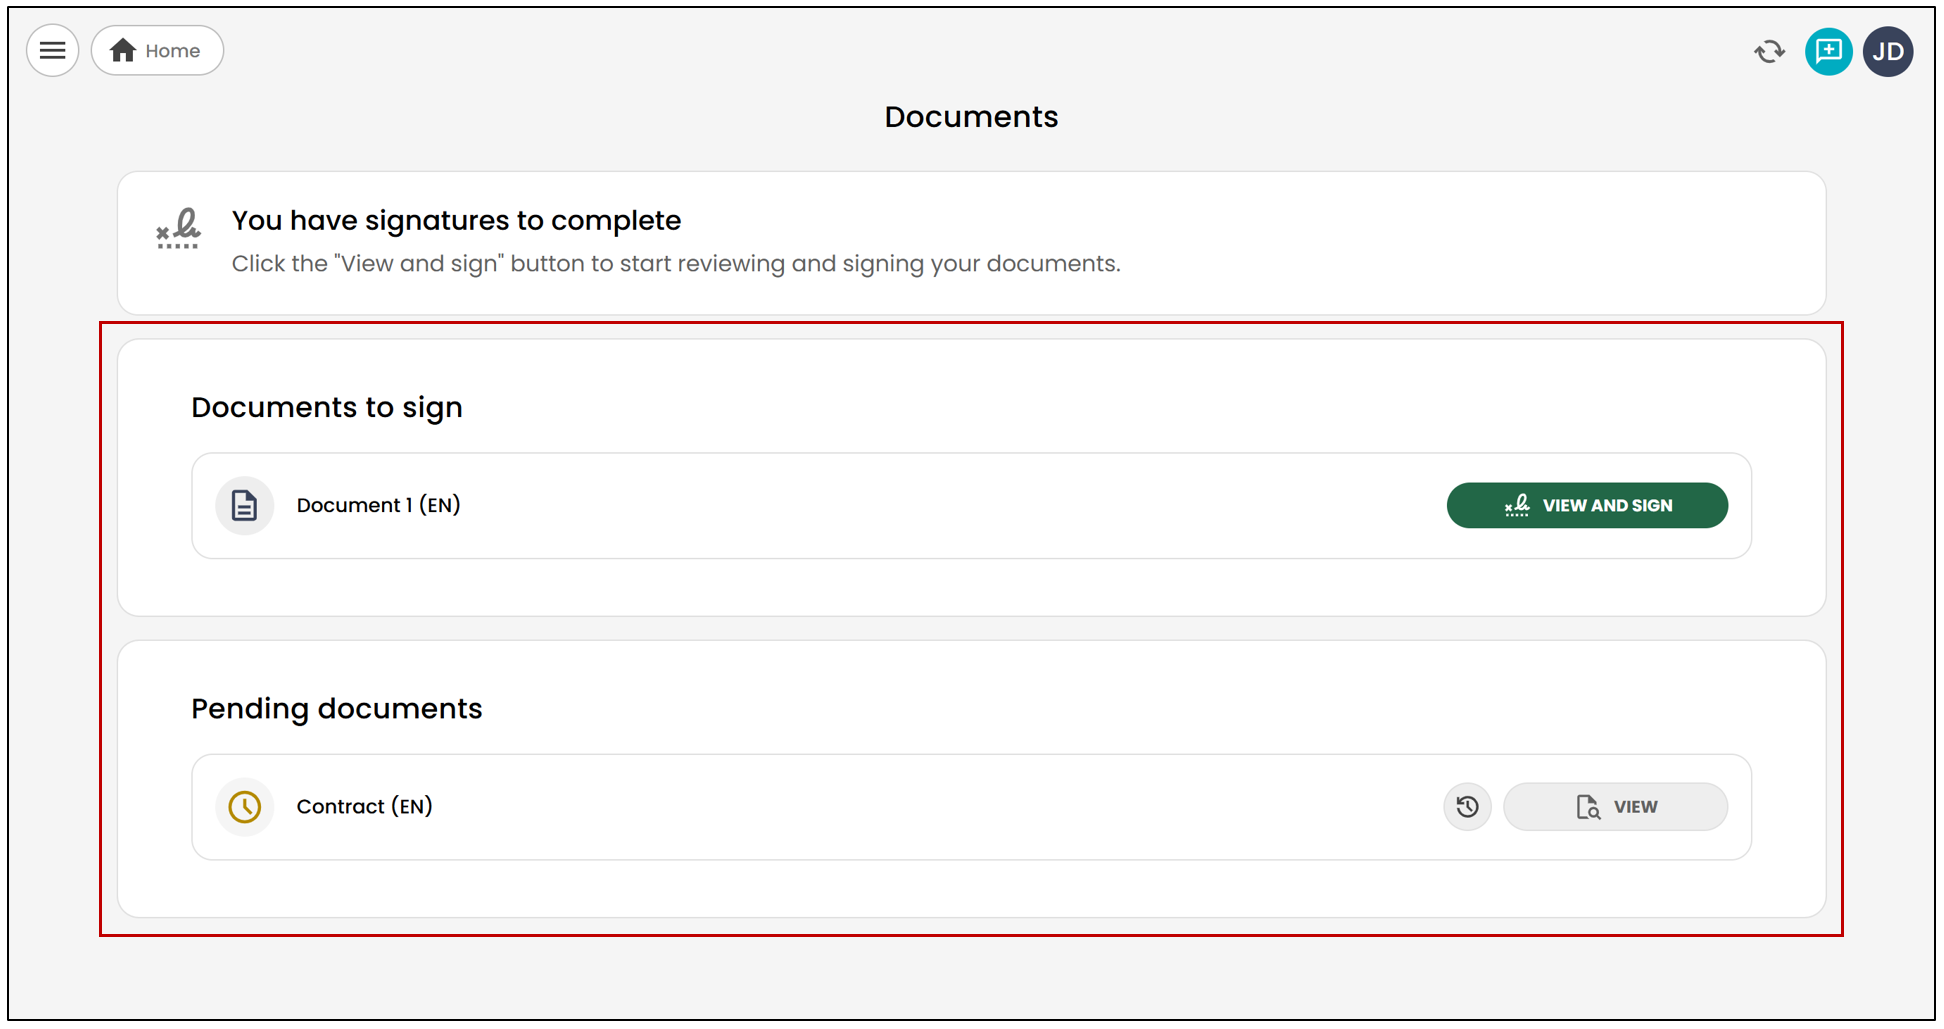
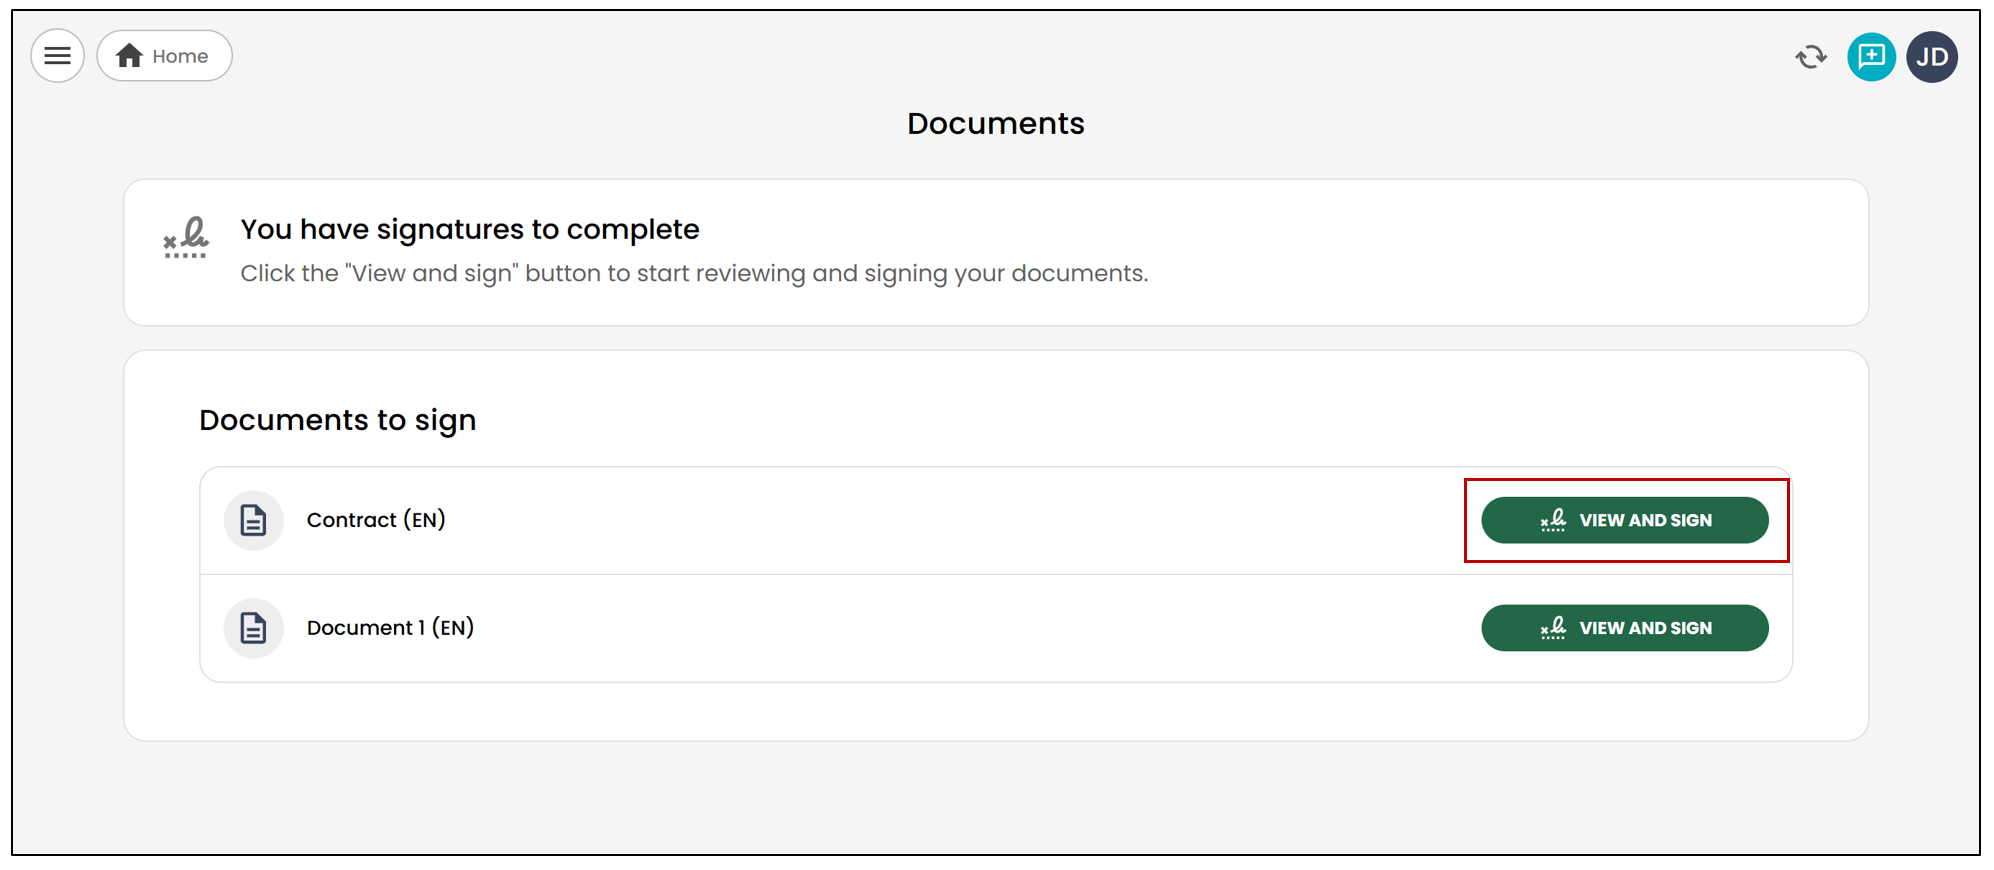
Once this step is completed, you will be redirected to the home page, where all documents requiring your signature will be displayed.
Click View and sign to access the first document.
To begin signing the document, click Start. You will automatically be directed to the first field to complete.
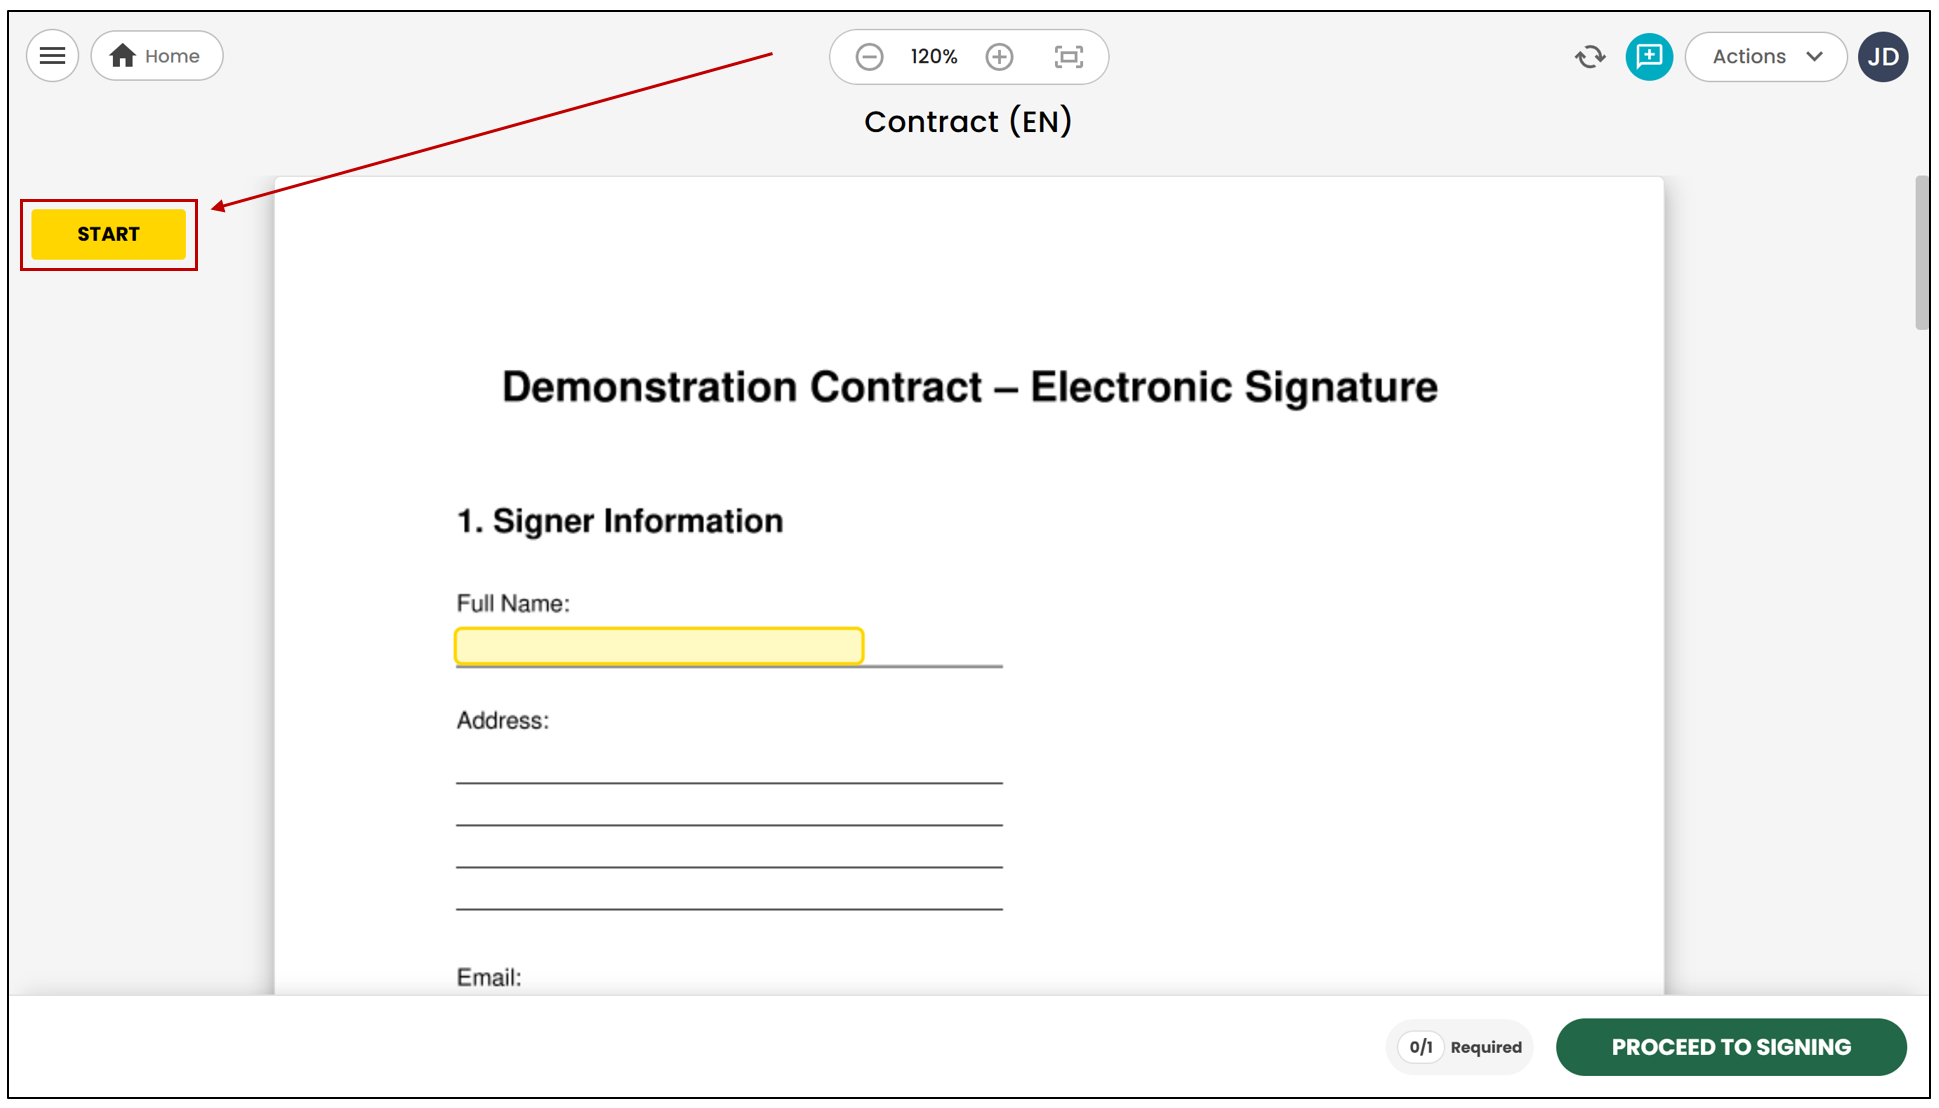
NOTE: Signature fields will remain grayed out until all required form fields have been completed. Before signing, make sure that all necessary fields have been filled out.
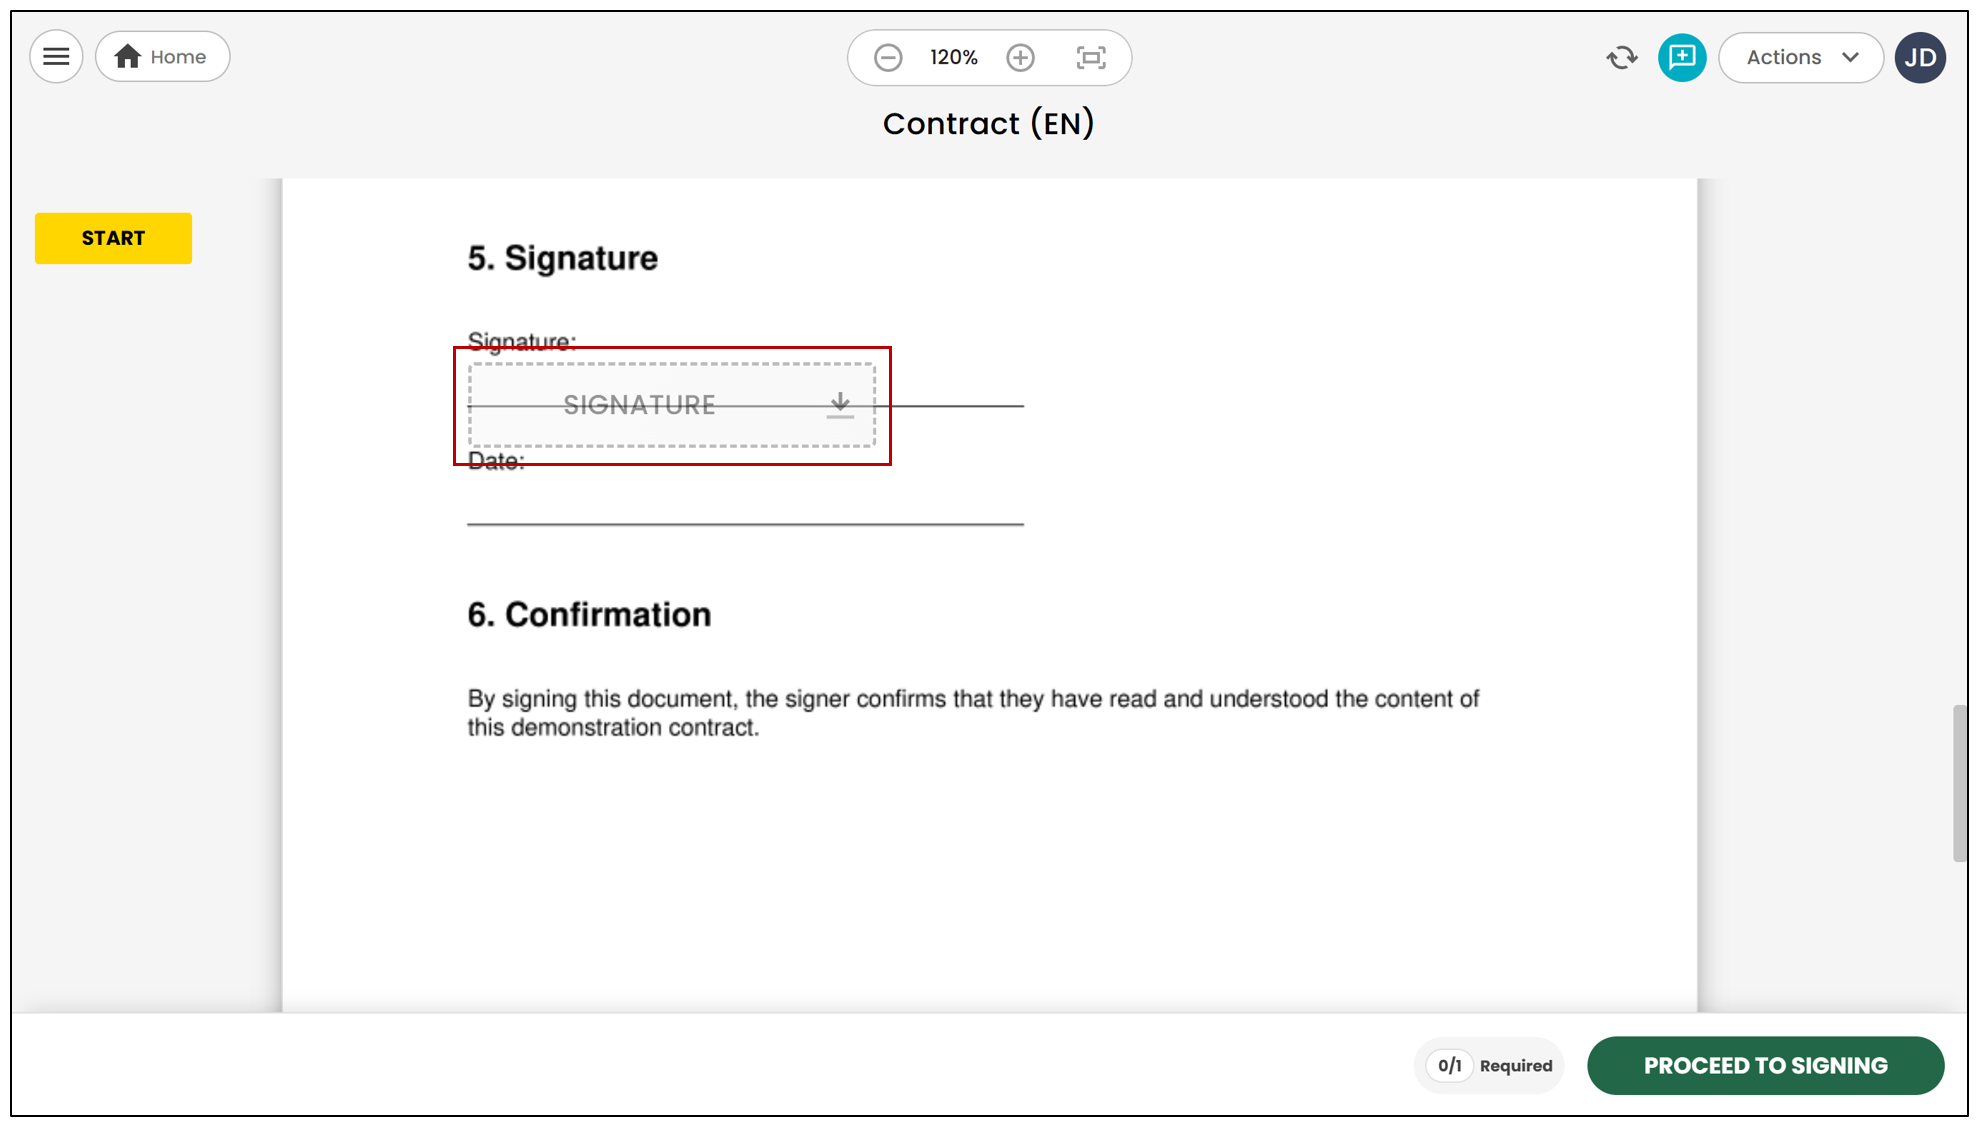
NOTE: Required fields that have not been completed will appear in red.
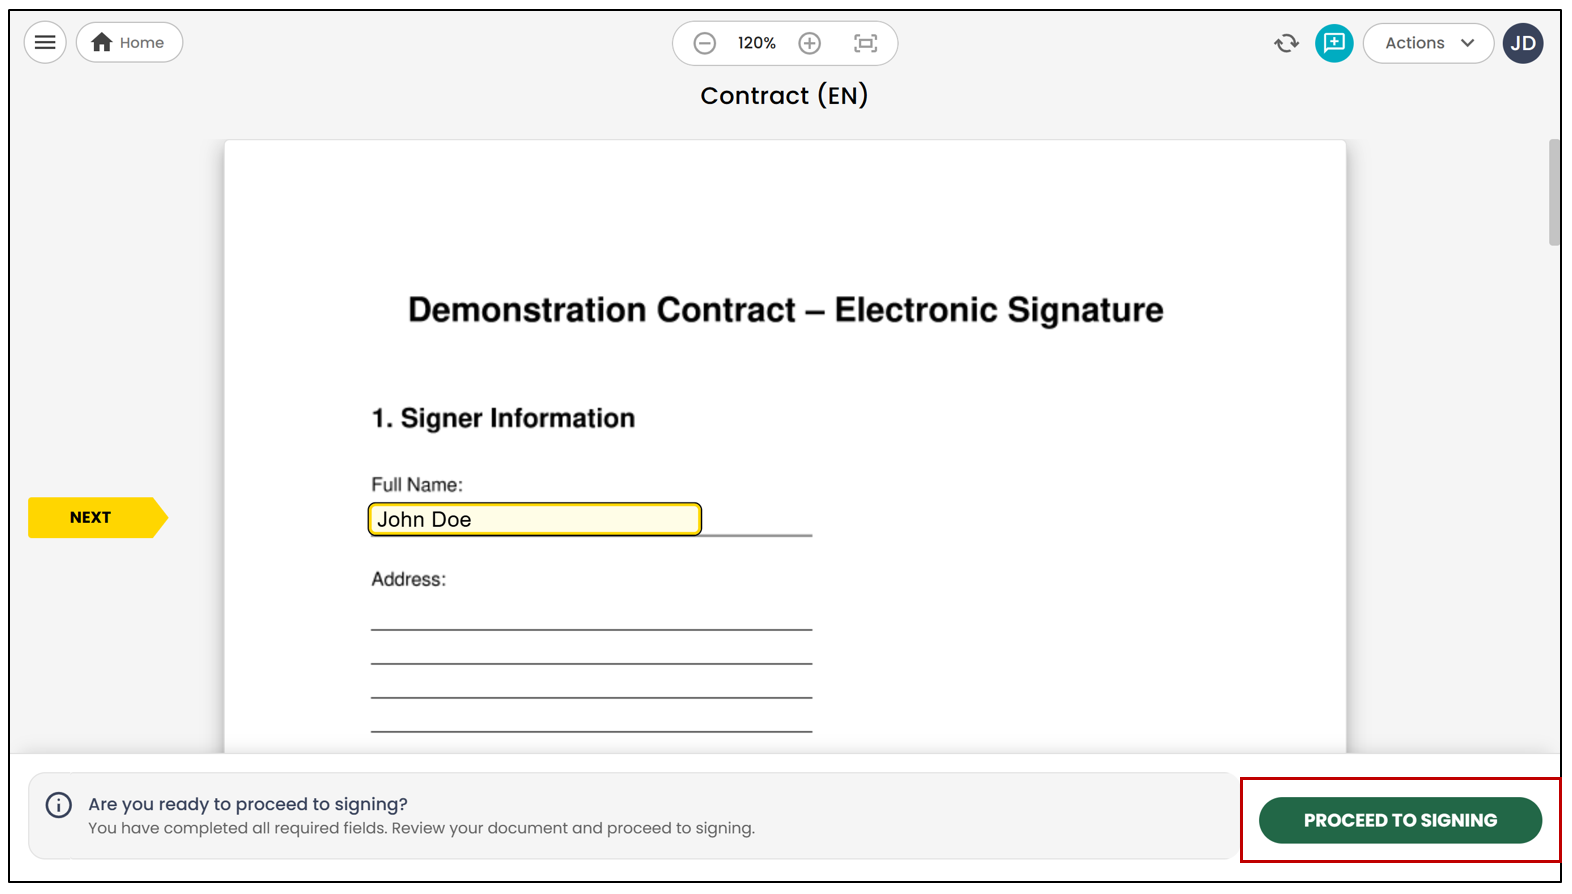
Complete all required form fields, if applicable, then click Proceed to signing.
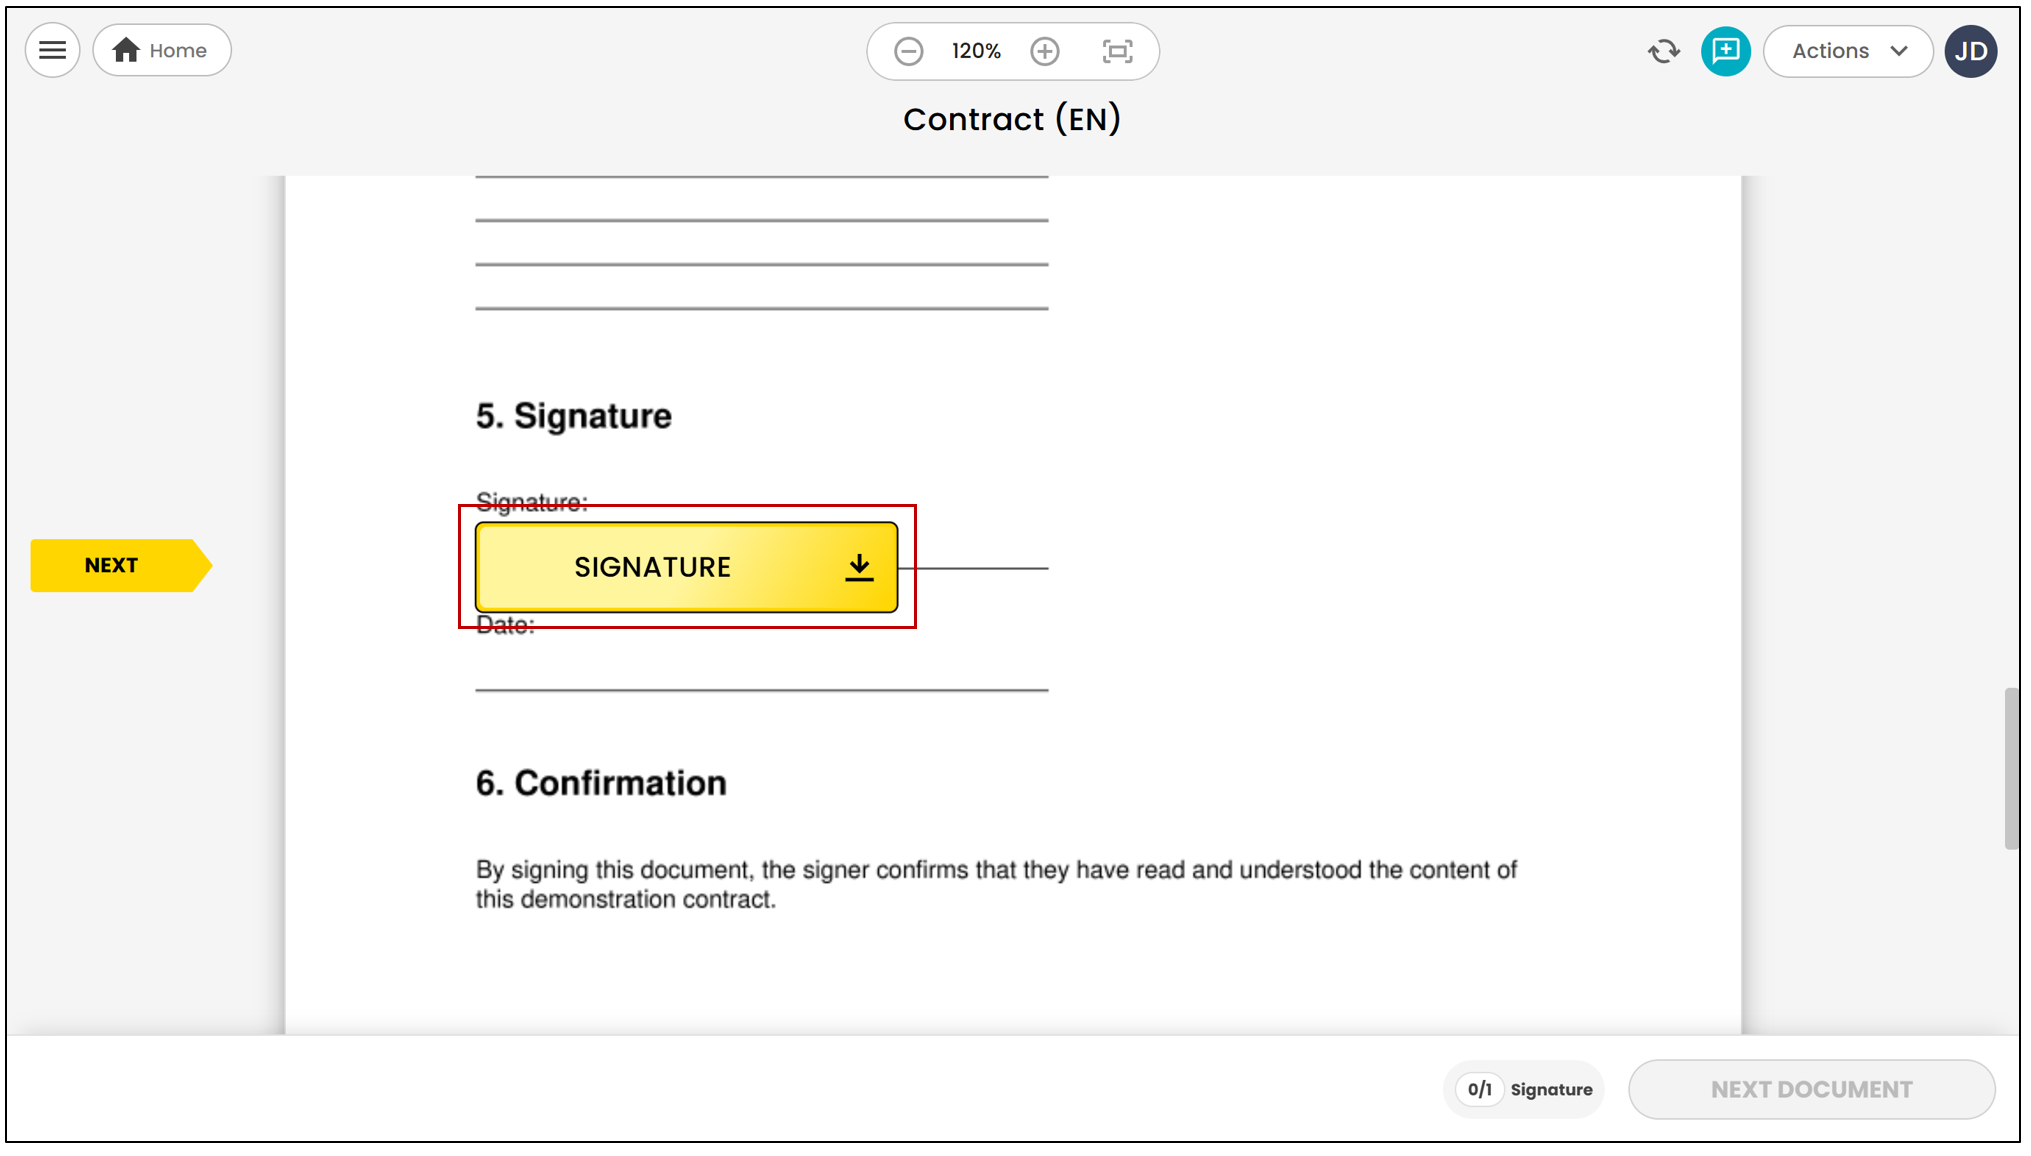
You can then sign the document by simply clicking on the signature field.
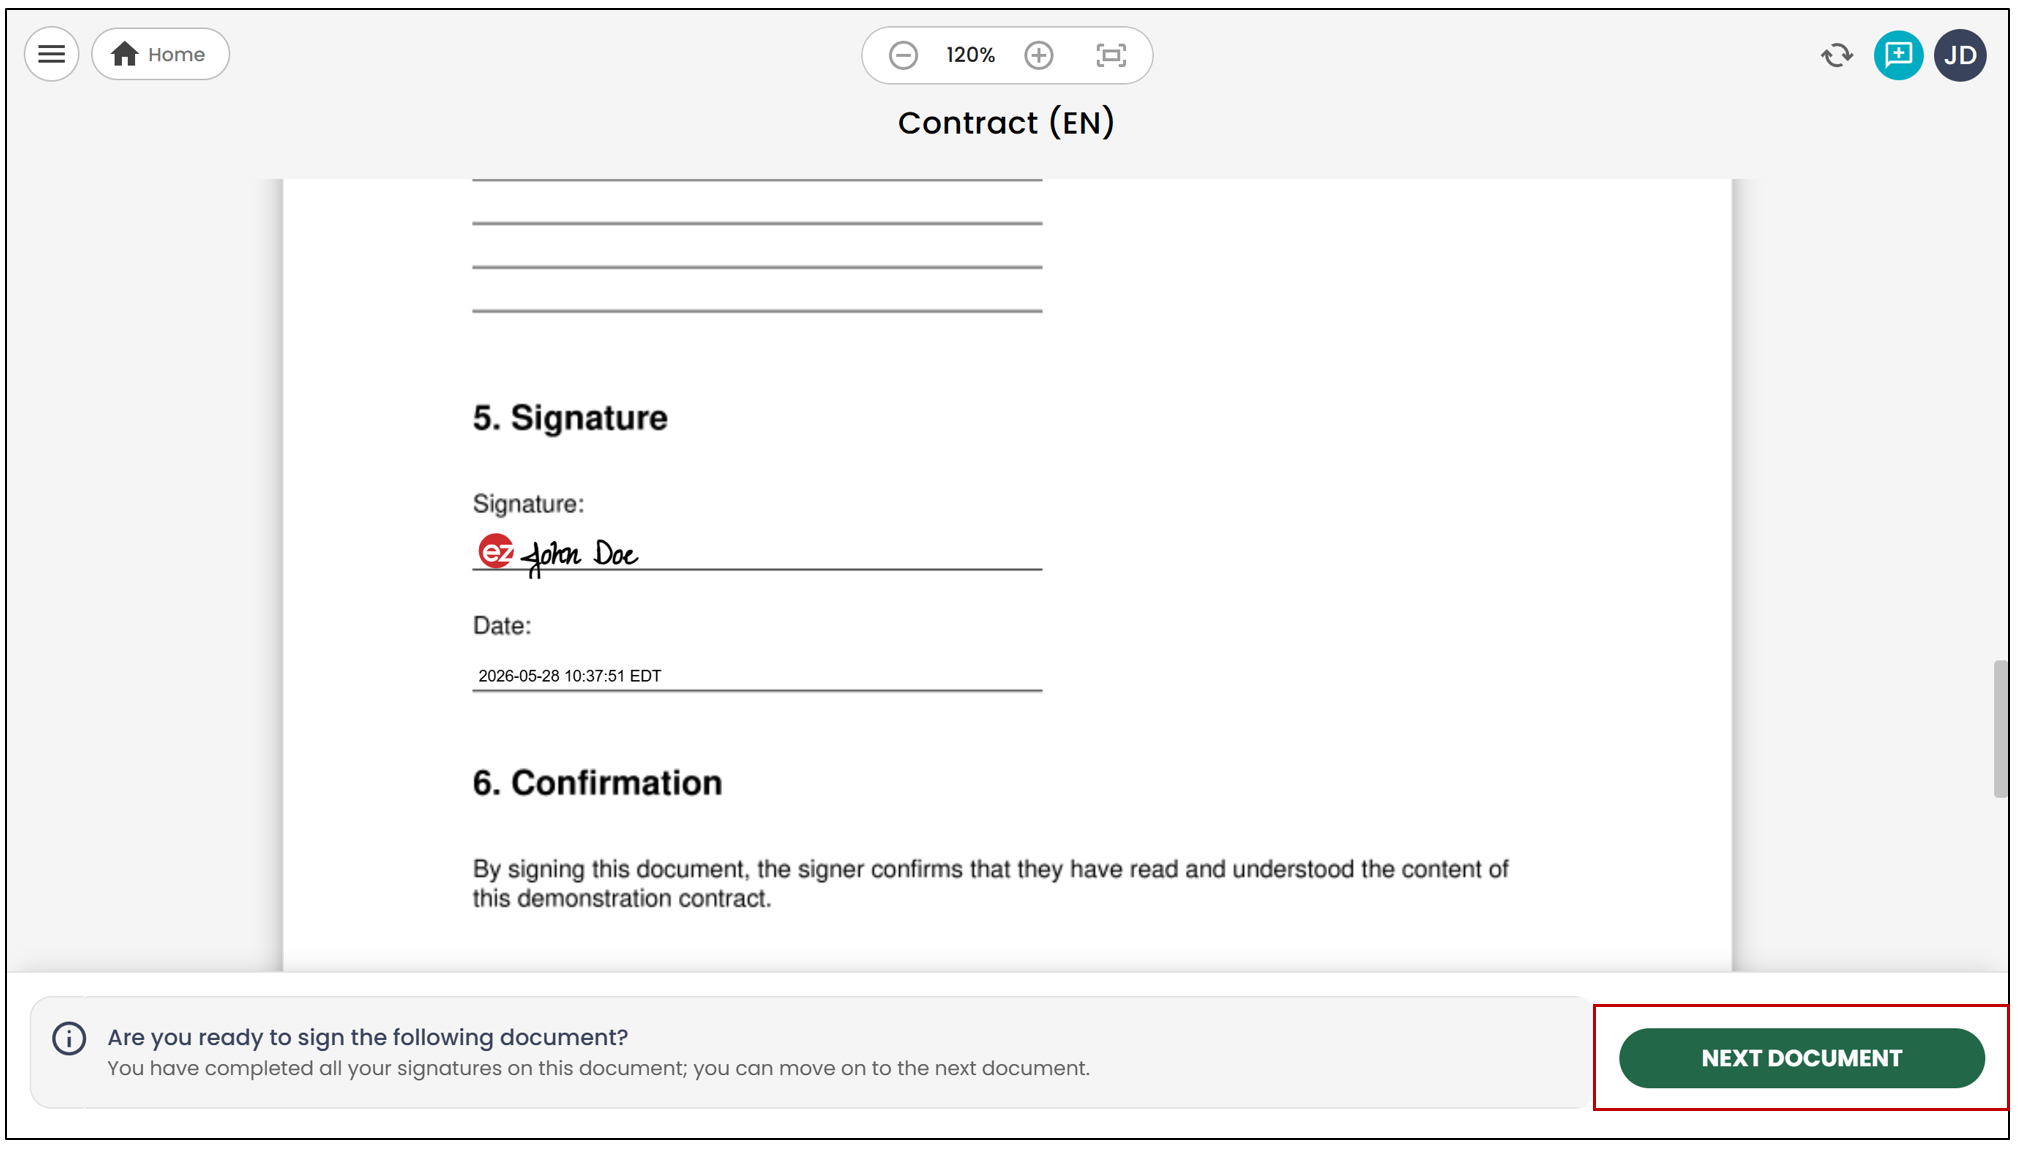
By clicking Next document , you will automatically be prompted to proceed to the next document in the folder.
Available options during the signing process
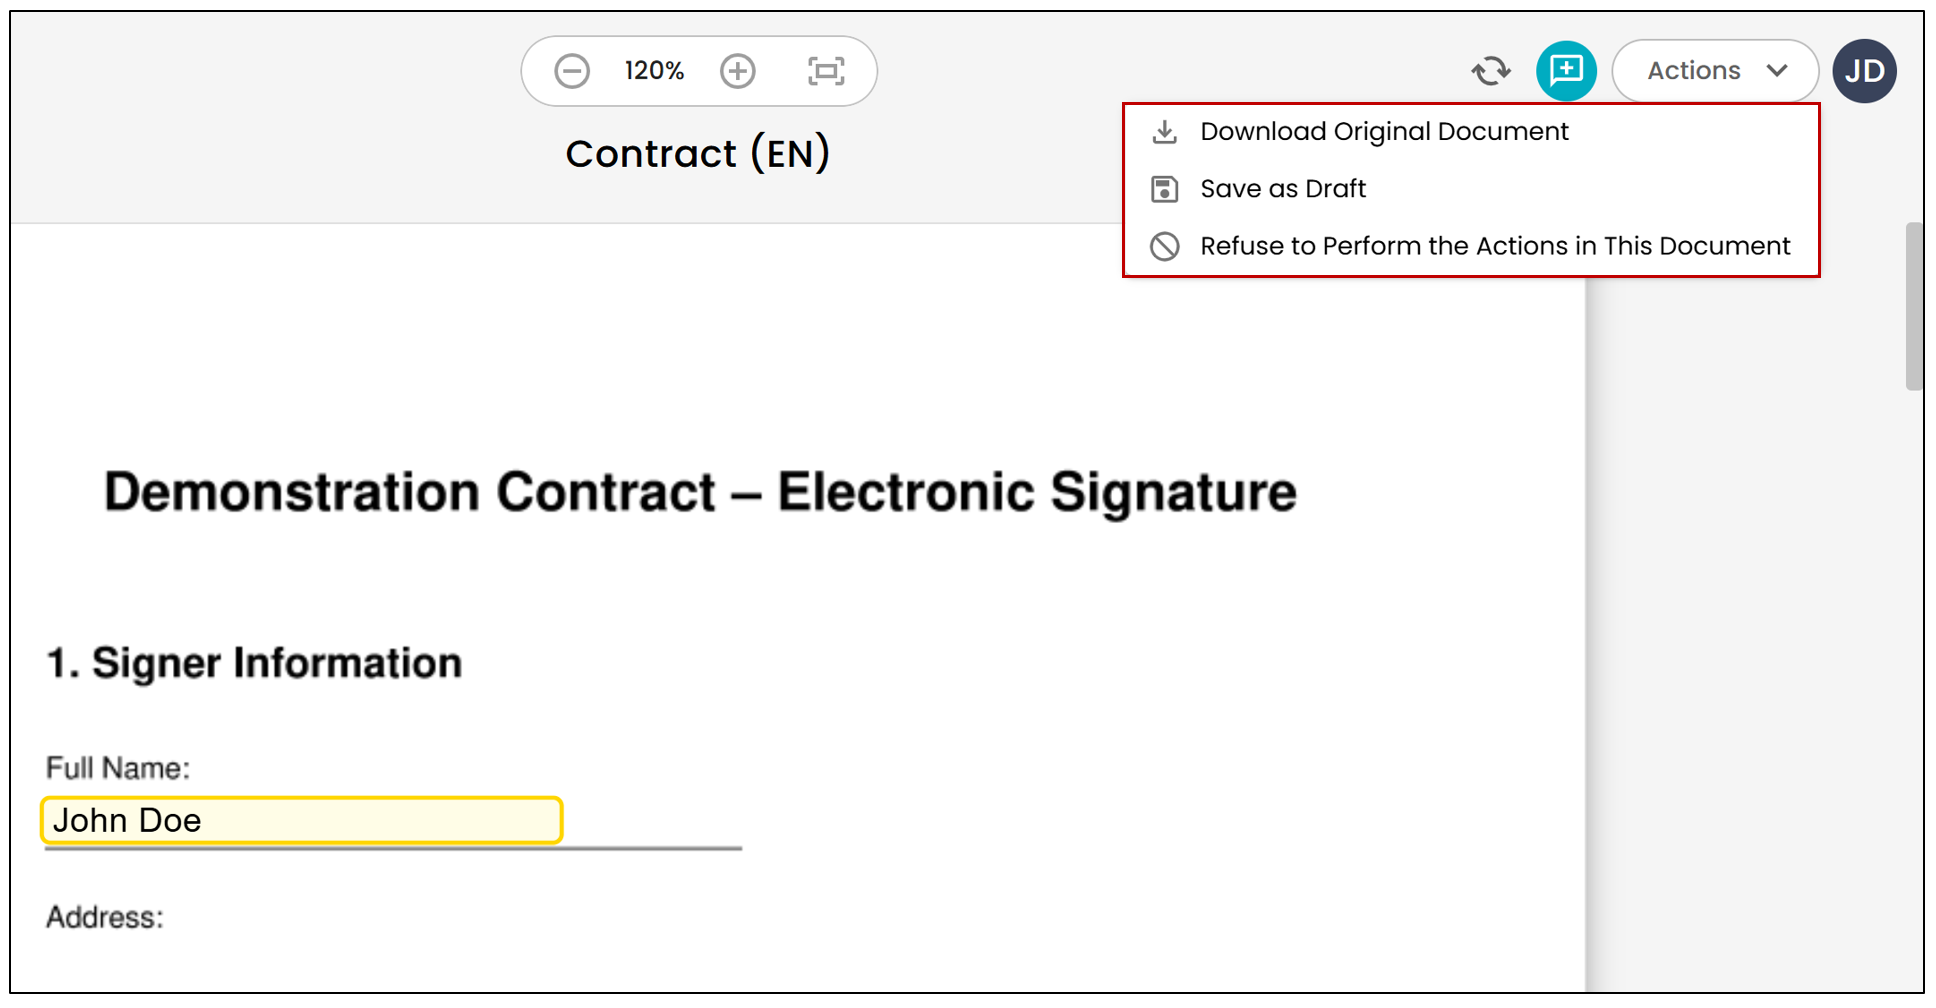
During the signing process, you can access various options by clicking the Action button located in the upper-right corner of the page.
Among the available options, you may find:
Download Original Document , which allows you to download a copy of the unsigned document to your device;
Save as Draft , which allows you to save your signatures and complete the document later;
Refuse to Perform the Actions on this Document , which allows you to reject the signature request if you do not wish to sign the document.
NOTE: When you refuse to sign a document, all signatures already obtained from other signatories will be cancelled and the document will be invalidated. If you have any questions regarding the document, it is recommended to contact the person who sent the signature request before proceeding with the refusal.
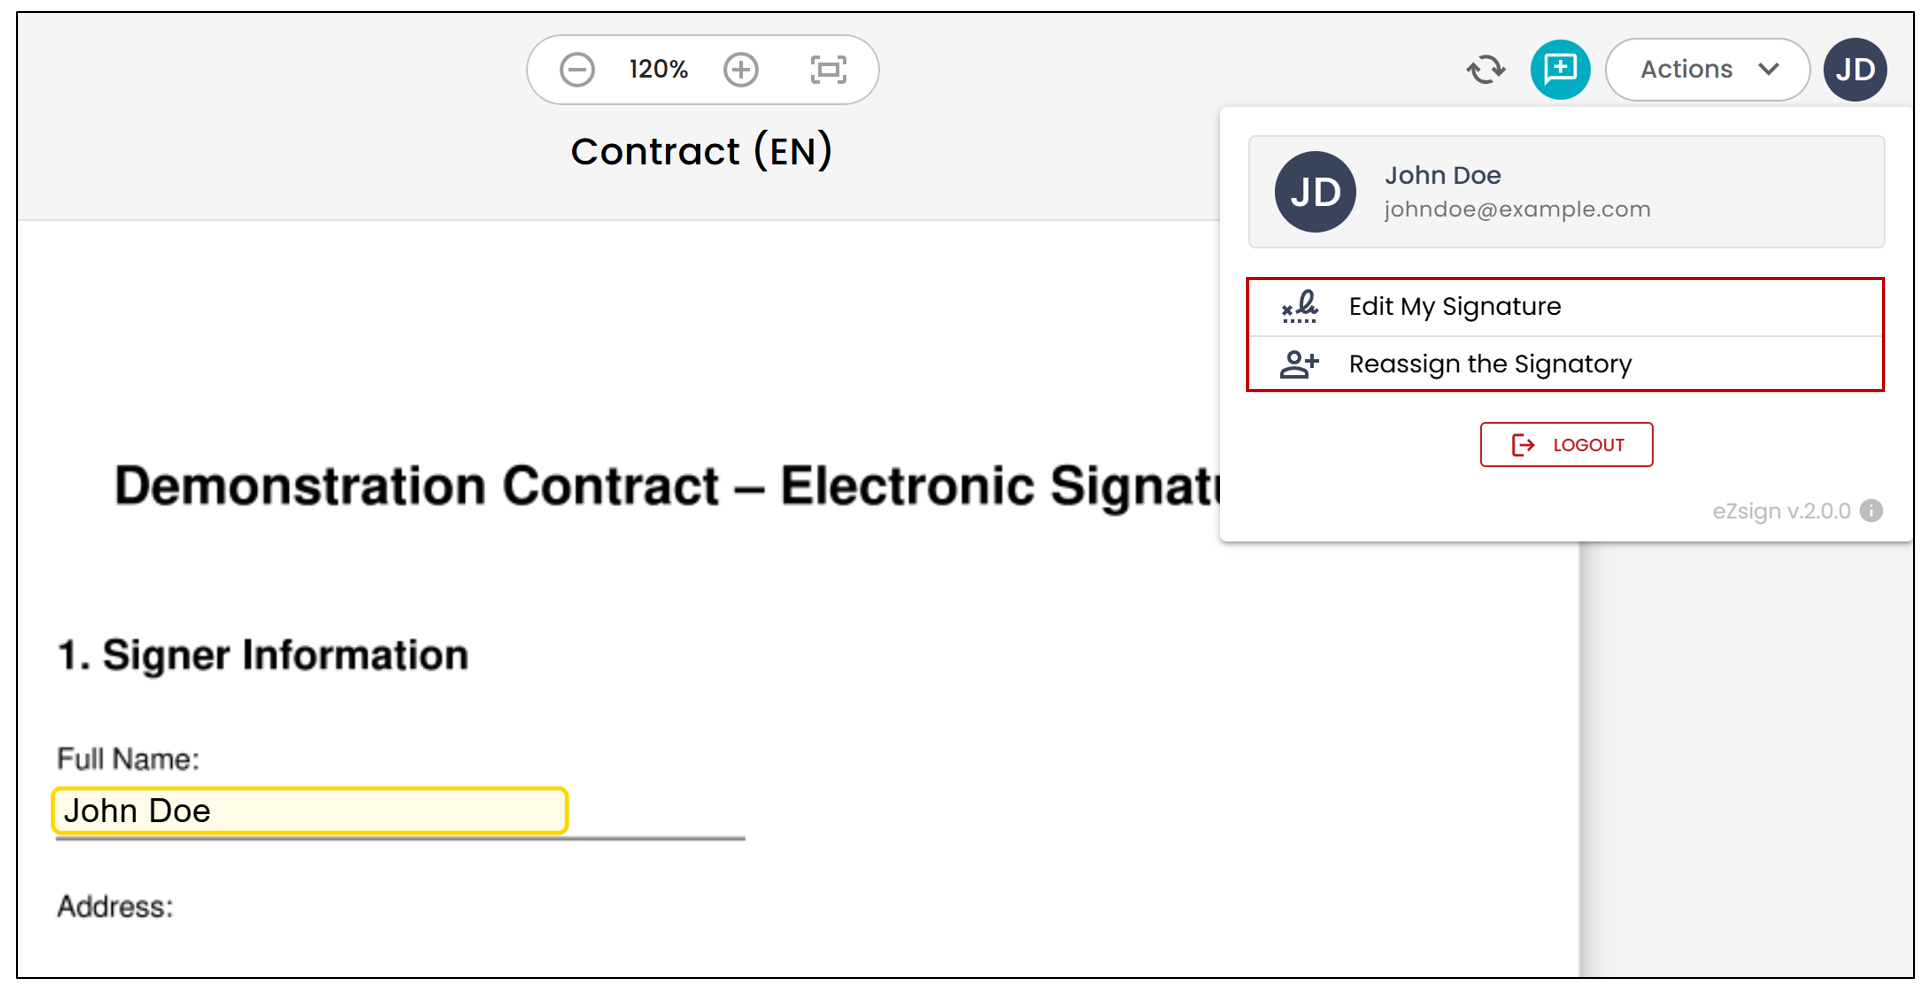
By clicking on your profile icon, you also have access to the following options:
- Edit My Signature , which allows you to change the appearance of your signature when this option has been enabled by the sender;
- Reassign the Signatory , which allows you to delegate the signature request to another person if this feature has been authorized by the sender.
Viewing document status
Throughout the signing process, you can return to the home page by clicking the icon to view the status of the documents in the file. You will be able to see whether a document is completed, pending other signatures, or still requires your action.